文様の彫り方 その16 ~雲~
もこもこいくで

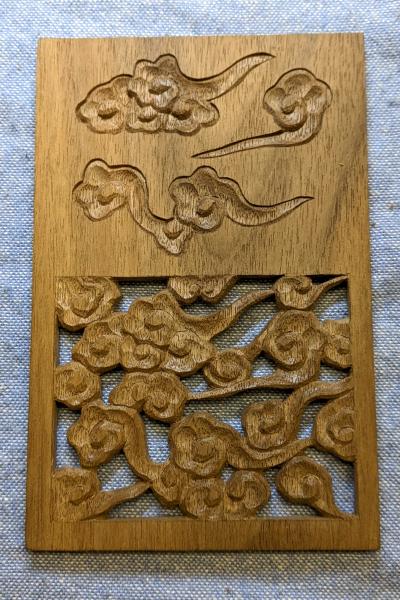
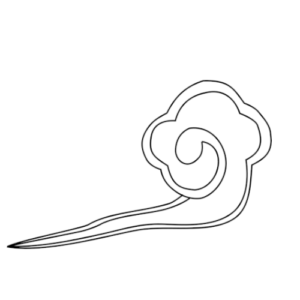
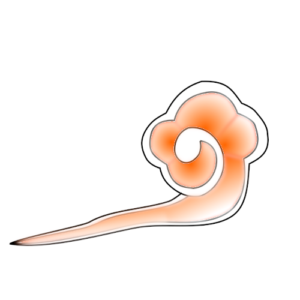
今回は次の下絵の雲をできるだけシンプルに彫っていきます。

上手くできましたら、さらに以下の下絵を透かして彫っていきましょう。

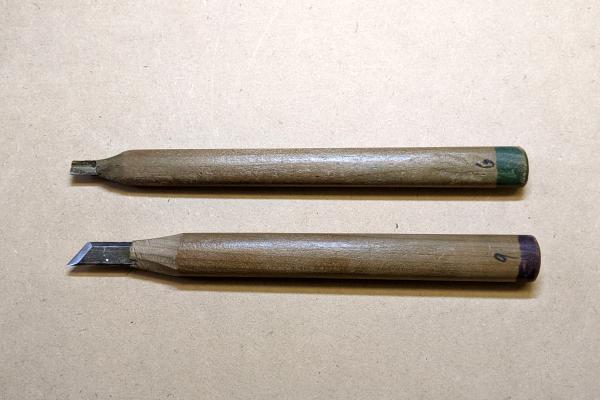
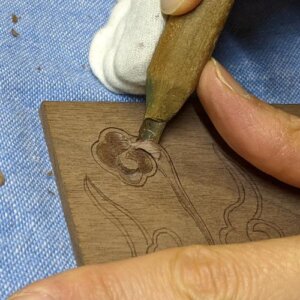
使用した刃物はキワ刀、浅丸刀です。
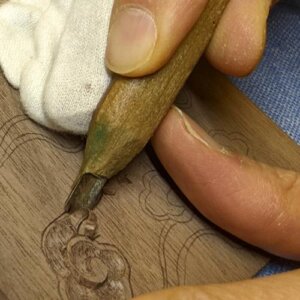
準備
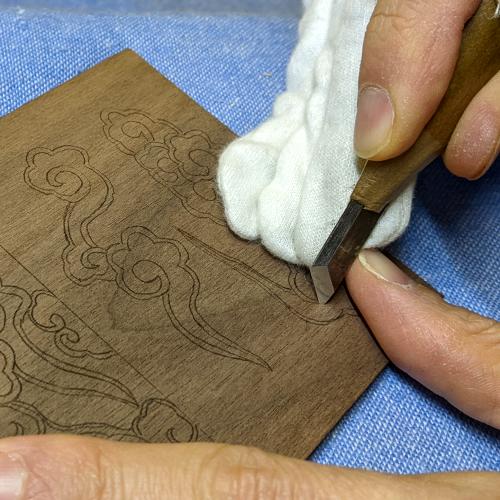
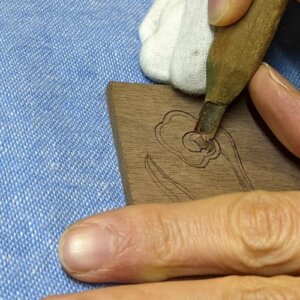
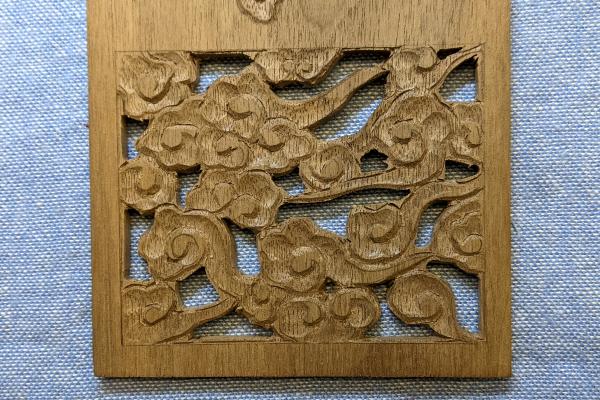
カーボン紙ではがき大の木(厚さ5mm)に雲を写していきます。下絵はここ(雲のPDF最新版)よりダウンロードできますのでご利用ください。
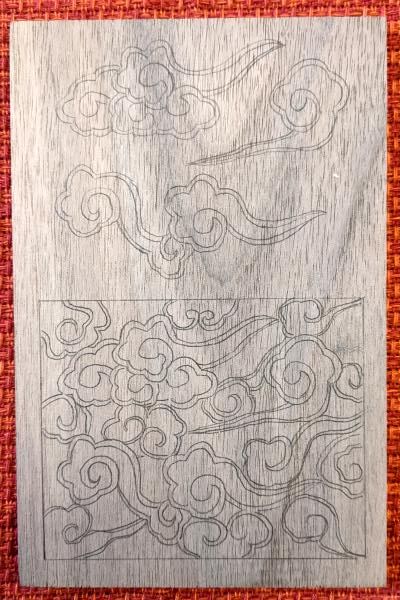
※上画像の木に写した下絵は旧版のため最新版と若干異なります。最新版を木に写してください。
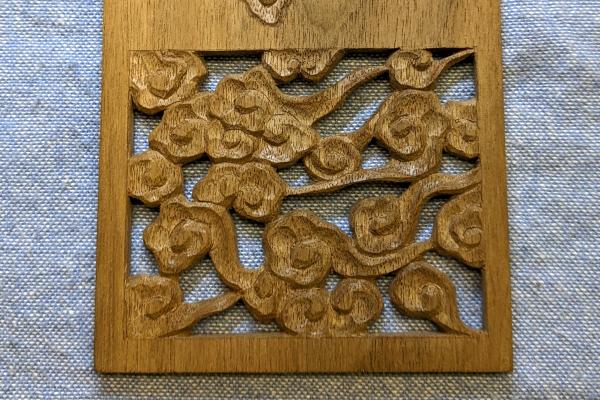
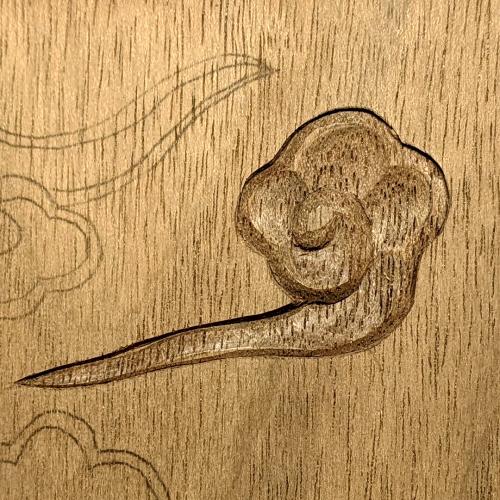
雲1の彫り方
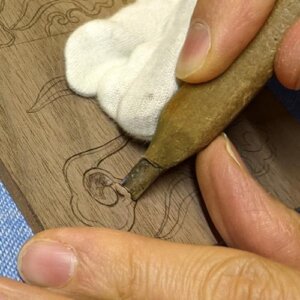
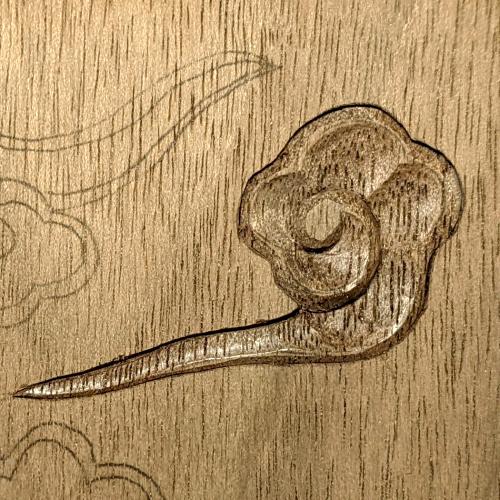
右上端の雲を例に彫り方の説明をします。
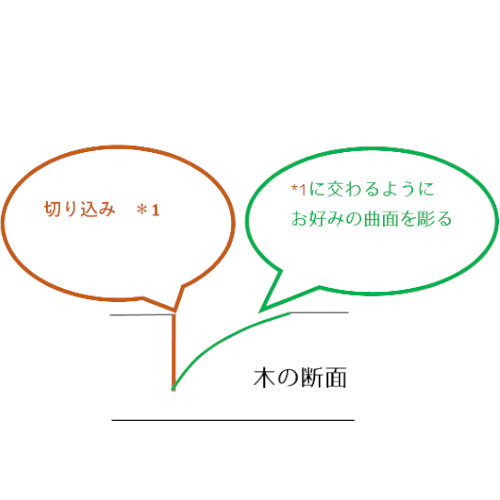
下図の青矢印線は矢印方向に向かうにつれて深く切り込みを入れ、赤色線は一定の深さで切り込みを入れます。
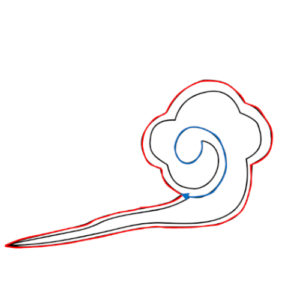
下図のオレンジ色部分が深くなるようにします浅丸刀で彫っていきます。そのとき先ほど入れた青色矢印線に交わる部分は切り込みの深さに合わせて深くほるようにします。
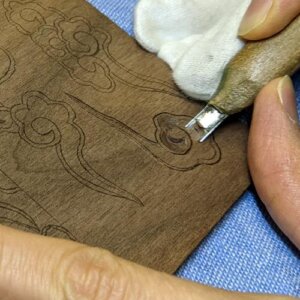

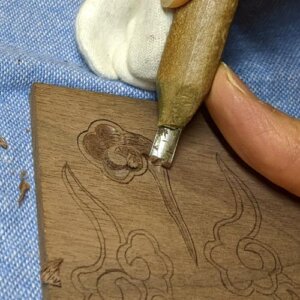
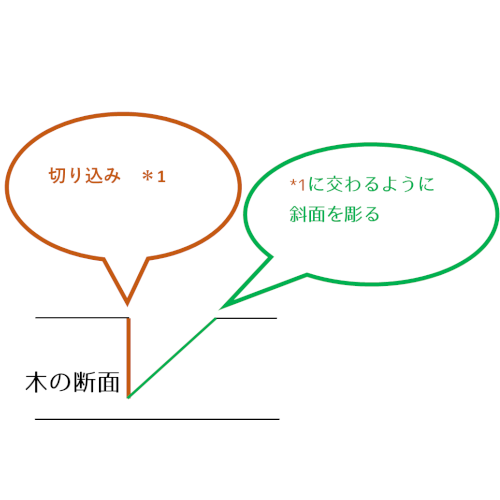
下図の緑色部分の角をはじめに入れた切り込みとまじわるように斜面または曲面に彫っていきます。

基本的な雲はこれでできました。
雲の表現に唯一の答えはありませんので以降は今までの説明した彫り方を参考程度として、キワ刀、浅丸刀で深さに変化をつけていきます。一刀一刀でどのように変化するか感じながら彫り進め、自分なりの答えを見つけていきましょう。
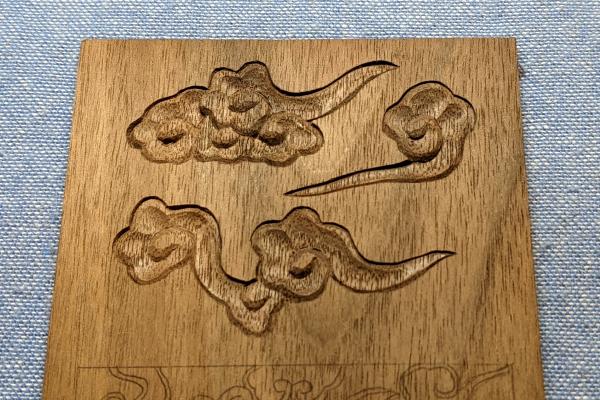
これ以外の雲については重なりがあり少し複雑に見えるかもしれません。しかし、それらも前後関係があるだけと考えると、そこまで複雑ではありません。重なりの後方にある雲の部分を深く彫れば解決することでしょう。
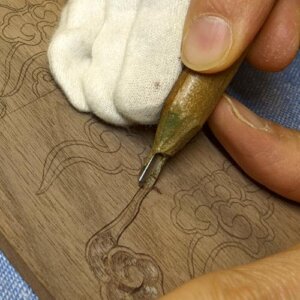
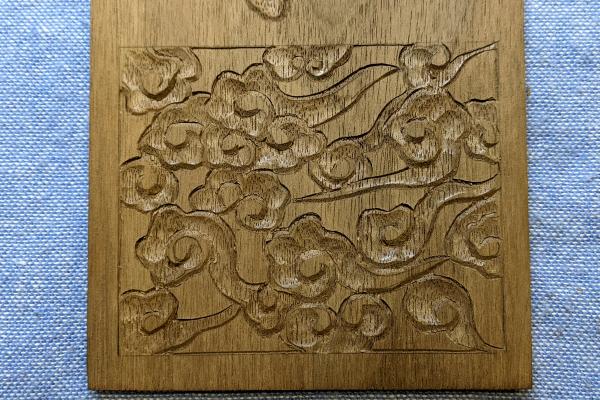
雲2の彫り方(透かし彫り)
雲1と同様に彫り進めます。あとで立体感をつけながらきれいに彫りなおしますので少し粗くても構いません。
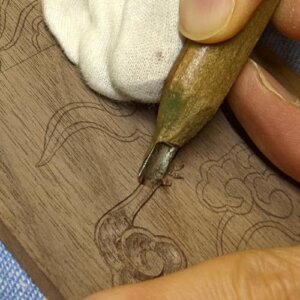
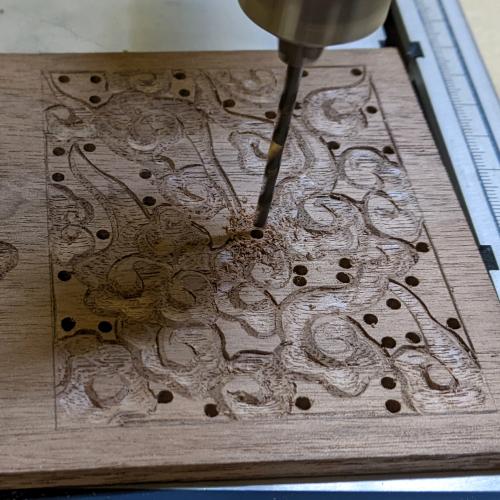
電動ドリルで穴をあけ糸鋸で雲以外を切り抜きます。糸鋸がない場合は、雲が破損しない程度に電動ドリルで多くの穴をあけます。
キワ刀、浅丸刀で立体感をつけながら仕上げていきます。