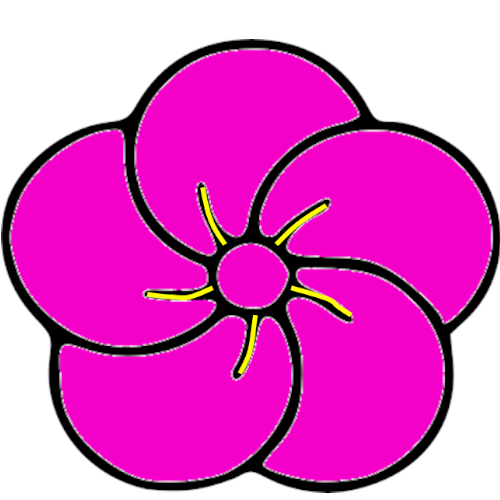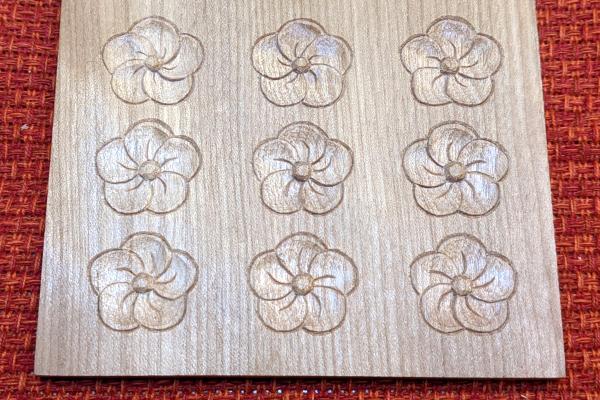
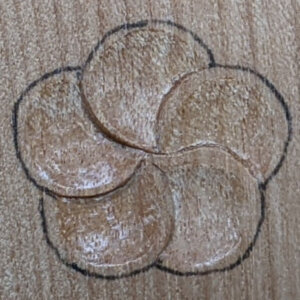
文様の彫り方 その12 ~捻じ梅(ねじうめ)~
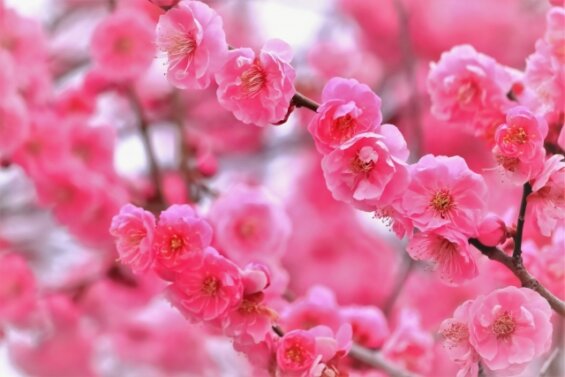
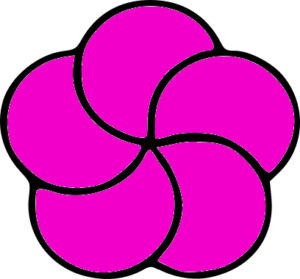
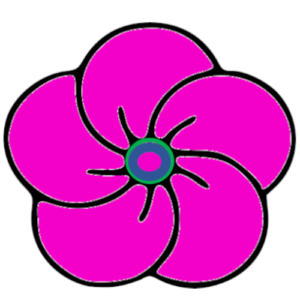
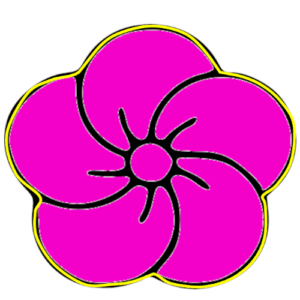
「捻じ梅」は、梅の花びらが捻(ね)じれた形になったものです。
今回は 2種類の捻じ梅の彫り方を説明します。

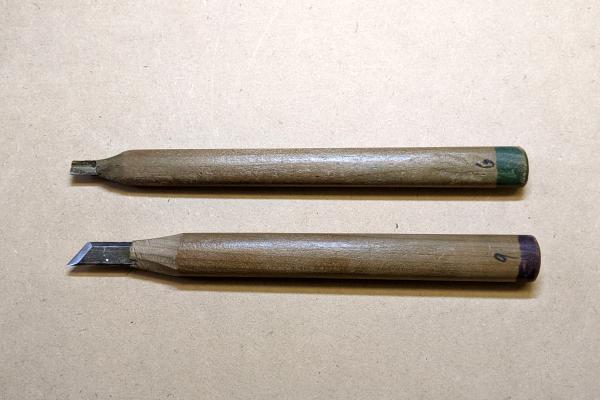
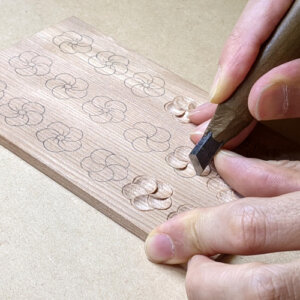
用いた彫刻刀は、キワ刀と浅丸の2本です。
準備
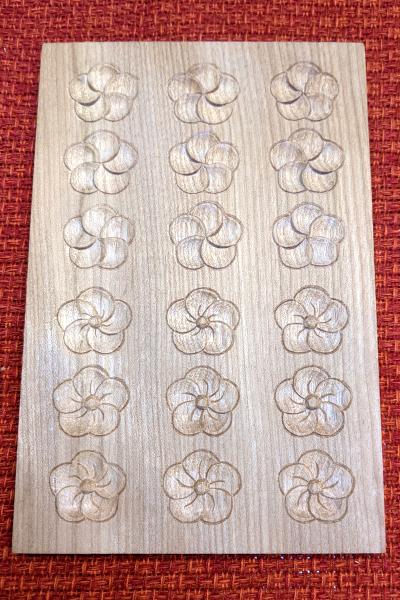
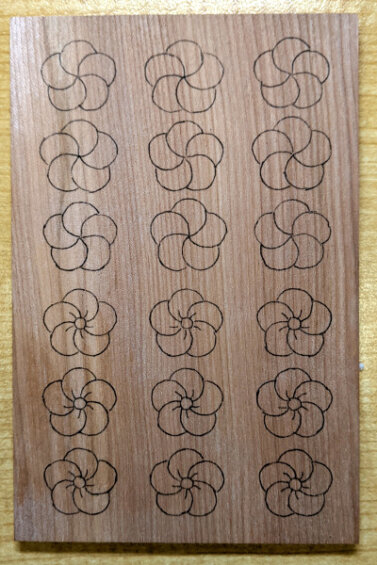
カーボン紙ではがき大の木に捻じ梅文を写していきます。下絵はここ(捻じ梅のPDF)よりダウンロードできますのでご利用ください。
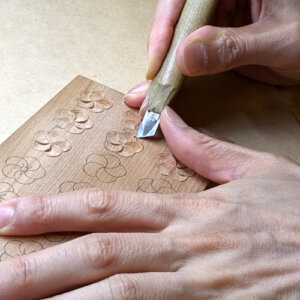
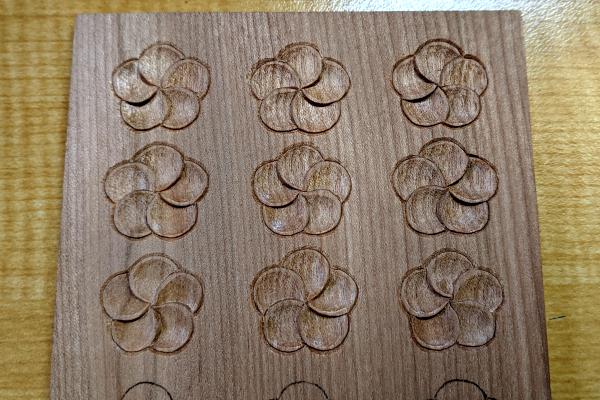
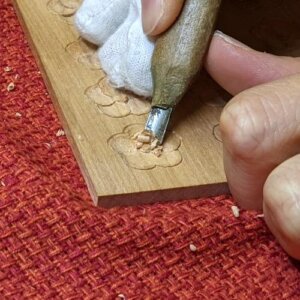
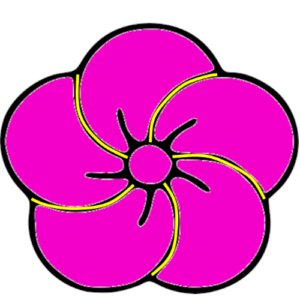
捻じ梅1 の彫り方
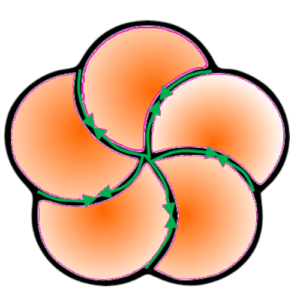
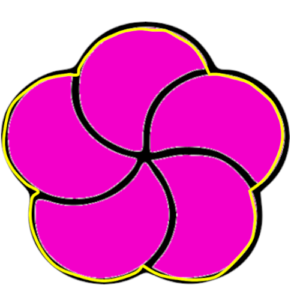
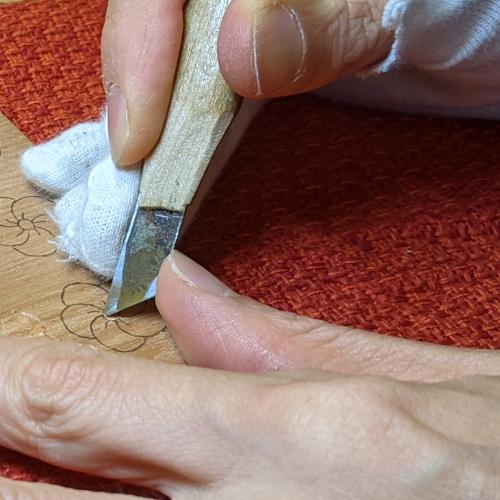
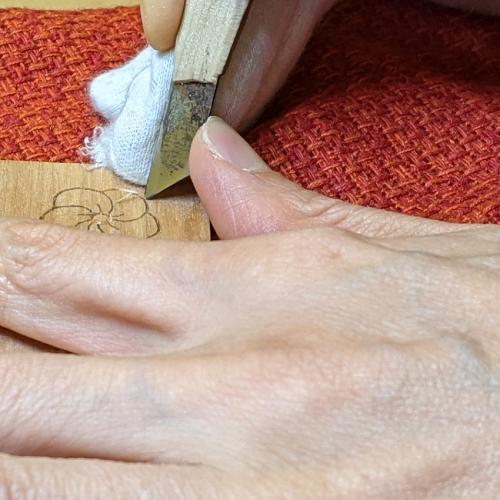
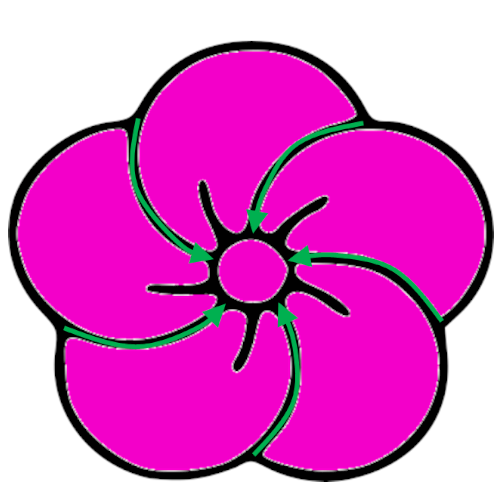
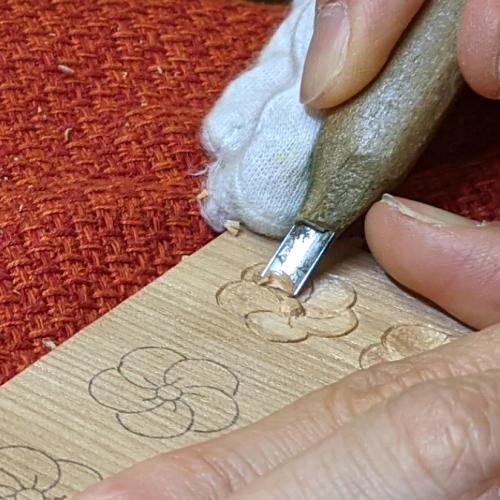
下図の緑色線は矢印方向に向かっていくつれ徐々に深く切り込みをキワ刀で入れます。さらに入れた切り込みと交わるように、オレンジ色の箇所は色が濃い箇所の方が深くなるように浅丸で曲面を彫っていきます。
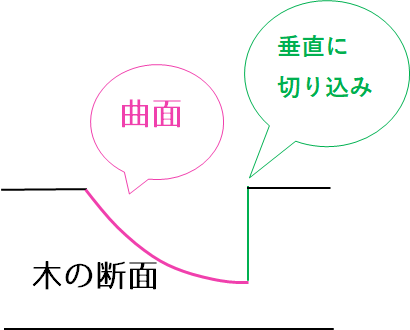
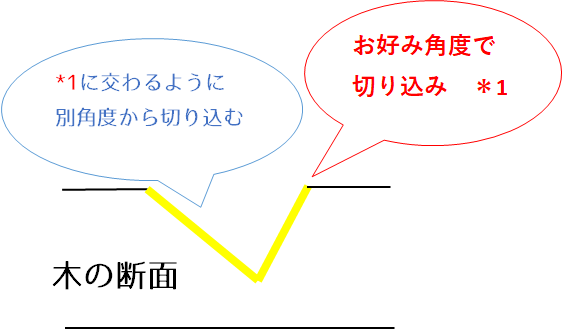
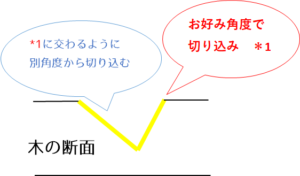
断面は次のようになります。

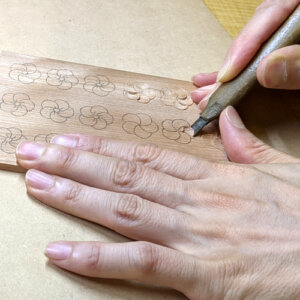
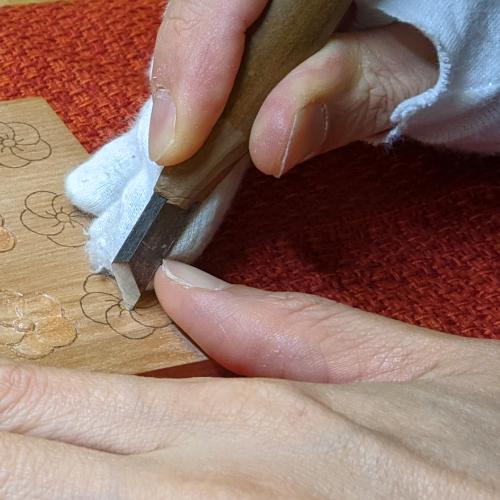
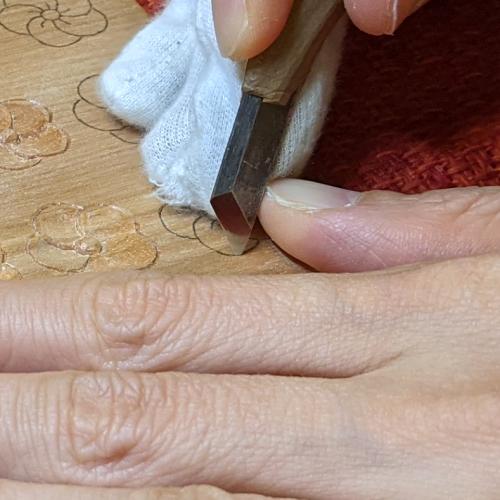
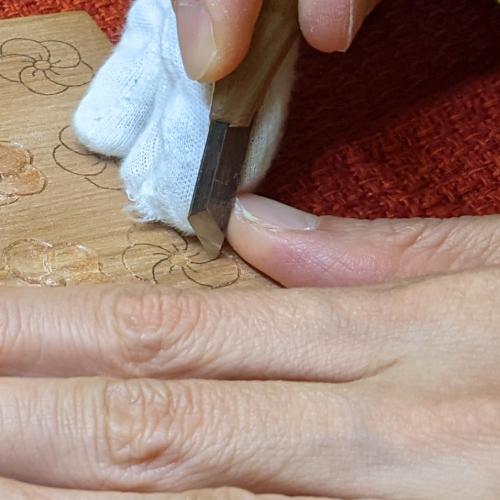
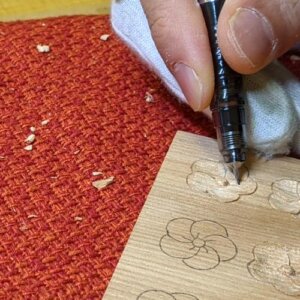
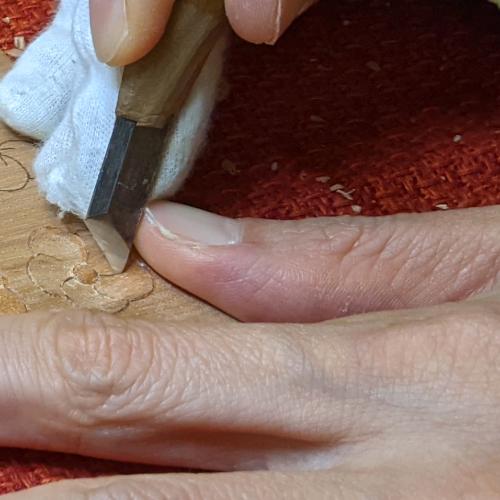
下図の黄色線はキワ刀でお好みの角度でV字に彫っていきます。
捻じ梅2 の彫り方
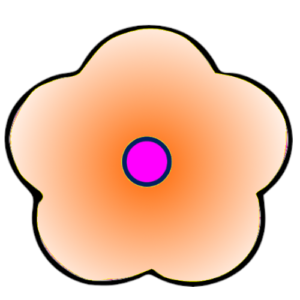
下図の中央の円形の緑色線の部分に切り込みを入れ、その切り込みと交わるように青色線部分は角取って丸めます。
下図の黄色線はキワ刀でお好みの角度でV字に彫っていきます(捻じ梅1と同じように)。
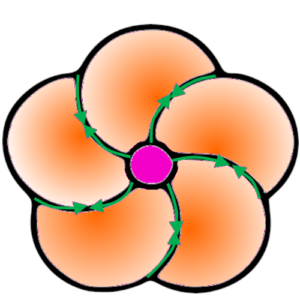
下図緑線は矢印方向に向かうにつれて次第に深く切り込みます。
下図のオレンジ色の部分は、色が濃いところが深くなるようにお皿状に彫ります(ピンク色の部分は残して、中央が深くなるように)。
下図の黄色線部分は、先ほど入れた切り込み線が消えていましたらペンで描きなおします。
下図の緑色線は矢印方向に向かっていくつれ徐々に深く切り込みをキワ刀で入れます。さらに入れた切り込みと交わるように、オレンジ色の箇所は色が濃い箇所の方が深くなるように浅丸で曲面を彫っていきます。(捻じ梅1と同じように)。
下図の黄色線は、お好みの角度でV字にキワ刀で彫っていきます。