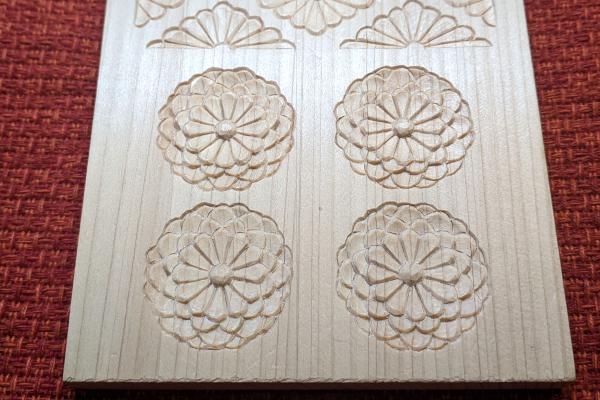
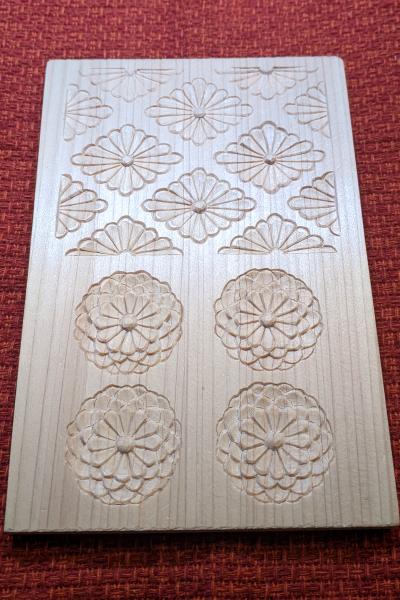
文様の彫り方 その13 ~菊菱(きくびし)、八重菊(やえぎく)~
今日は菊菱(きくびし)、八重菊(やえぎく)の彫り方を説明します。
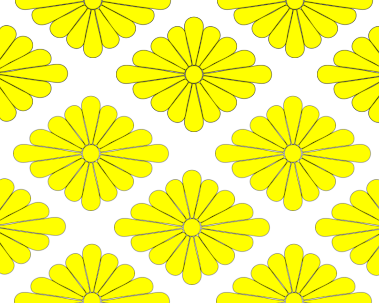
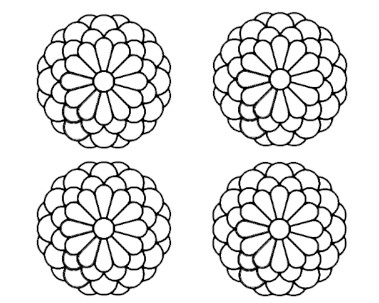
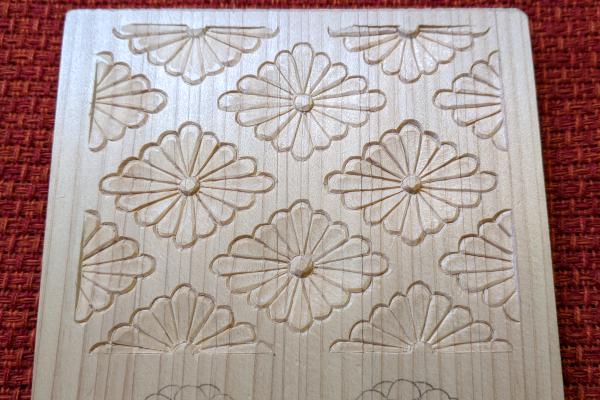
菊菱(きくびし)は菊の花を菱形で構成したもので、八重菊(やえぎく)は花びらを何枚も重ねて八重咲きを表現したものです。
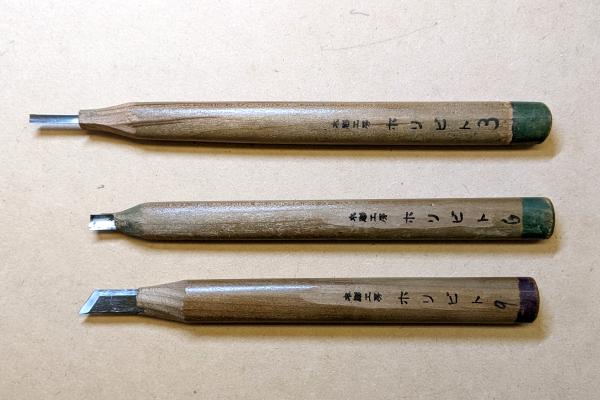
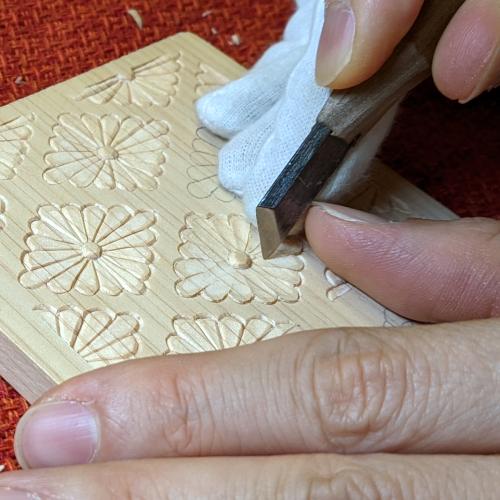
用いた彫刻刀は、キワ刀9mm、浅丸刀6mm、浅丸刀3mmの3本です。
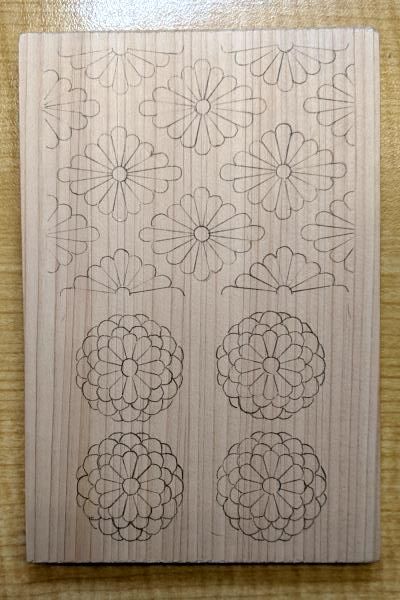
準備
カーボン紙ではがき大の木に菊菱、八重菊を写していきます。下絵はここ(菊菱、八重菊のPDF)よりダウンロードできますのでご利用ください。
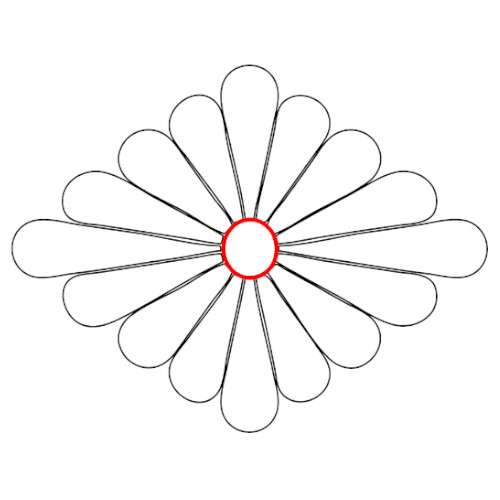
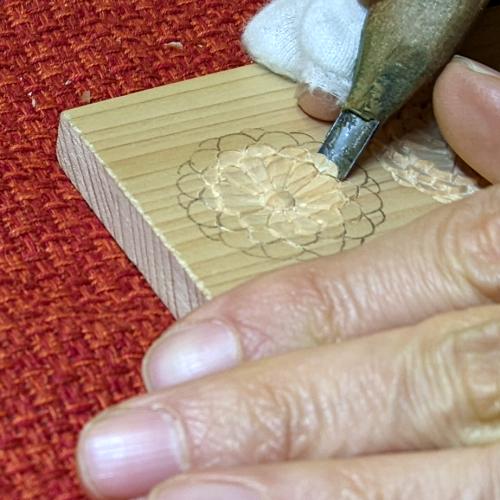
菊菱(きくびし)の彫り方
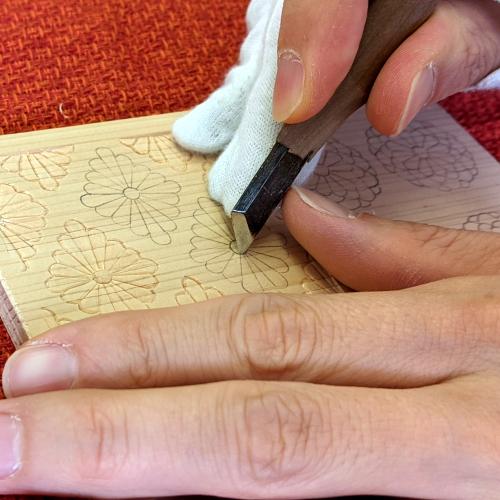
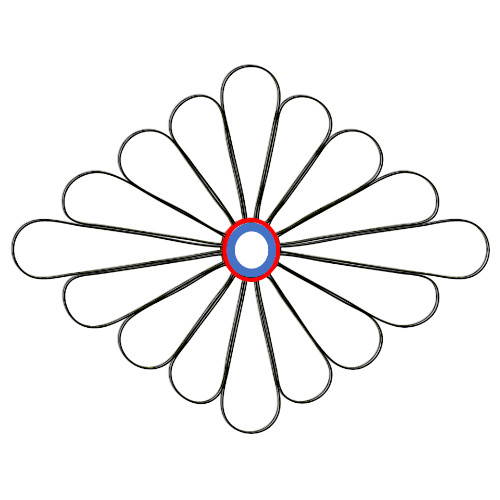
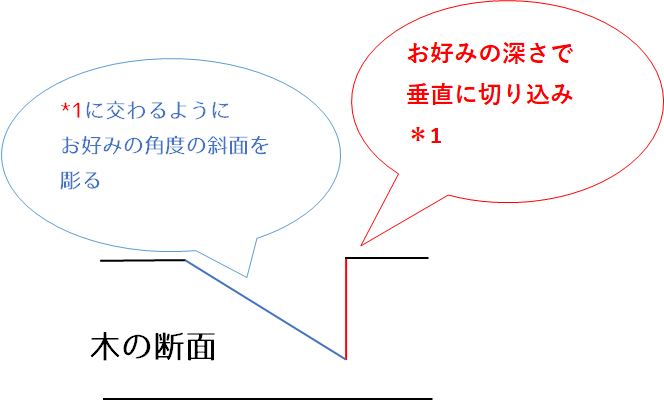
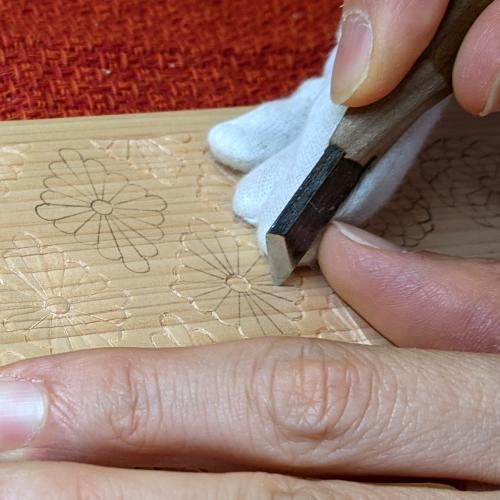
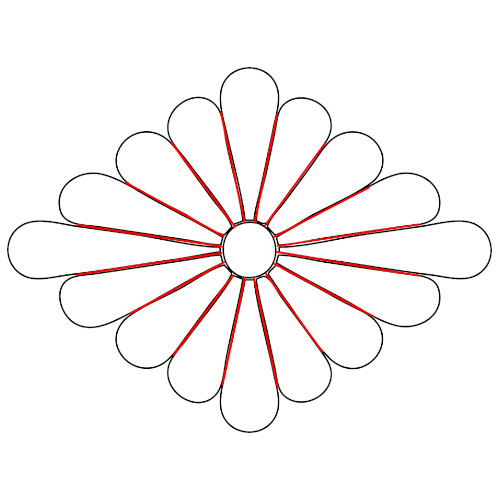
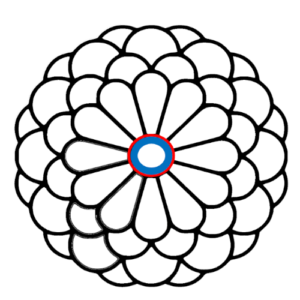
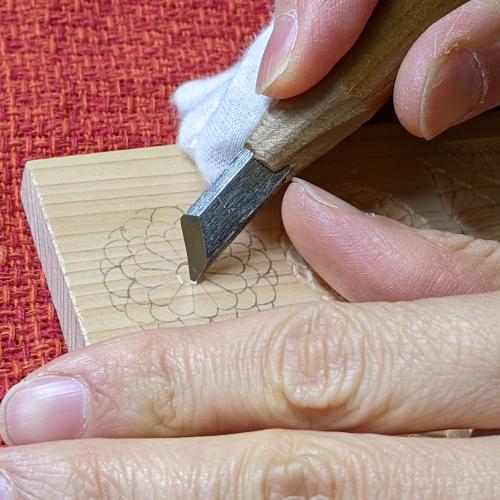
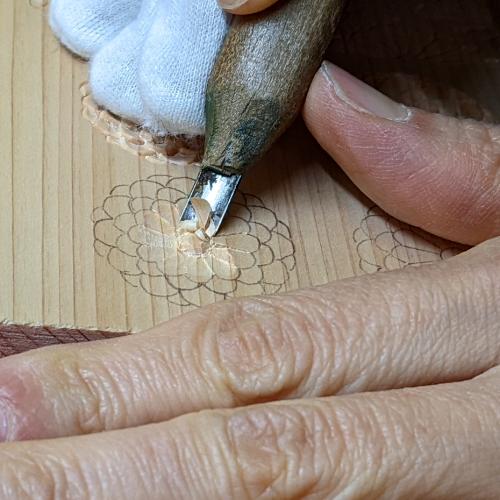
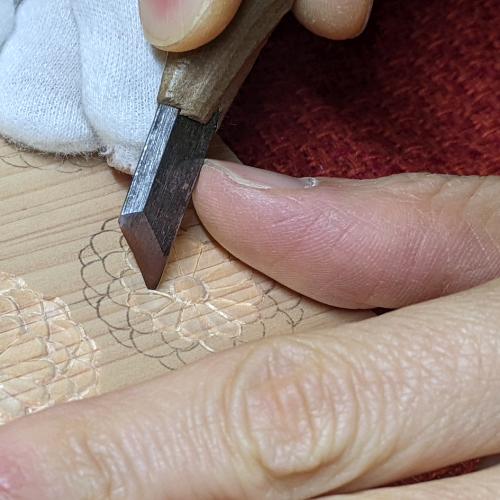
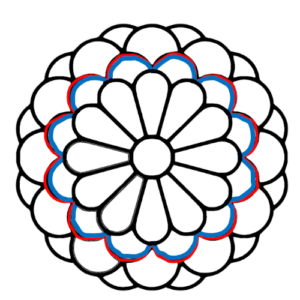
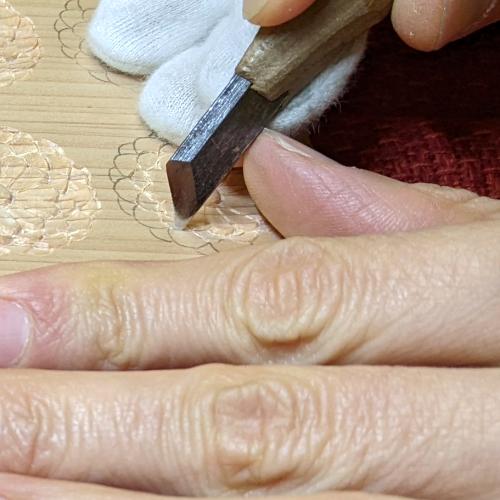
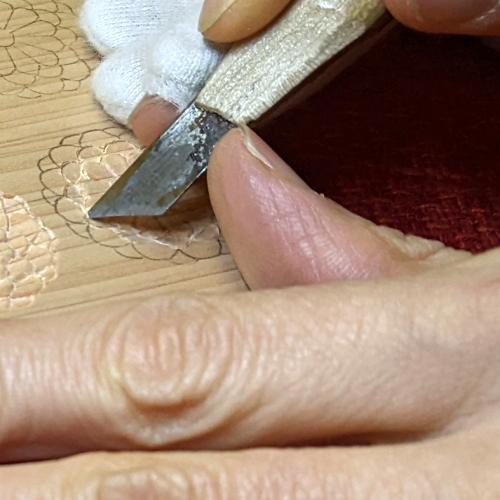
まず下図の赤線の部分にキワ刀で切り込みを入れます。
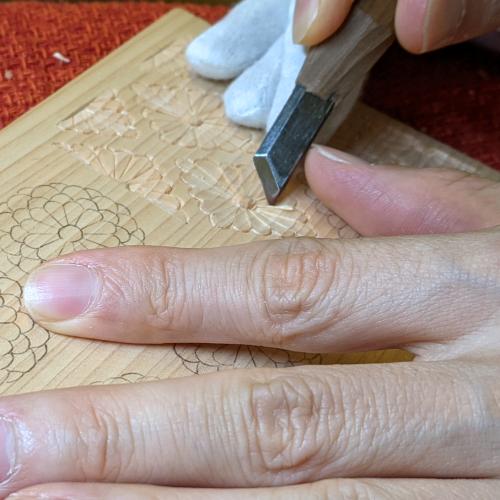
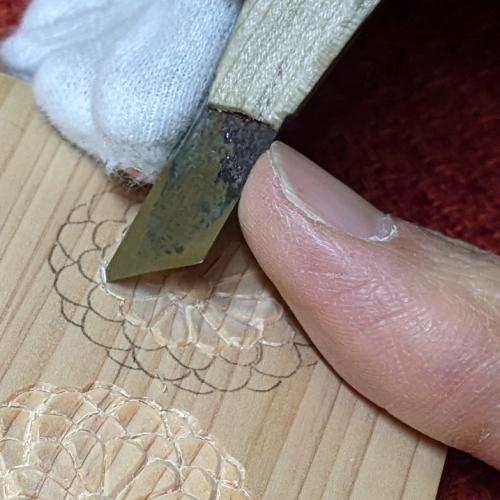
下図の青線の部分は、入れた切り込みと交わるようにキワ刀で角を丸めます。
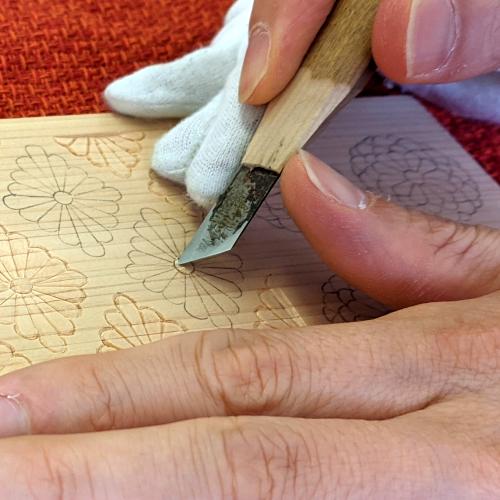

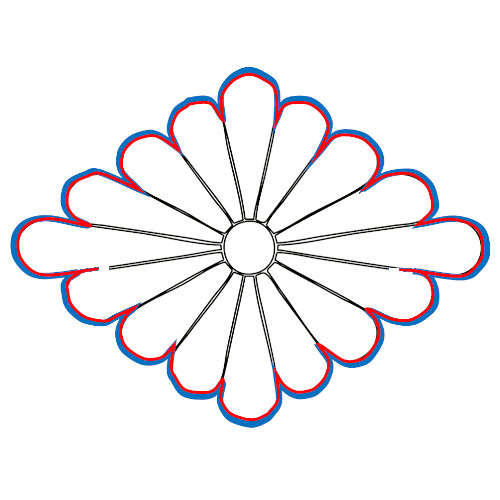
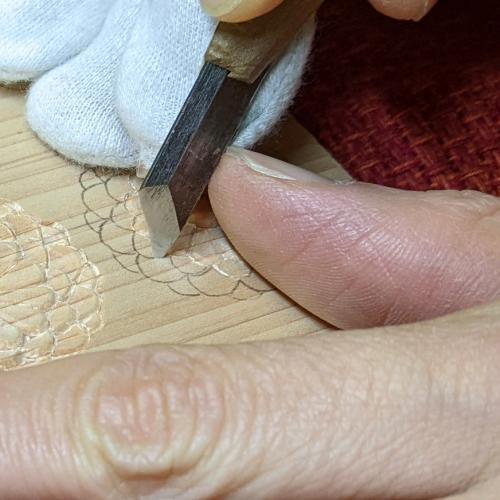
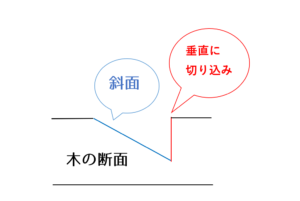
下図の赤線の部分にキワ刀で切り込みを入れ、その切り込みと交わるように青線の部分にキワ刀で斜面を彫ります。
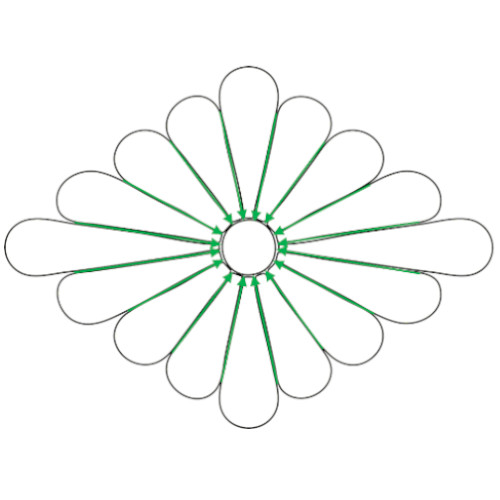
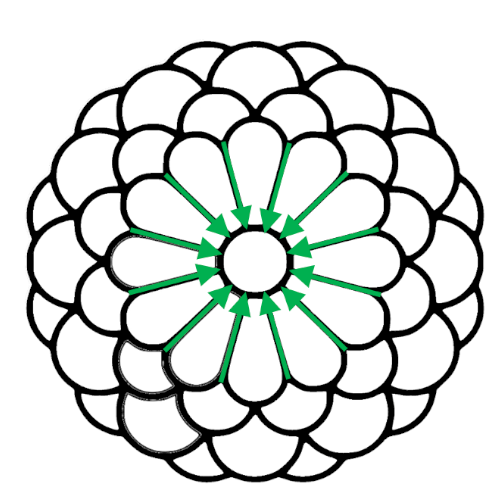
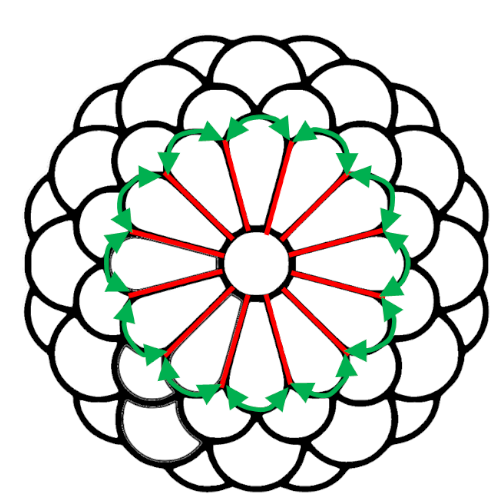
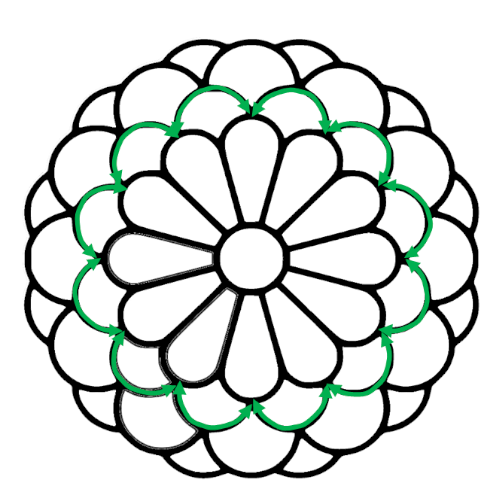
下図の緑線は矢印の方に向かうにつれて次第に深くなるようにキワ刀で切り込みを入れます。
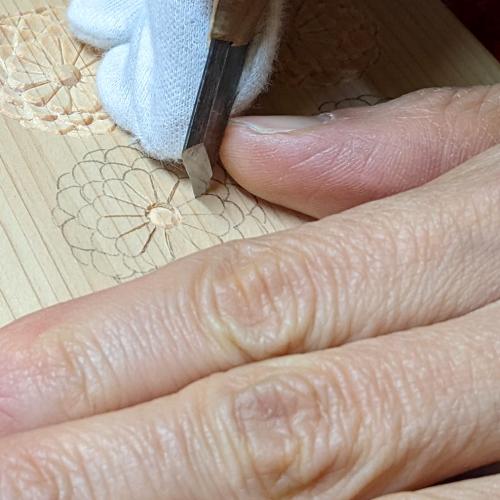
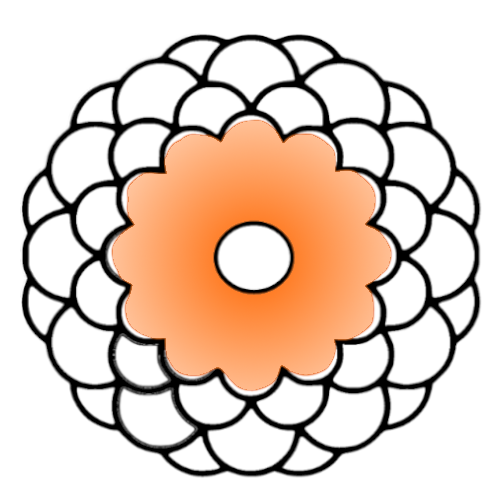
下図のオレンジ色の部分は色が濃くなる方が深くなるように(中央に向かうにつれて深く)浅丸刀(6㎜)で彫っていきます。
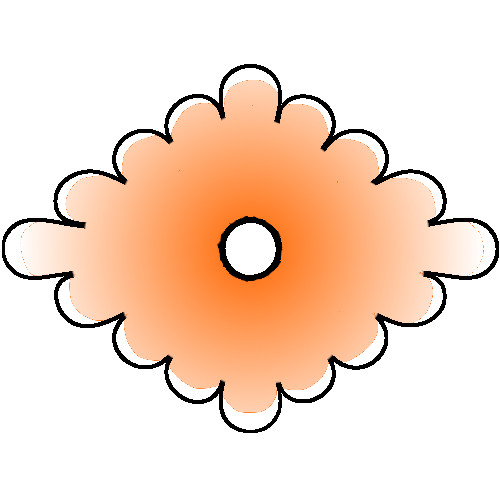
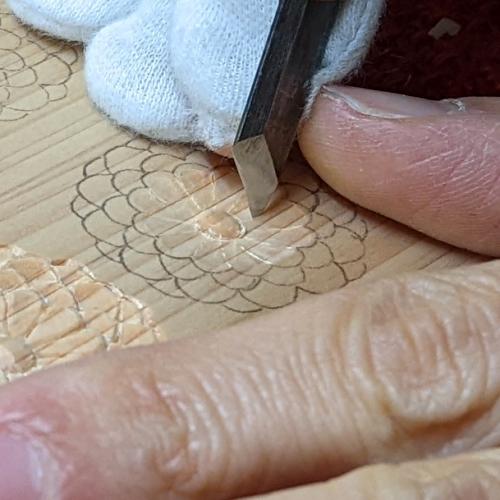
先ほど入れたキワ刀の切り込みが消えている箇所もあるので、一定の深さで切り込みを入れなおします。
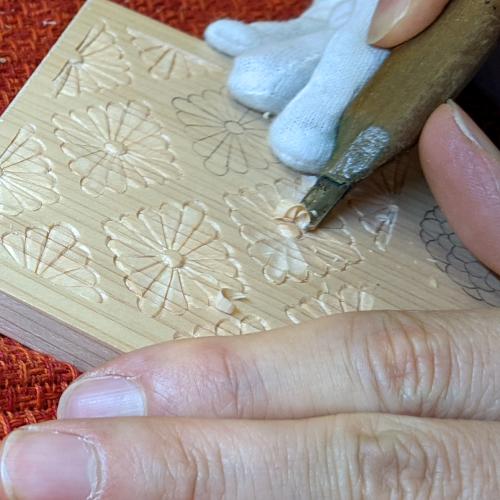
下図の青色の部分(花びらの角)を丸めていきます(または斜面に落とすだけでも構いません)。またこれを各花びらに対してほどこしていきます。

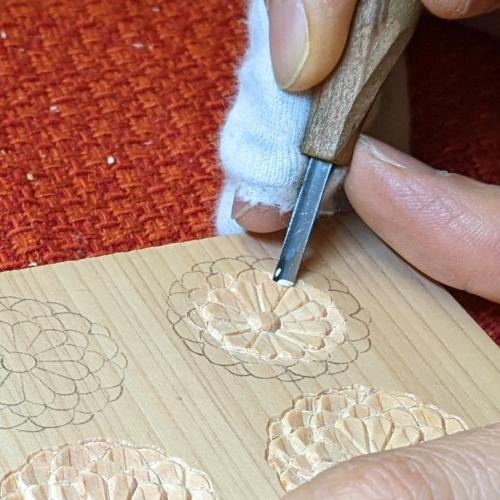
八重菊(やえぎく) の彫り方
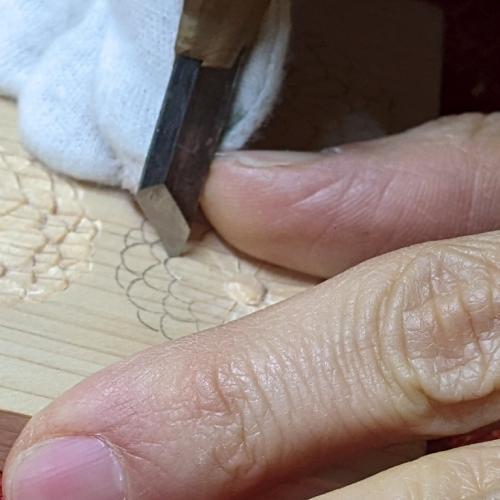
下図の赤線にキワ刀で切り込みを入れ、青色の部分は赤線に交わるようにキワ刀で角を丸めます(菊菱と同様)。

下図の緑色線は矢印に向かうにつれて次第に深くなるようにキワ刀で切り込みを入れます(菊菱と同様)。
下図のオレンジ色の部分は、色が濃い方が深くなるように(中央に向かうにつれて深く)浅丸刀(6㎜)で彫っていきます(菊菱と同様)。
下図の赤色線の部分は一定の深さで切り込みを入れなおし、緑色線は矢印に向かうにつれて次第に深くなるようにキワ刀で切り込みを入れます。
下図の青色の部分(花びらの角)を丸めていきます(または斜面に落とすだけでも構いません)。またこれを同じ形の各花びらに対してほどこしていきます。

下図の緑色線は矢印に向かうにつれて次第に深くなるようにキワ刀で切り込みを入れます。
下図のオレンジ色の部分は、色が濃い方が深くなるように浅丸刀(6㎜)でお皿状に(中央に向かうにつれて深く)彫っていきます。

下図の緑の部分は、色が濃い方が深くなるように(中央に向かうにつれて深く)浅丸刀(3㎜)で彫っていきます。

下図の赤色線の部分は一定の深さで切り込みを入れなおし、その切り込みと交わるように青色の部分(花びらの角)にキワ刀で斜面を彫ります。
残りの外側にある花びらも同様に彫っていきます。