
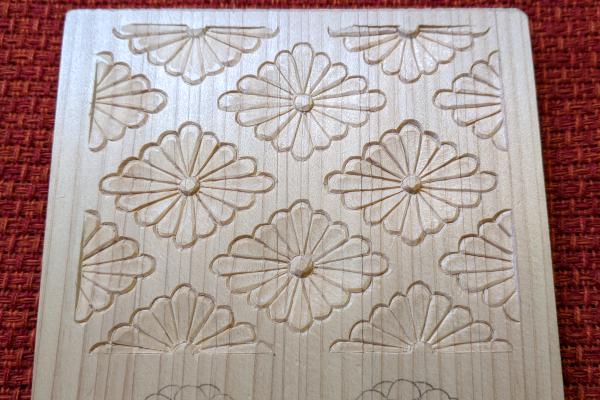
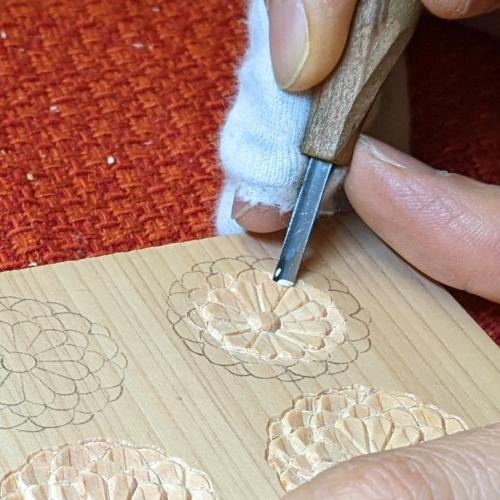
How to carve patterns Part 13 ~Kikubishi and Yaegiku~
This time, I explain how to carve Kikubishi and Yaegiku.
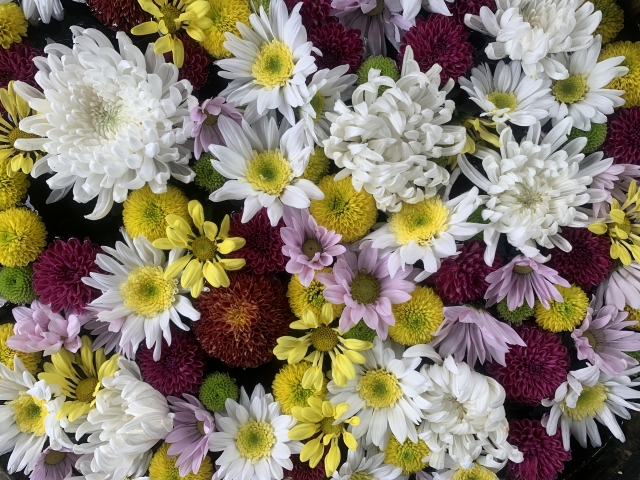
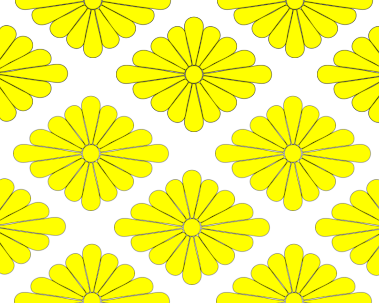
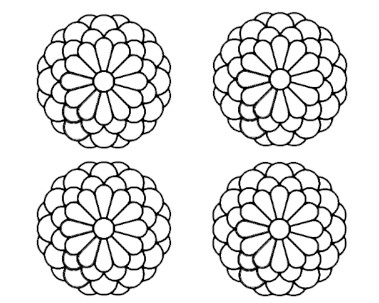
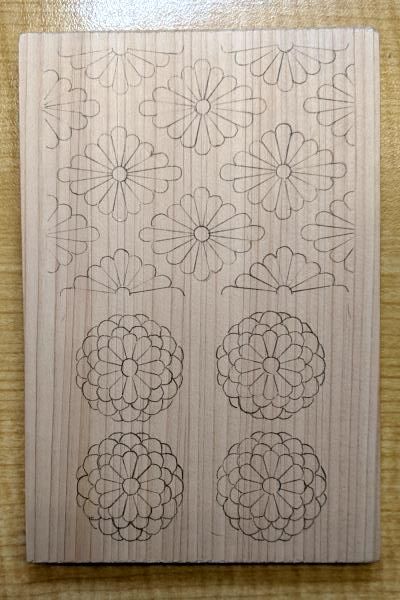
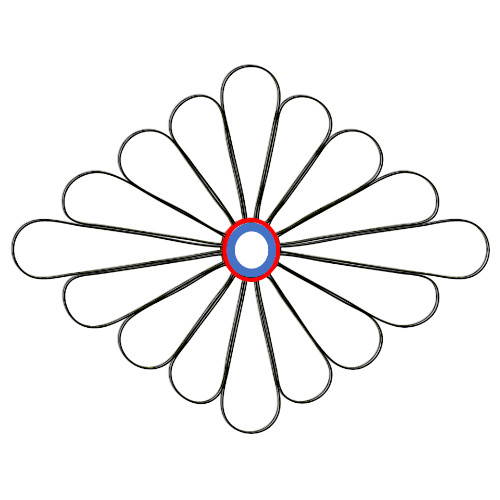
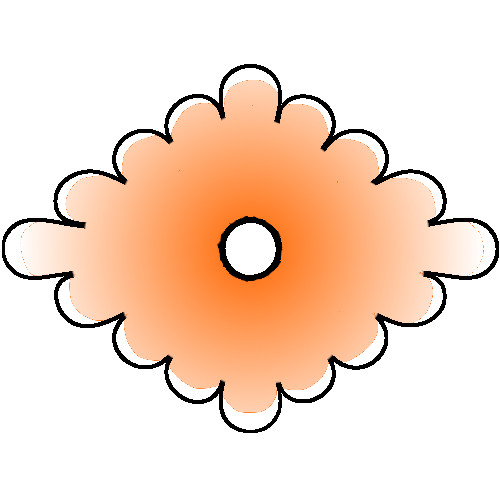
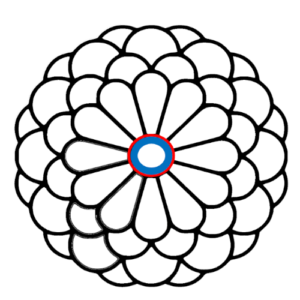
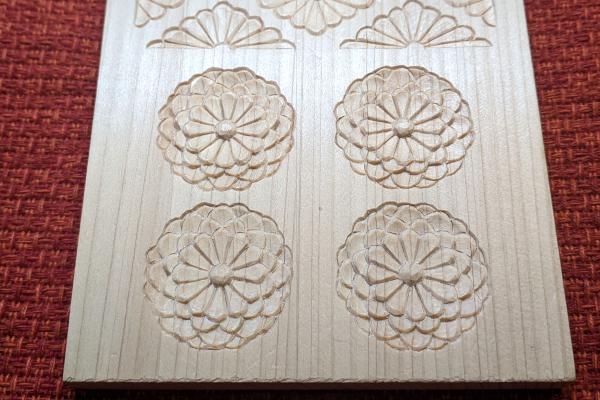
"Kikubishi" is a diamond-shaped chrysanthemum flower, and "Yaegiku" is a double-flowered chrysanthemum with many petals stacked on top of each other.
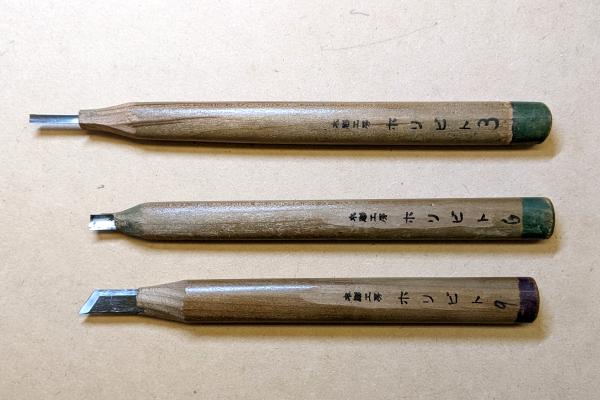
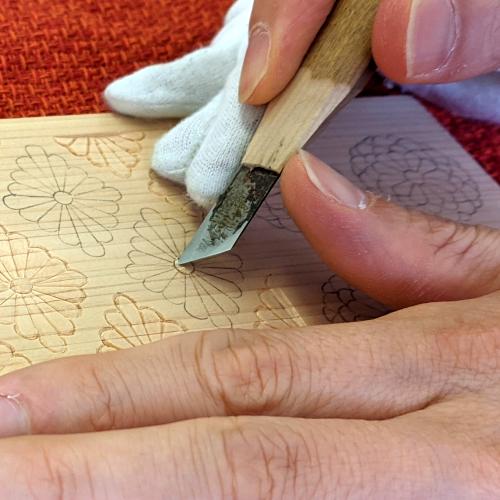
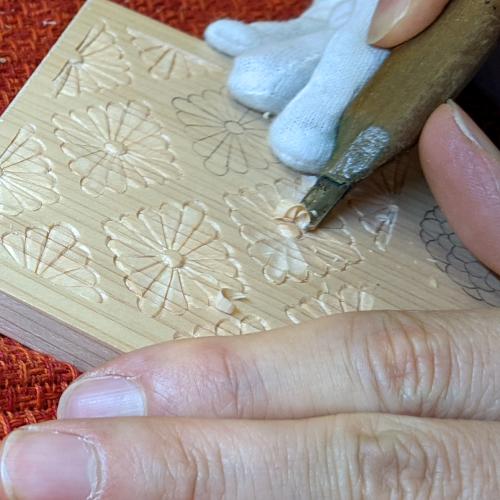
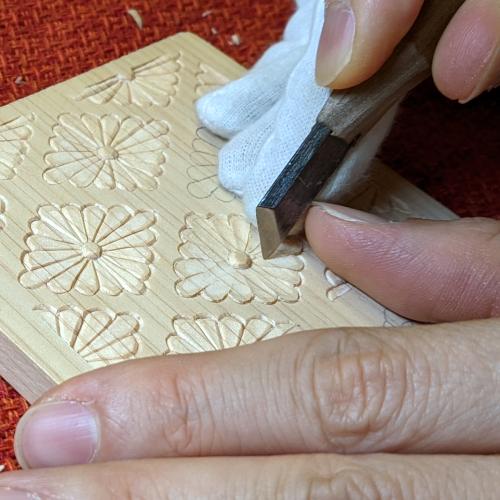
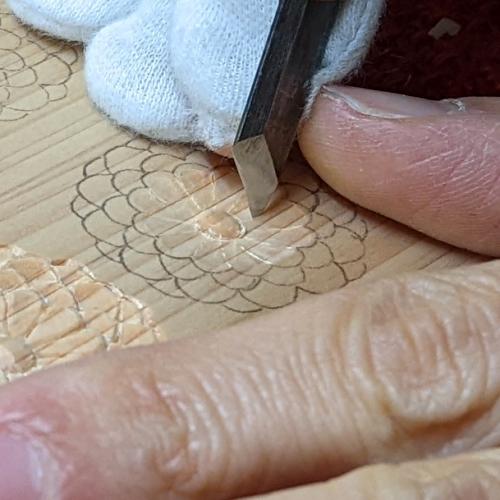
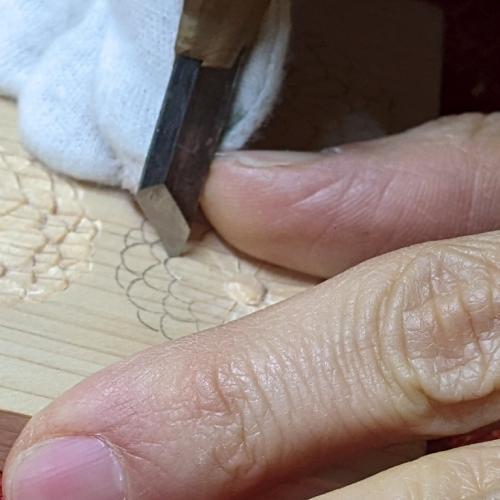
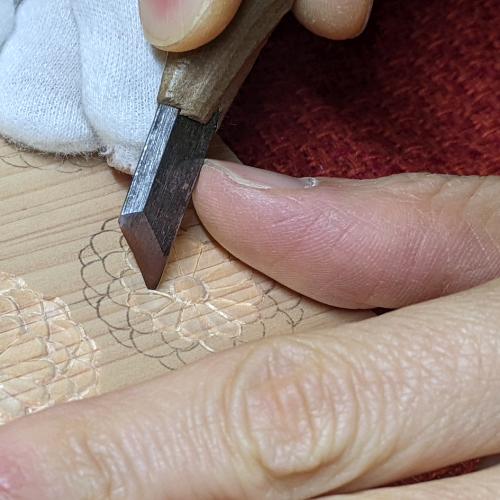
The three chisels used were a 9mm sharp chisel, a 6mm shallow round chisel, and a 3mm shallow round chisel.
Preparation
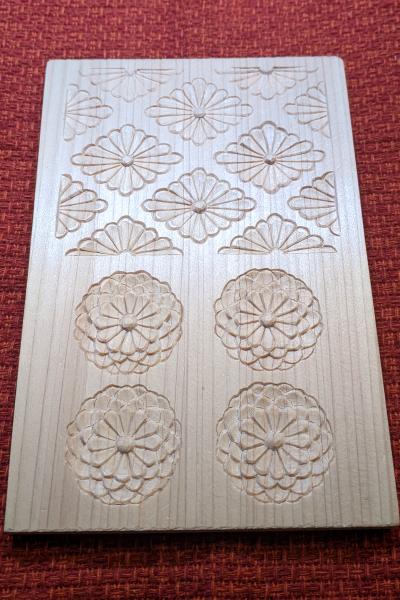
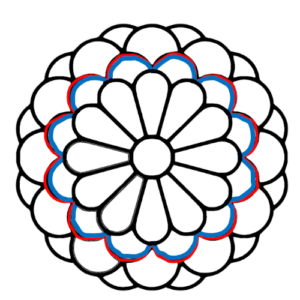
Use carbon paper to trace Kikubishi and Yaegiku onto a postcard-sized wooden board. Please use the sketches , which can be downloaded from here (Kikubishi and Yaegiku PDF) .
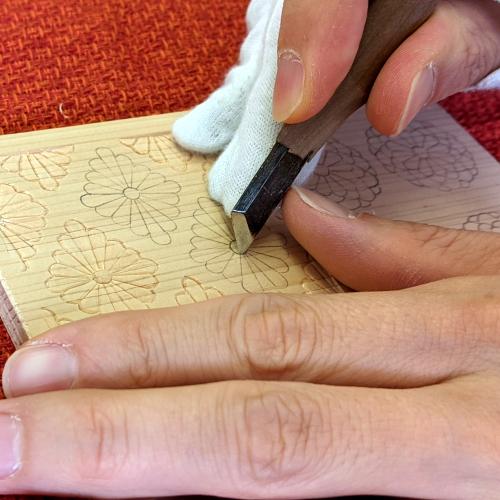
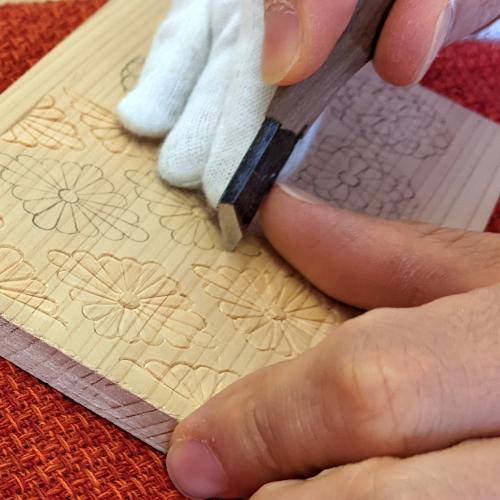
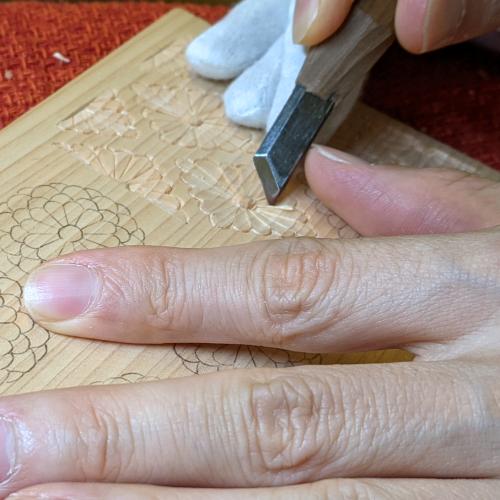
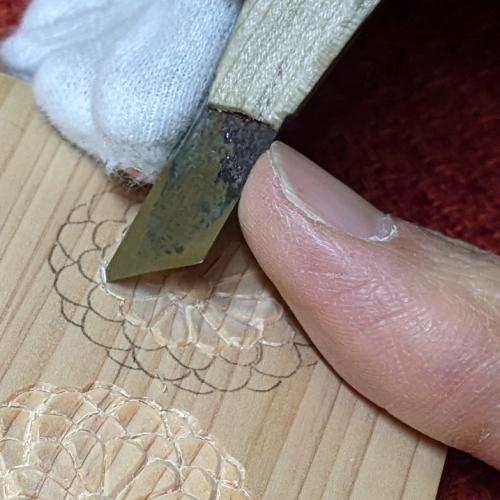
How to carve Kikubishi
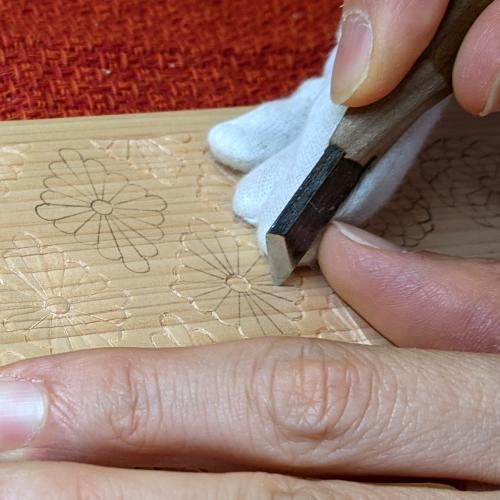
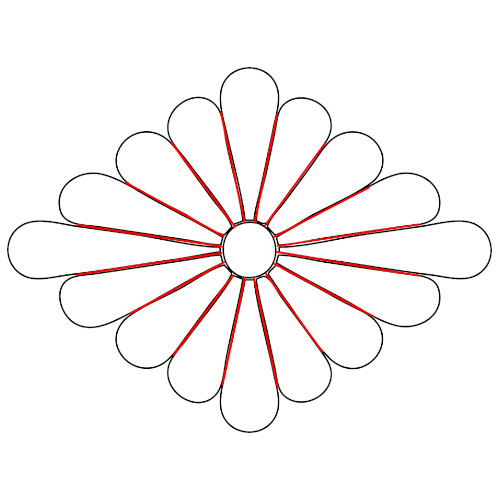
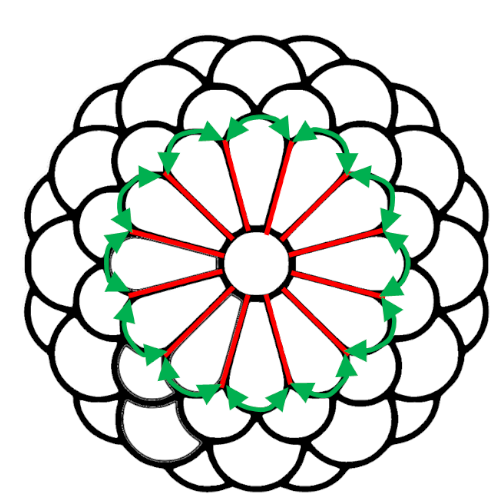
First, make a cut in the red line in the image below using the sharp chisel.
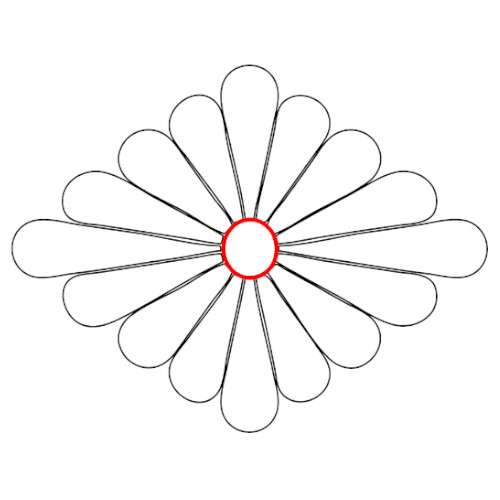
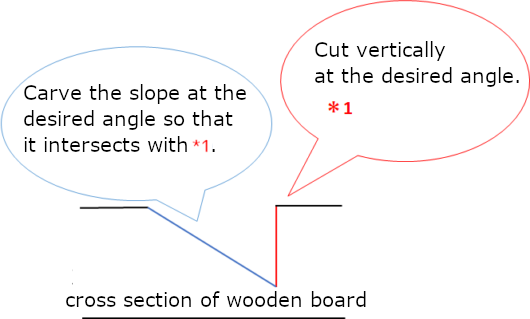
Make a cut with the sharp chisel in the red line in the diagram below, and use it to carve a slope on the blue line so that it intersects with the cut.

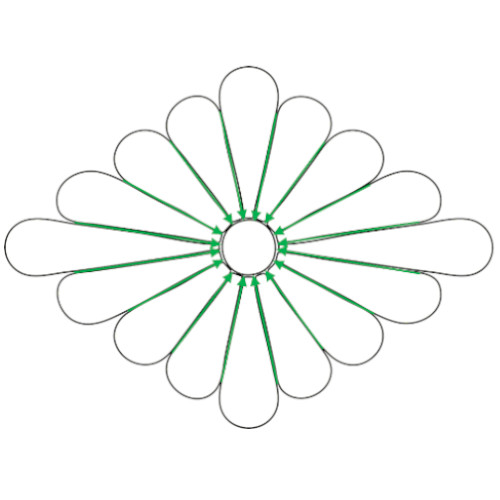
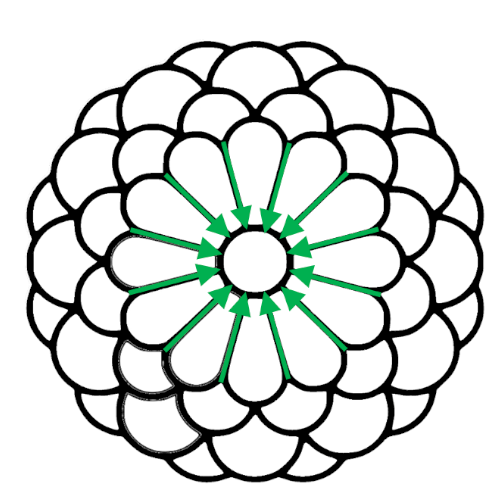
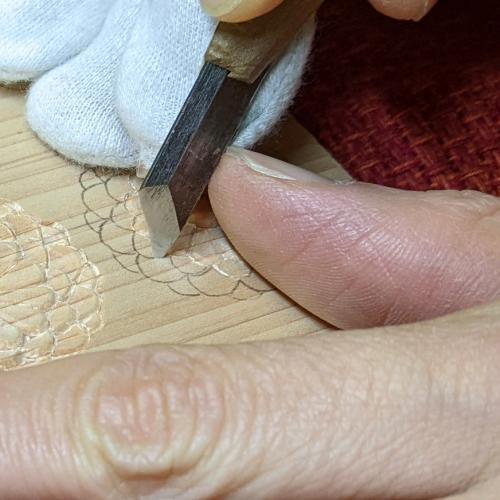
Cut the green line in the image below with the sharp chisel so that it gradually becomes deeper as it goes toward the arrow.
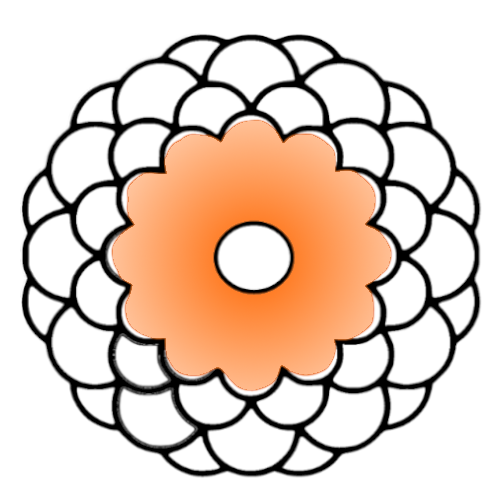
Carve the orange part in the image below with the shallow round chisel (6mm) so that the darker the color, the deeper it becomes (deeper towards the center).
Carve the orange part in the image below with the shallow round chisel (6mm) so that the darker the color, the deeper it becomes (deeper towards the center).
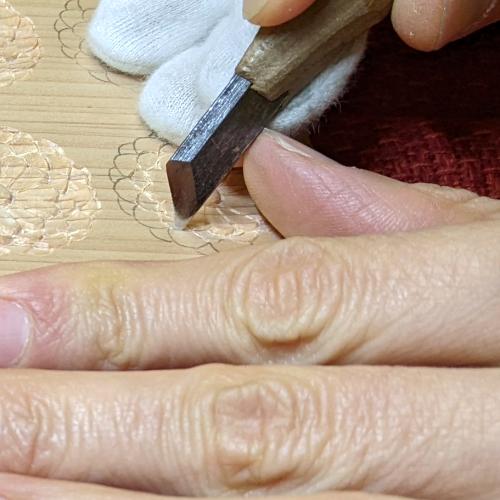
There are some places where the sharp chisel cut you made earlier has disappeared, so make the cut again at a certain depth.
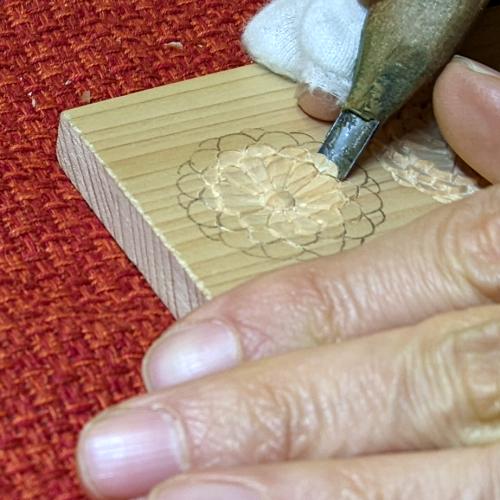
Roll up the blue part (corner of the petal) in the image below (or you can just drop it on the slope). Apply this to each petal again.

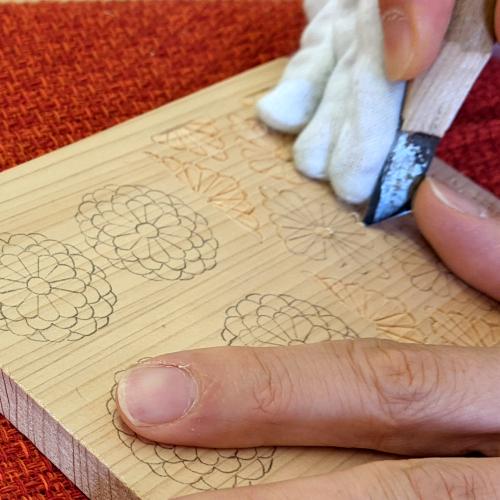
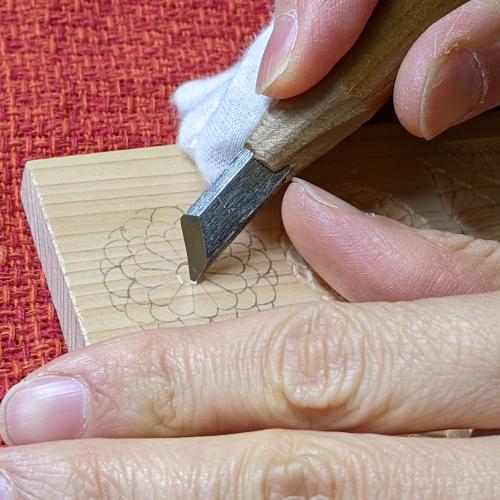
How to carve Yaegiku
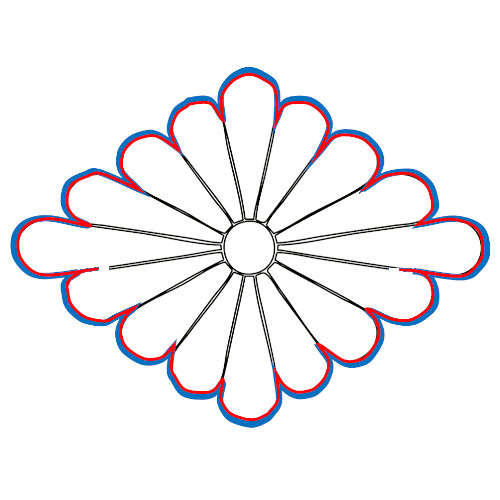
Make a cut on the red line shown below with the sharp chisel and use it to round off the corners of the blue part so that they intersect with the red line (same as Kikubishi).

The green line in the image below is cut with the sharp chisel so that it gradually becomes deeper as it goes towards the arrow (same as Kikubishi).
The orange part in the image below is carved with the shallow round chisel (6mm) so that the darker color gets deeper (deeper towards the center) (same as the Kikubishi).
In the image below, make a new cut at a certain depth on the red line, and make a cut on the green line with the sharp sword so that it gradually becomes deeper as you move towards the arrow.
Roll up the blue part (corner of the petal) in the image below (or you can just drop it on the slope). Apply this to each petal of the same shape.

The green line in the figure below is cut with the sharp sword so that it gradually becomes deeper as it goes toward the arrow.
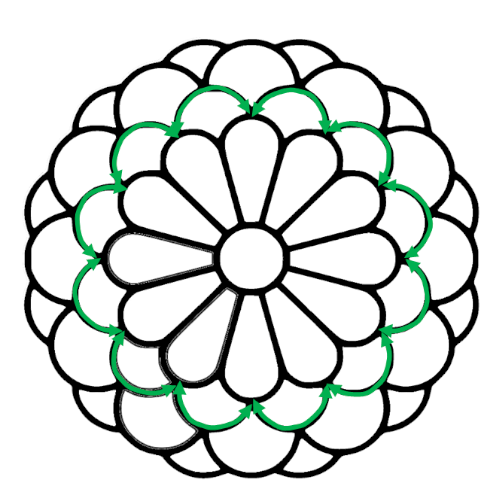
The orange part in the image below is carved in a plate shape (deeper towards the center) using a shallow round chisel (6mm) so that the darker side becomes deeper.

Carve the green part in the image below with a shallow round chisel (3mm) so that the darker color gets deeper (deeper towards the center).

In the red line in the image below, make a cut at a certain depth, and use the sharp chisel to carve a slope on the blue part (corner of the petal) so that it intersects with the cut.

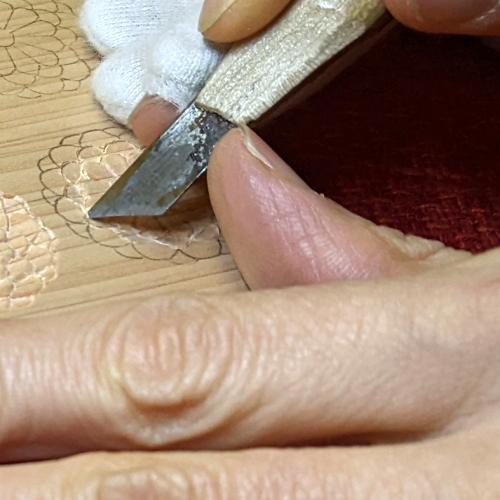
Carve the remaining outer petals in the same way.
How to carve patterns
- From the lattice to the scales
- Raimon
- Asanoha and Sayagata
- Seigaiha and Sippo-Tsunagi
- Higaki and Kumikikko
- Mimasu-Tsunagi and Mimasu-Chirashi
- Ryusui
- Bundo-Tsunagi and Tatewaku
- Yamajimon and Misujidate
- Kemanmon and Gobosei
- Chidori and Chidori-Goshi
- Nejiume (Twisted plum)
- Kikubishi and Yaegiku ←Current page displayed
- Ichimatsu and Sankuzushi
- Kikko and Yagasuri
- Clouds
- Waves