
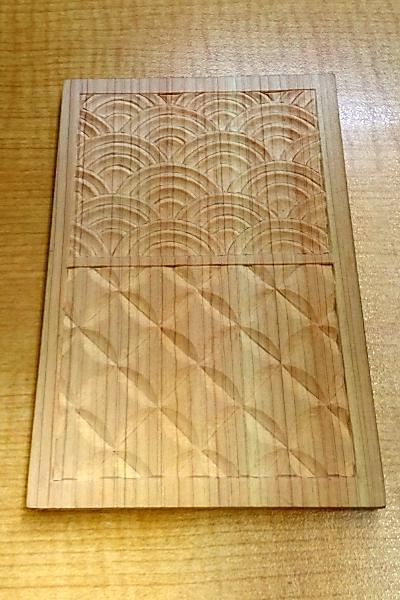
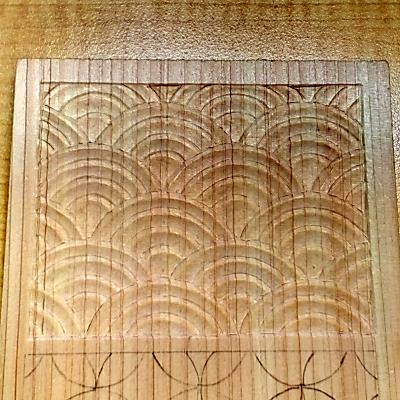
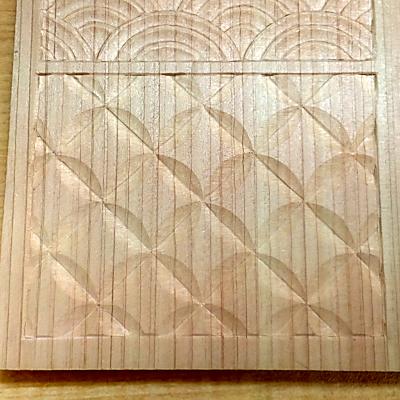
How to carve patterns Part4 ~Seigaiha and Shippo-Tsunagi ~
I explain how to carve "Seigiha" and "Shippo-Tsunagi".
Up until now, I have often used a triangular chisel, a flat chisel, and a sharp chisel, but this time, a shallow round chisel be useful.
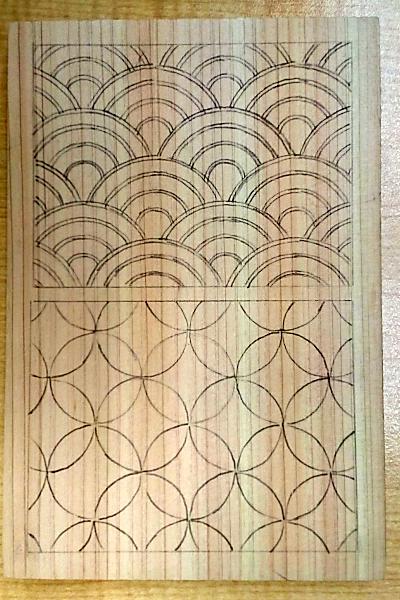
Preparation
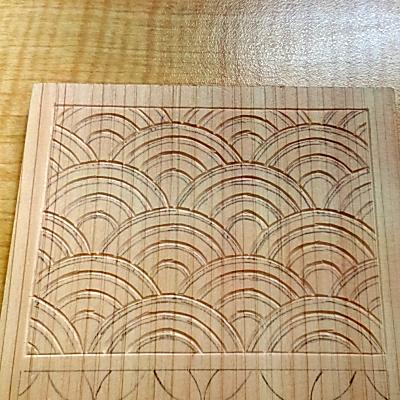
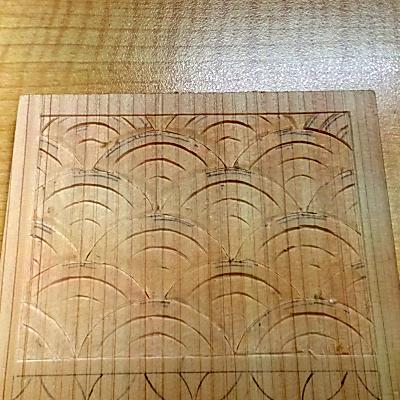
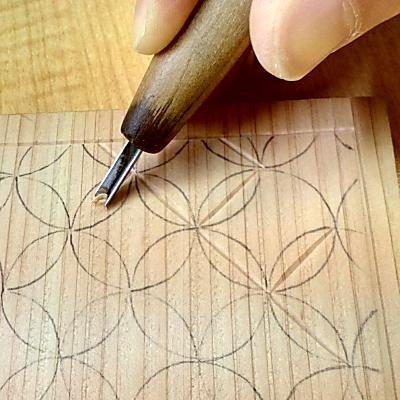
Use carbon paper to trace Seigaiha and Shippo-Tsunagi onto a postcard-sized wooden board. The sketch can be downloaded from here (PDF of Seimiha and Shippo Tsunagi) , so please use it.
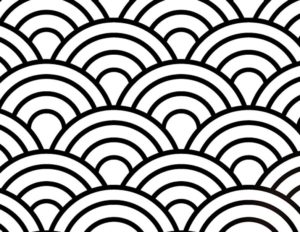
1. How to carve Seigaiha
First, use a triangular chisel to carve the area above the black line in the sketch.
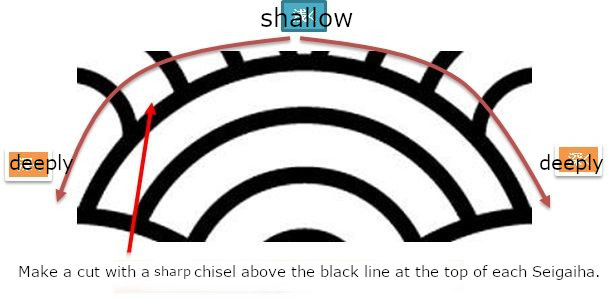
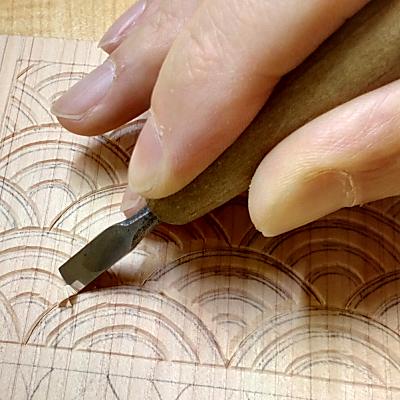
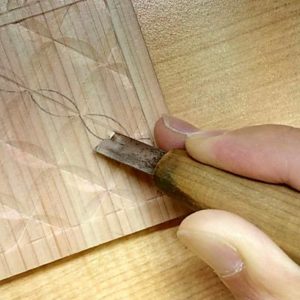
Next, use a sharp chisel to make cuts as shown in the image below. Make it deeper towards the ends.

Carve the slope with a flat chisel so that it intersects with the cut point.
Next, use a flat chisel to create height differences as shown in the image below.
The lines of each wave have become thinner, so use a triangular chisel to re-carve the lines.

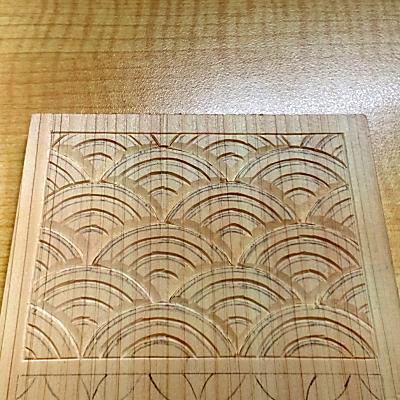
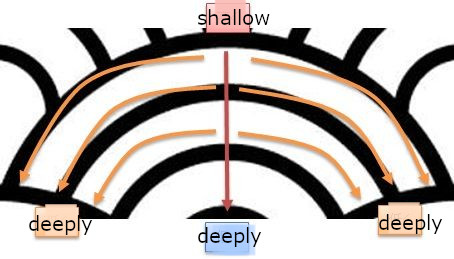
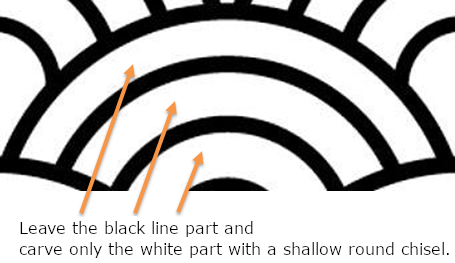
Carve the waves using shallow circles as shown in the image below.
After carving, make sure it doesn't become uneven.
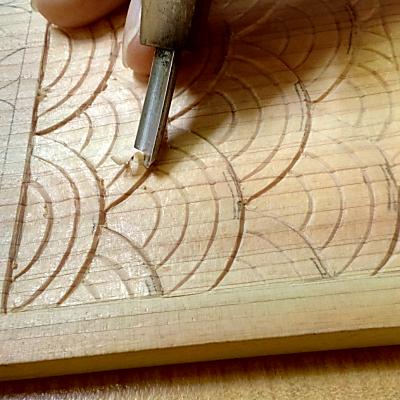
Use a flat chisel, a sharp chisel, an shallow round chisel, and a triangular chisel to finish the work neatly so that there are no hangnails or uncut edges.
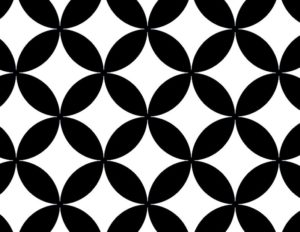
2. How to carve Shippo-Tsunagi
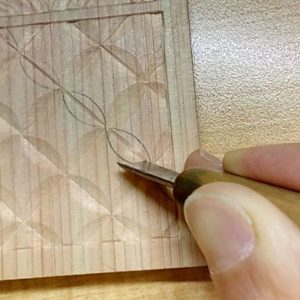
First, use a triangular chisel to carve lines connecting the intersections of adjacent circles.
Carve a vertically long semicircle-like shape with a shallow round chisel in half, starting from the line-carved area. At this time, by changing the horizontal angle of a shallow round chisel, thin lines and thick lines are carved.
Just like the Seigaiha, after carving, make sure that the surface is not uneven and has a nice curved surface.
How to carve patterns
- From the lattice to the scales
- Raimon
- Asanoha and Sayagata
- Seigaiha and Sippo-Tsunagi ←Current page displayed
- Higaki and Kumikikko
- Mimasu-Tsunagi and Mimasu-Chirashi
- Ryusui
- Bundo-Tsunagi and Tatewaku
- Yamajimon and Misujidate
- Kemanmon and Gobosei
- Chidori and Chidori-Goshi
- Nejiume (Twisted plum)
- Kikubishi and Yaegiku
- Ichimatsu and Sankuzushi
- Kikko and Yagasuri
- Clouds
- Waves