
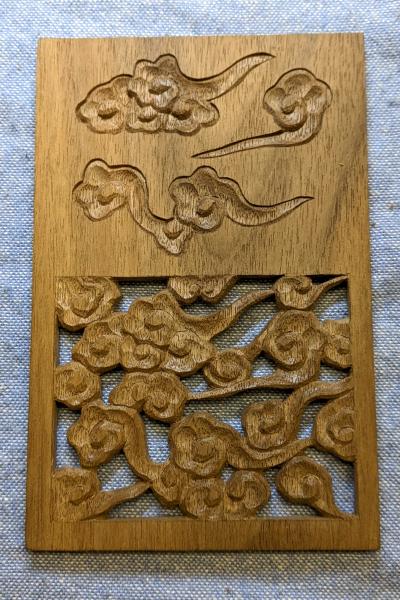
How to carve patterns Part 16 ~Clouds~

This time, I carve the clouds in the next sketch as simply as possible.

If you can do it well, make a hole in a part of the sketch below and carve it later.

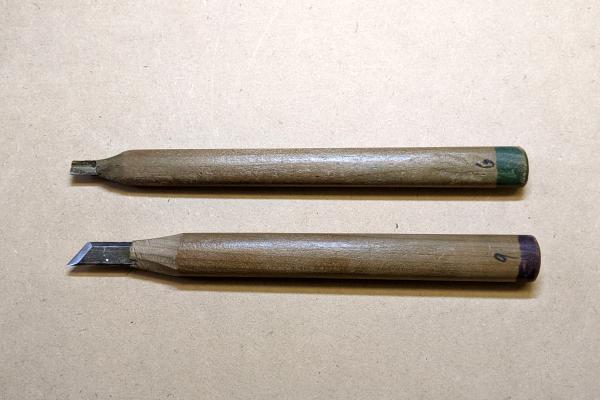
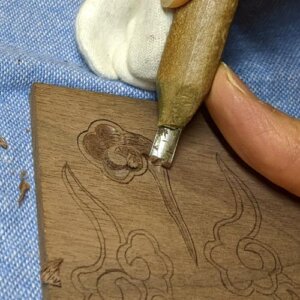
The knives used are a sharp chisel and a shallow round chisel.
Preparation
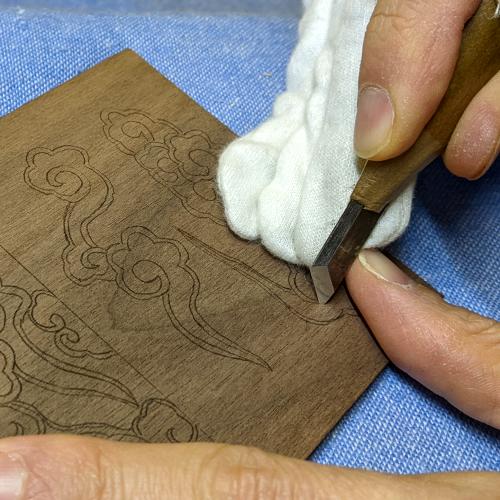
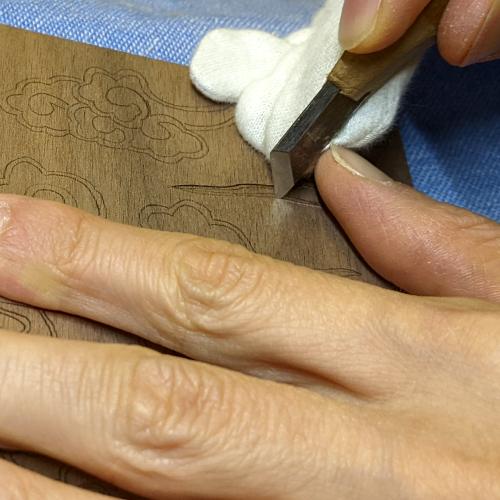
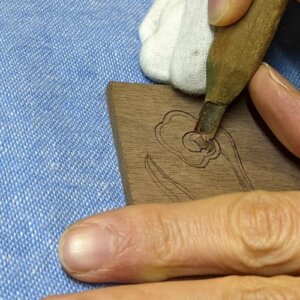
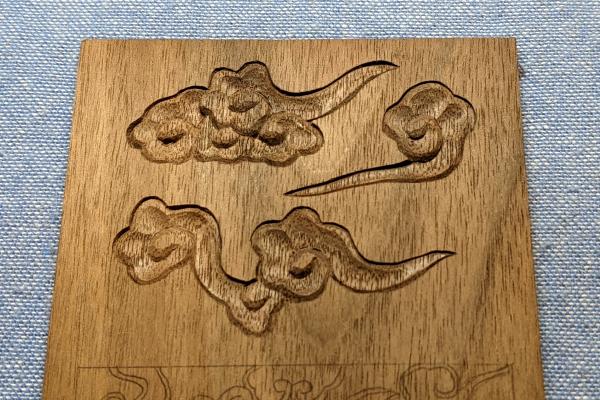
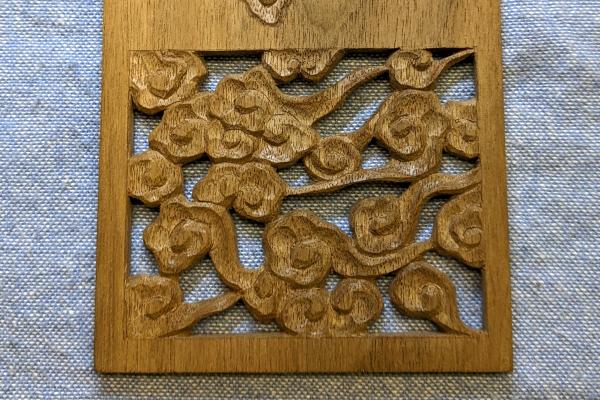
Use carbon paper to trace clouds onto a postcard-sized wooden board (5mm thick). The sketch can be downloaded from here (the latest version of cloud PDF) , so please use it.
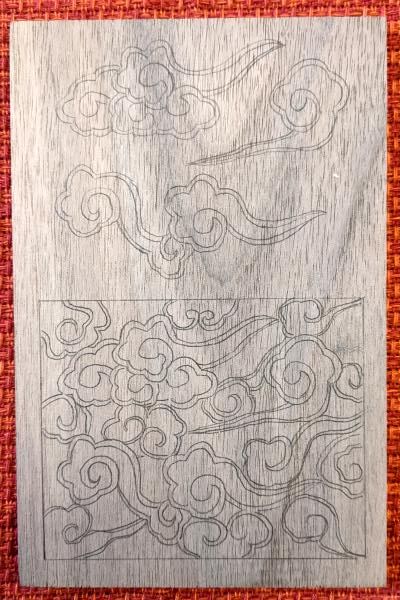
※上画像の木に写した下絵は旧版のため最新版と若干異なります。最新版を木に写してください。
*The sketch on the tree in the image above is an old version and may differ slightly from the latest version. Please copy the latest version onto the wooden board.
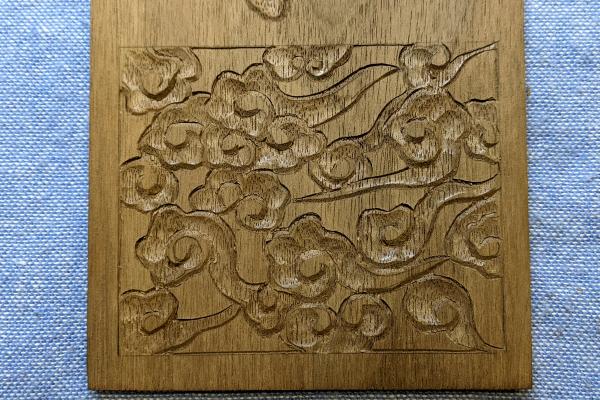
How to carve cloud 1
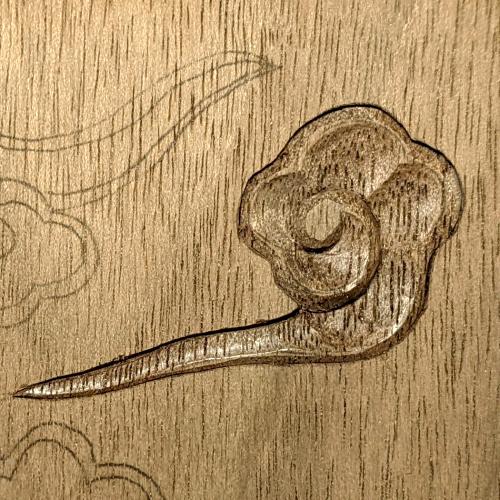
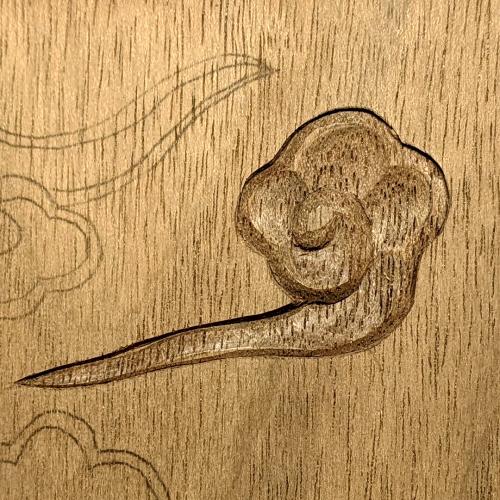
I explain how to carve using the cloud in the upper right corner as an example.
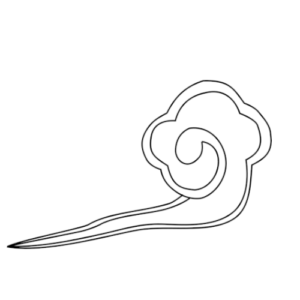
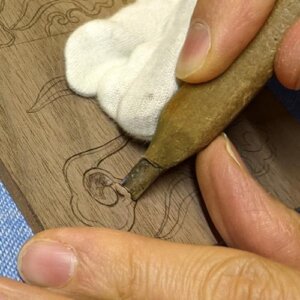
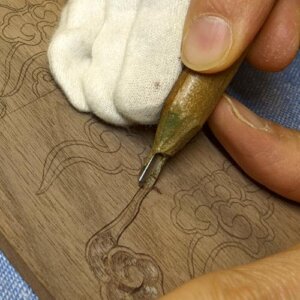
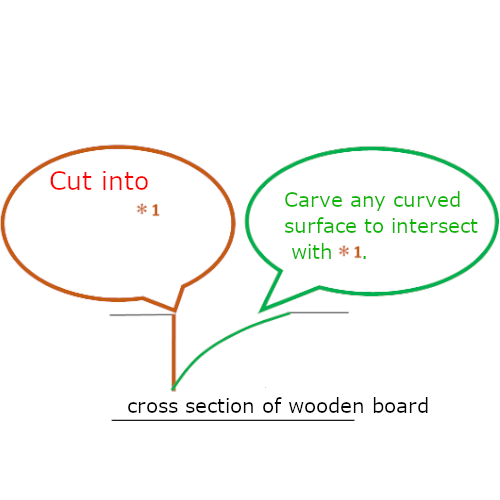
The blue arrow line in the figure below makes a deeper cut in the direction of the arrow, and the red line makes a cut at a constant depth.
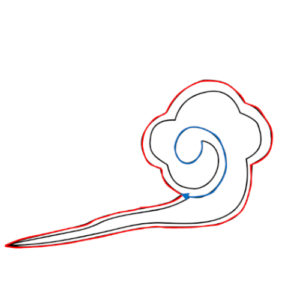
Carve with the shallow round chisel so that the orange part shown below is deep. At that time, make the part that intersects with the blue arrow line you made earlier to match the depth of the cut.
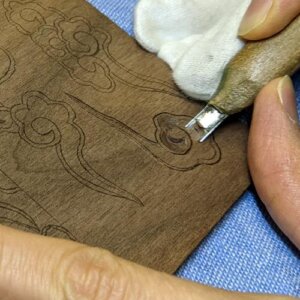

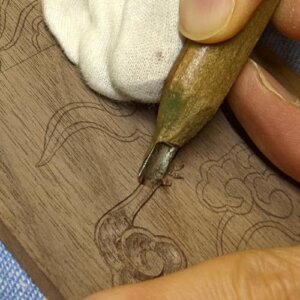
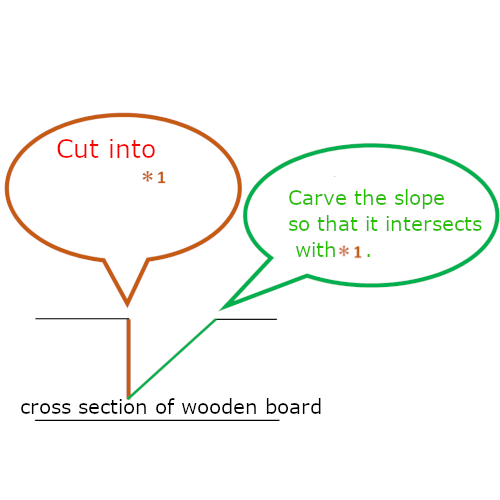
Carve into the slope or curved surface so that the corner of the green part in the image below blends with the cut you made first.

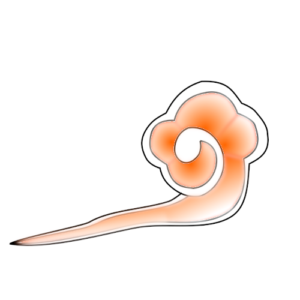
The basic cloud is now created.
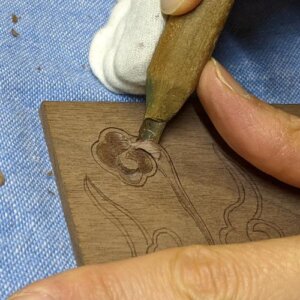
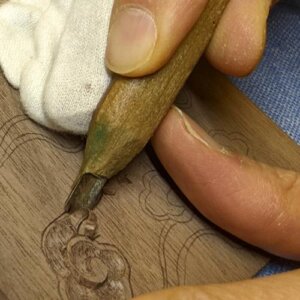
There is no one-size-fits-all answer to how to express clouds, so from now on, you use the carving method explained so far as a reference, and use the sharp chisel and the shallow chisel to vary the depth. Carve while feeling the changes and find your own answer.
For other clouds there is overlap and you may find it a bit complicated. However, if you consider that these are simply front and back positions, it's not that complicated. The problem may be solved by carving deeply the part of the cloud behind the overlap.
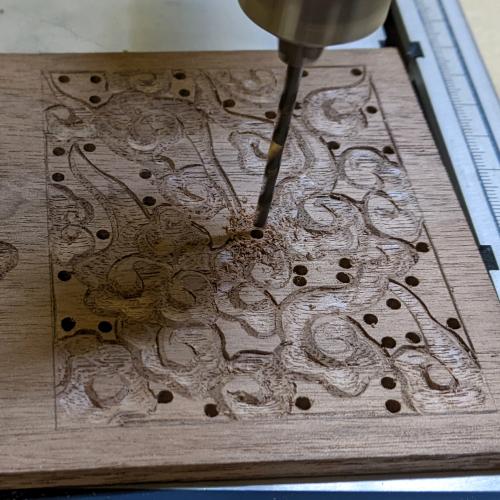
How to carve cloud 2 (openwork carving)
Continue carving in the same way as cloud 1. It doesn't matter if it's a little rough because you recarve it cleanly while adding a three-dimensional effect later.
Drill a hole with an electric drill and cut out everything except the clouds with a scroll saw. If you don't have a scroll saw, use the electric drill to drill as many holes as you can without damaging the cloud.
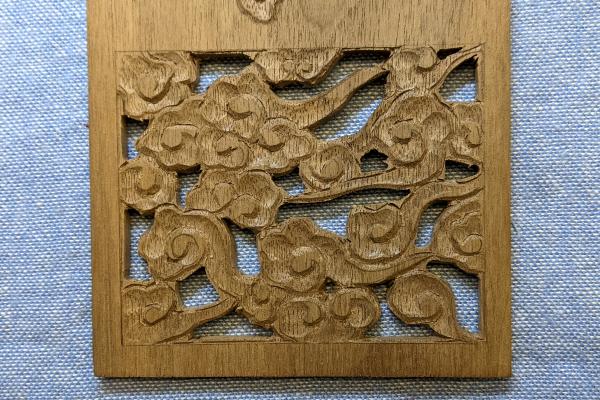
Finish by adding a three-dimensional effect using the sharp chisel and a shallow round chisel.
How to carve patterns
- From the lattice to the scales
- Raimon
- Asanoha and Sayagata
- Seigaiha and Sippo-Tsunagi
- Higaki and Kumikikko
- Mimasu-Tsunagi and Mimasu-Chirashi
- Ryusui
- Bundo-Tsunagi and Tatewaku
- Yamajimon and Misujidate
- Kemanmon and Gobosei
- Chidori and Chidori-Goshi
- Nejiume (Twisted plum)
- Kikubishi and Yaegiku
- Ichimatsu and Sankuzushi
- Kikko and Yagasuri
- Clouds ←Current page displayed
- Waves