How to carve patterns ~ [Supplementary lecture] Controlling lines with a single sharp chisel ~
This is a supplementary lecture on how to control lines with a single sharp chisel when carving patterns .
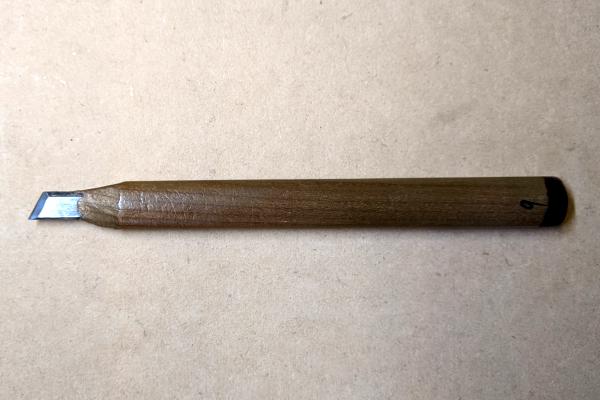
If you can master the sharp chisel, you can carve lines just like writing with a brush.
Points are natural variations of line thickness.
To achieve this, it is important to understand the following three points.
- How to carve basic lines
- Differences in line thickness depending on the depth of the cut
- Differences in line thickness depending on slope angle
Let's explain them step by step.
How to carve basic lines
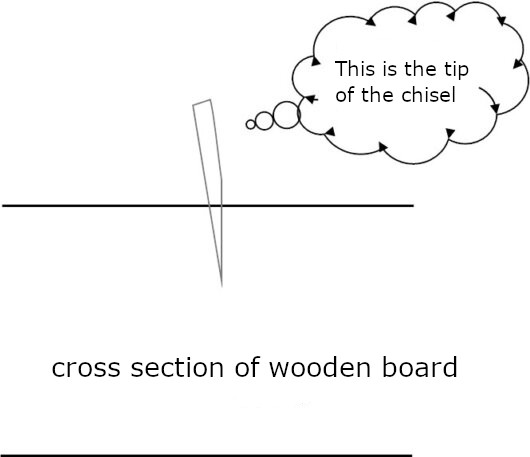
First, when carving a line with a cross section like the one below,
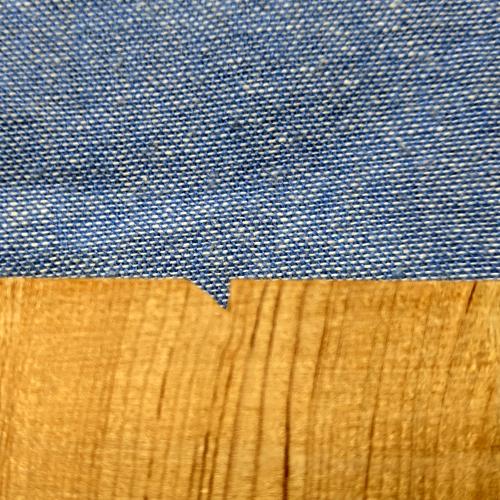
make a cut and carve a slope that intersects with the cut.
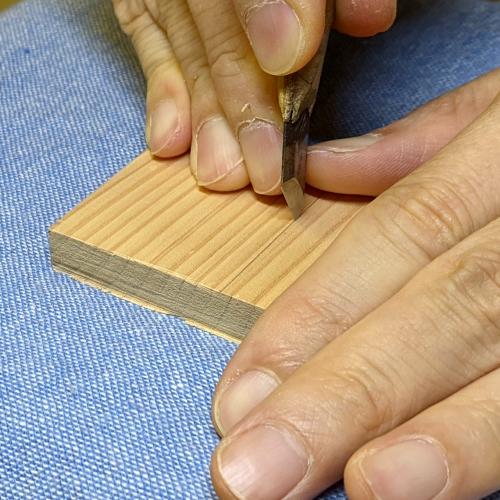
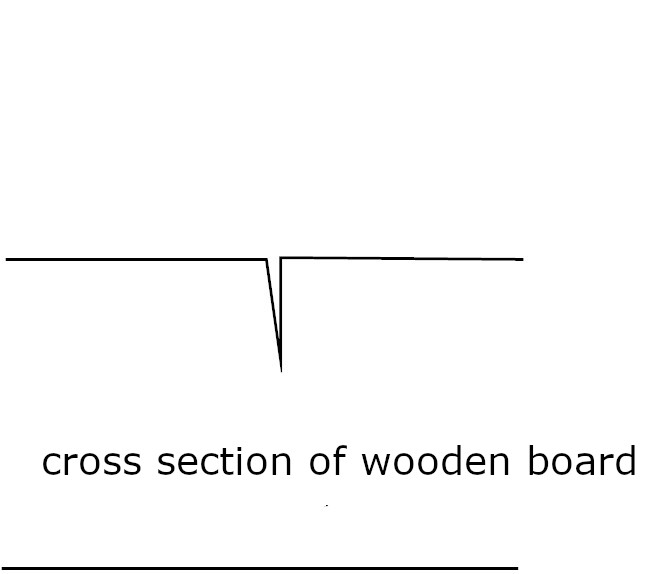
To explain with a diagram, first make a cut.
The cross section of the wooden board leave cut marks as shown below.
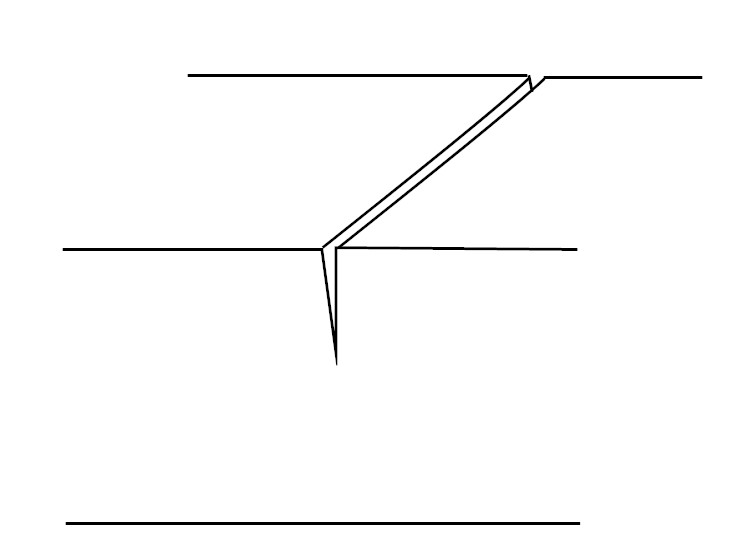
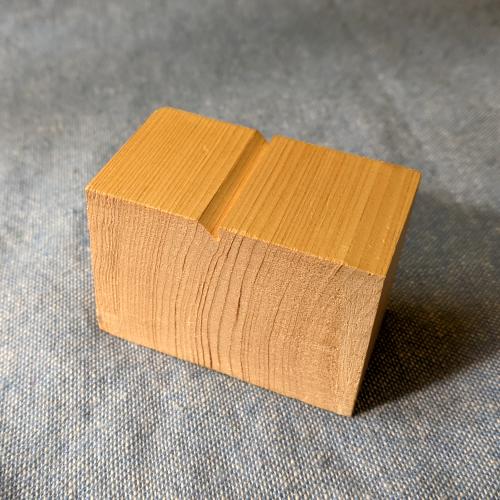
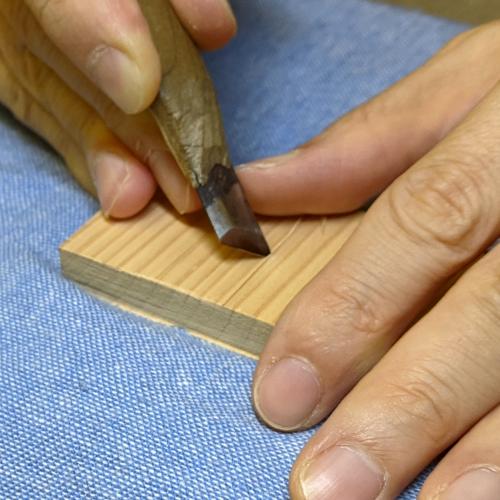
Next, carve a slope with a sharp chisel so that it intersects this cut from a different angle.
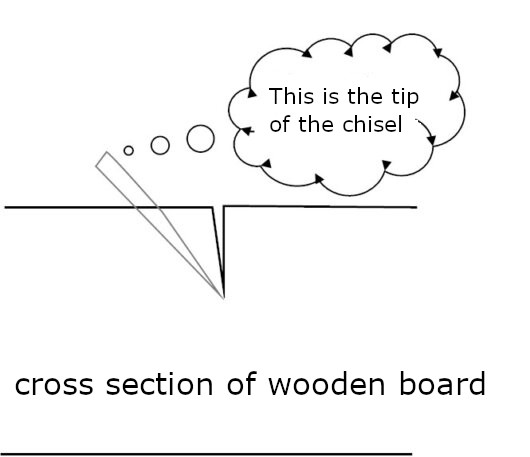
The part of the wood that intersects with the cut you made earlier is removed, allowing you to carve a straight cross section like the one below.
Differences in line thickness depending on the depth of the cut
Next, let's take a look at how the thickness of the line changes as the depth of cut changes.
A and A' in the diagram have different cross-sectional depths. If the depth w is deeper than the depth v , the line thickness a' is thicker than the line thickness a .
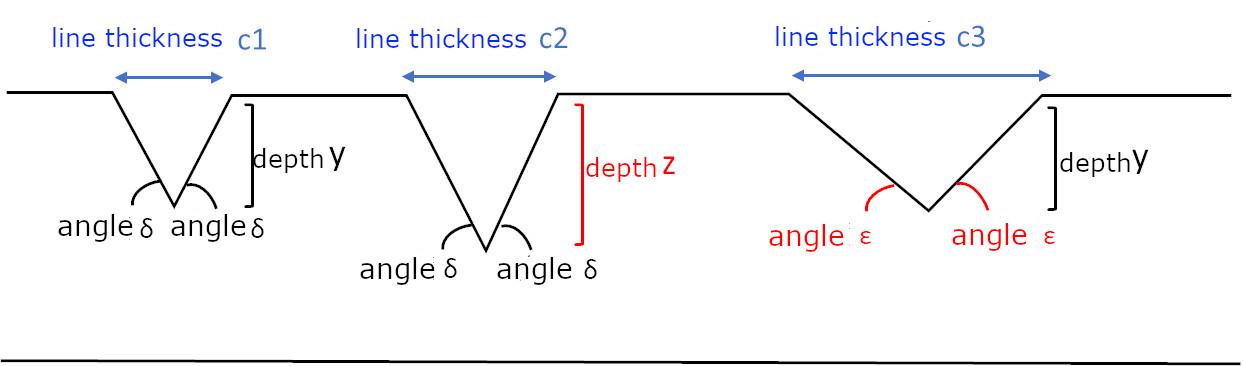
Differences in line thickness depending on slope angle
We also see that the thickness of the line changes as the angle of the slope changes.
B and B' in the diagram have different slope angles. If angle γ is less than angle β , line thickness b' is thicker than line thickness b .
Carving lines as if writing with a brush
So far, I have explained that line thickness changes in the following ways.
- depth of cut
- slope angle
In fact, by combining these, you can express lines just like writing with a brush.
The difficult part is changing the depth and angle as the chisel advances. It is very important to carve while feeling the resistance of the wood. If you do it sloppily, you won't be able to do it.
This time, to simplify the explanation, I only mentioned the thickness of the line. In reality, changing the depth and angle creates a difference in shading, and each appearance is quite different. Try it out on your own and develop your senses.
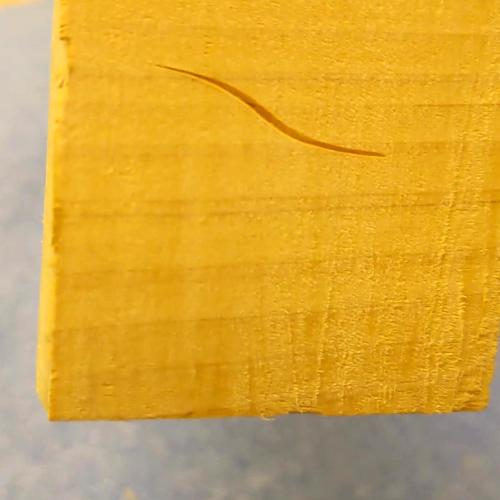
Bonus: Yagenbori has the same idea.
Yagenbori is carving a V-shaped cross section. This also changes the thickness of the line as the depth and angle change.
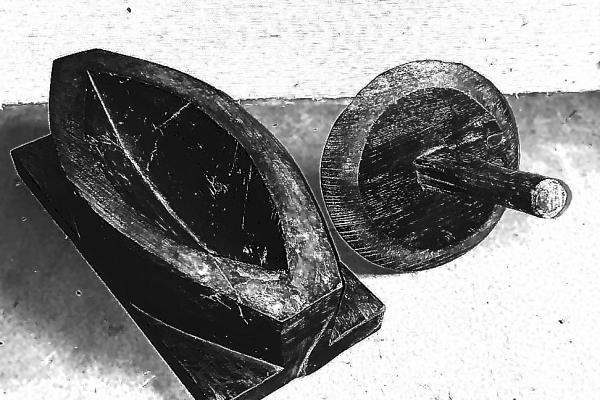
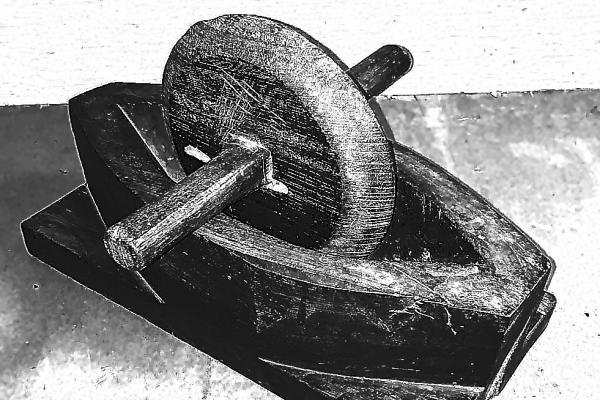
Trivia about Yagenbori ~The origin of the name~
Yagen is a tool used to powderize crude drugs, and consists of a mortar part with a long and narrow boat shape and a V-shaped cross section, and a polishing tool that looks like a flattened abacus ball and a shaft passed through it. It came to be called Yagenbori because it resembles the cross section of a mortar.