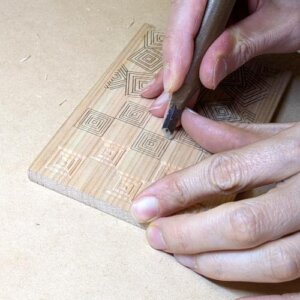
How to carve patterns Part 6 ~Mimasu-Tsunagi and Mimasu-Chirashi~
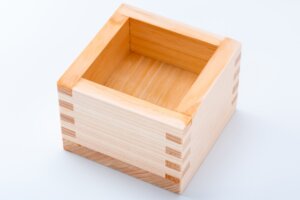
In this lesson, we’ll explore two patterns based on the traditional Japanese “Masu” (枡) — a square wooden measuring cup historically used to measure grains and liquids.
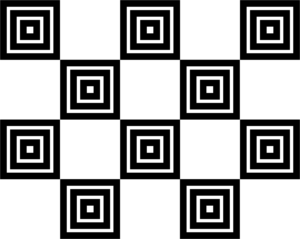
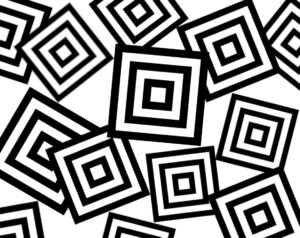
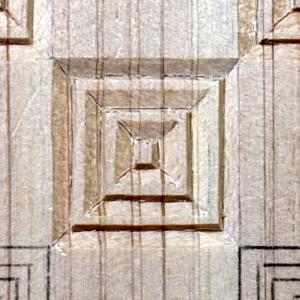
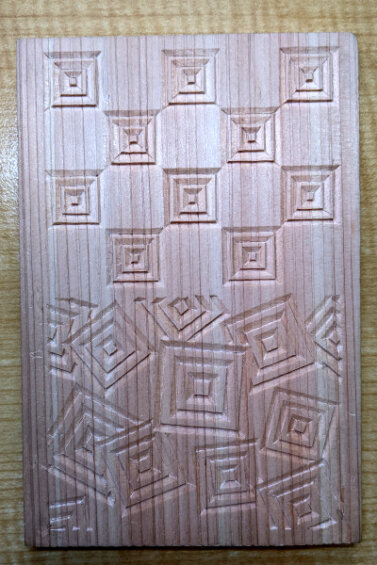
The Mimasu (三枡) pattern consists of three overlapping square Masu boxes (large, medium, and small), viewed from above. This stacked design gives the impression of depth and nested structure.
From this pattern, we’ll carve:
-
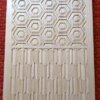
Mimasu-Tsunagi (Linked Mimasu)
-
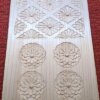
Mimasu-Chirashi (Scattered Mimasu)
Tools Used
-
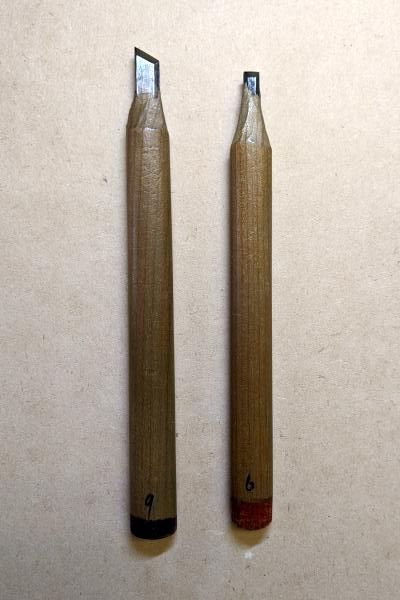
Sharp chisel (Kiwa-gatana)
-
Flat chisel (Hira-gatana)
Preparation
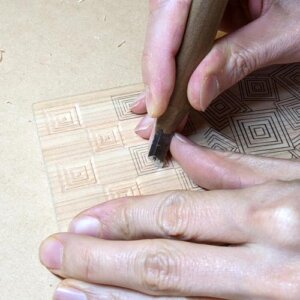
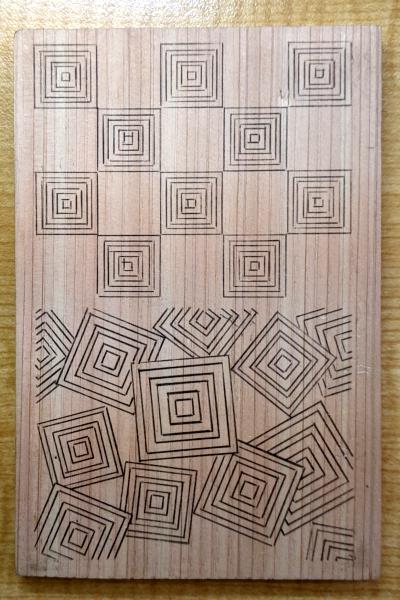
Use carbon paper to trace ``Mimasu-Tsunagi'' and ``Mimasu-Chirashi'' onto a postcard-sized wooden board. The sketches can be downloaded from here (PDF of Mimasu-Tsunagi and Mimasa-Chirashi) , so please use them.
Use carbon paper to trace the Mimasu-Tsunagi and Mimasu-Chirashi designs onto a postcard-sized wooden board.
You can download the sketch here: [
PDF of Mimasu-Tsunagi and Mimasa-Chirashi].
1. How to carve “Mimasu-Tsunagi”
Begin with the Mimasu-Tsunagi, where several Mimasu motifs are connected in a flowing pattern.

Step 1: Incision with Sharp Chisel
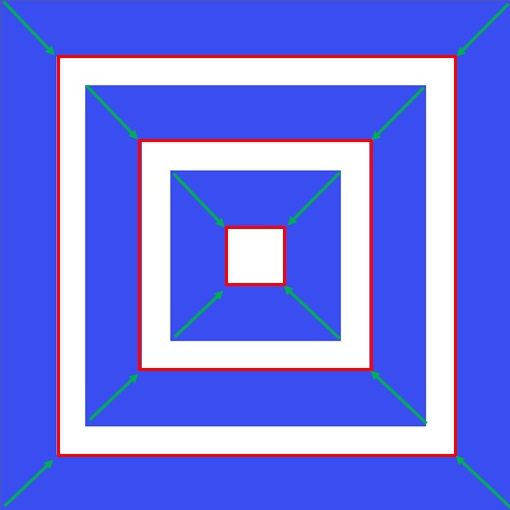
Using a sharp chisel, make incisions along the red lines at a consistent depth.
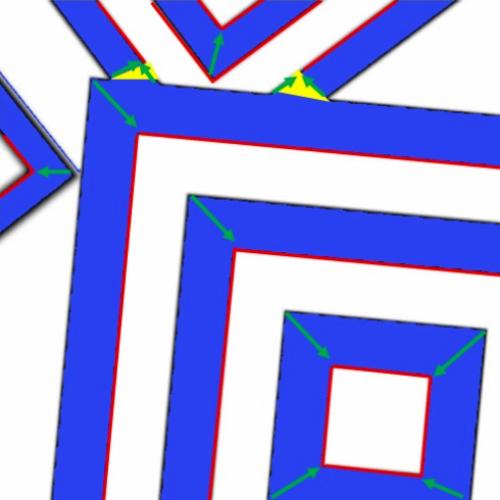
Then, along the green arrowed lines, gradually deepen your cuts in the direction of the arrows to give a sense of dimension.
Step 2: Carving the Slopes
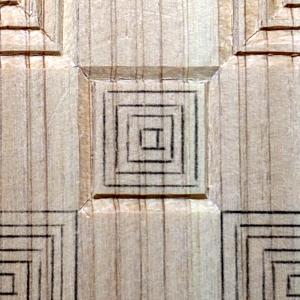
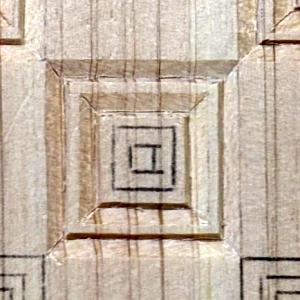
Use either a flat chisel or a sharp chisel to carve the blue-shaded slope areas.
This creates the illusion that each square is set within another.
Step 3: Carving Order
To maintain clean and distinct edges, carve from the outer square inward (large → medium → small).
Each square should be carved carefully so that the guideline sketch fades away, leaving a crisp relief design.
2.How to carve “Mimasu-chirashi”
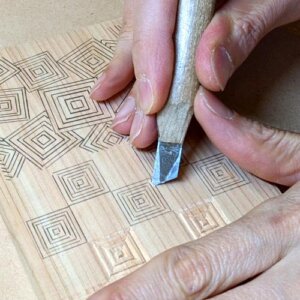
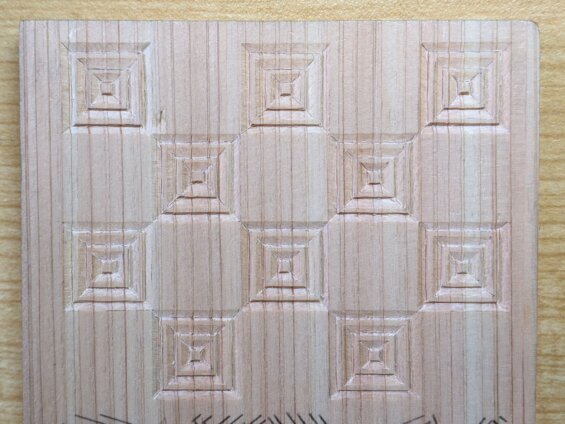
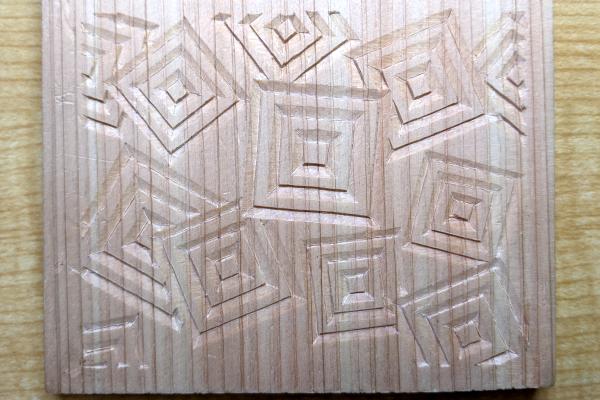
Mimasu-Chirashi uses the same carving method as Mimasu-Tsunagi, but the layout differs — the patterns appear scattered rather than connected.
This adds variation and a more dynamic feel to the composition.
Special Note: Overlapping Areas
In some parts of this design, the squares overlap. To make these intersections look natural:
-
Use the tip of your sharp chisel to carve a triangular surface where the overlapping occurs — like the yellow-highlighted areas in the reference sketch.
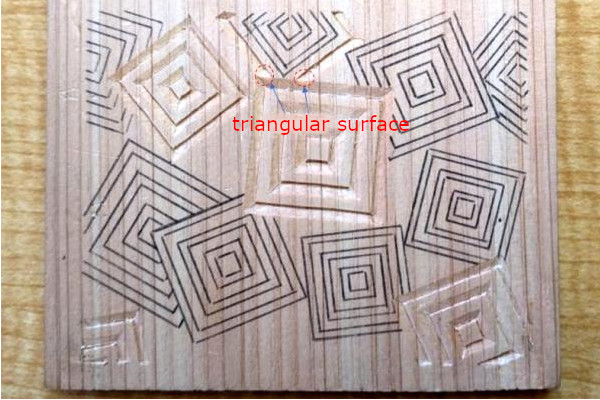
There are several other places in the pattern where triangular slopes will enhance the 3D effect — feel free to observe carefully and carve those at your own discretion.
How to carve patterns
- From the lattice to the scales
- Raimon
- Asanoha and Sayagata
- Seigaiha and Sippo-Tsunagi
- Higaki and Kumikikko
- Mimasu-Tsunagi and Mimasu-Chirashi ←Current page displayed
- Ryusui
- Bundo-Tsunagi and Tatewaku
- Yamajimon and Misujidate
- Kemanmon and Gobosei
- Chidori and Chidori-Goshi
- Nejiume (Twisted plum)
- Kikubishi and Yaegiku
- Ichimatsu and Sankuzushi
- Kikko and Yagasuri
- Clouds
- Waves

