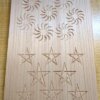
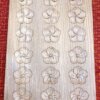
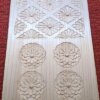
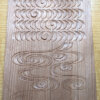
How to carve patterns part 3 ~Asanoha and Sayagata~
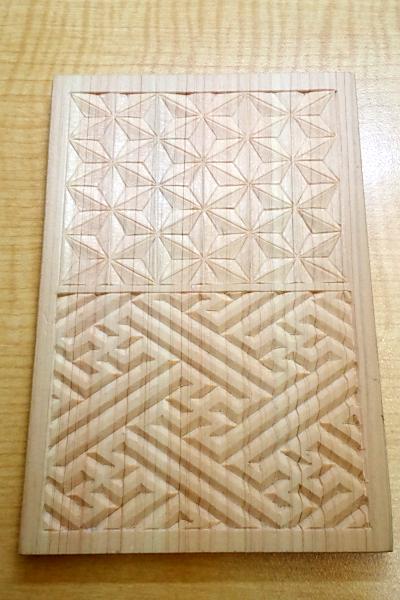
In this tutorial, we’ll learn how to carve two classic geometric patterns:
-
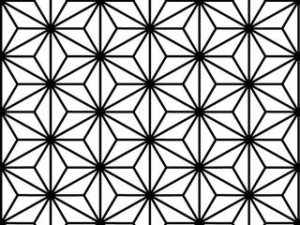
Asanoha (Hemp Leaf)
-
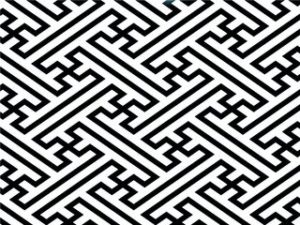
Sayagata (Linked Swastika)
-
Part 1: From the Lattice to the Scales
-
Part 2: Raimon
...you should have no trouble carving these as well.
Preparation
Use carbon paper to trace Asanoha and Sayagata onto a postcard-sized wooden board. The sketches can be downloaded from here (PDF of Asanoha and Sayagata) , so please use them.
Begin by transferring the patterns onto a postcard-sized wooden board using carbon paper.
You can download the sketches here: [PDF of Asanoha and Sayagata].
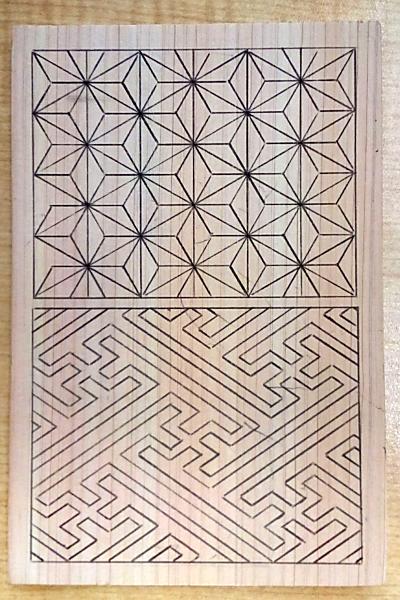
1. How to Carve Asanoha (Hemp Leaf Pattern)
Step 1
Use a triangular chisel to carve the linework of the Asanoha design.

Step 2
Next, use a sharp chisel or a flat chisel to carve the triangular slopes.
This technique is very similar to the one used in the Scale Pattern from Part 1, so I won’t go into detailed steps here.
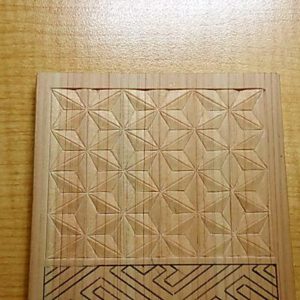
Step 3
Finally, go over the lines again with a triangular chisel to sharpen and refine the pattern.
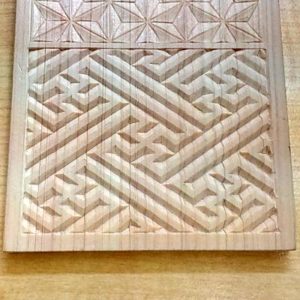
2.How to Carve Sayagata (Linked Swastika Pattern)
The Sayagata pattern is carved using almost the same technique as the "low center" Raimon from Part 2.
Step 1
Begin by using a triangular chisel to carve the indented sections of the pattern.
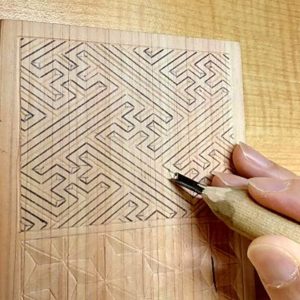
Step 2
Then, carve sloped surfaces to create depth.
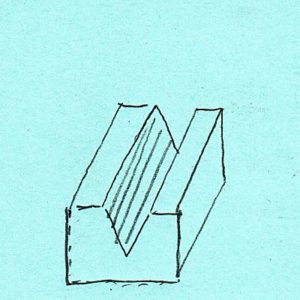
Since this pattern is smaller than previous ones, it’s often best to use a sharp chisel to carve a Yagen-style (V-shaped) groove for a cleaner and more precise finish.
How to carve patterns
- From the lattice to the scales
- Raimon
- Asanoha and Sayagata ←Current page displayed
- Seigaiha and Sippo-Tsunagi
- Higaki and Kumikikko
- Mimasu-Tsunagi and Mimasu-Chirashi
- Ryusui
- Bundo-Tsunagi and Tatewaku
- Yamajimon and Misujidate
- Kemanmon and Gobosei
- Chidori and Chidori-Goshi
- Nejiume (Twisted plum)
- Kikubishi and Yaegiku
- Ichimatsu and Sankuzushi
- Kikko and Yagasuri
- Clouds
- Waves

