
文様の彫り方 その17 ~波~
波のっていくで
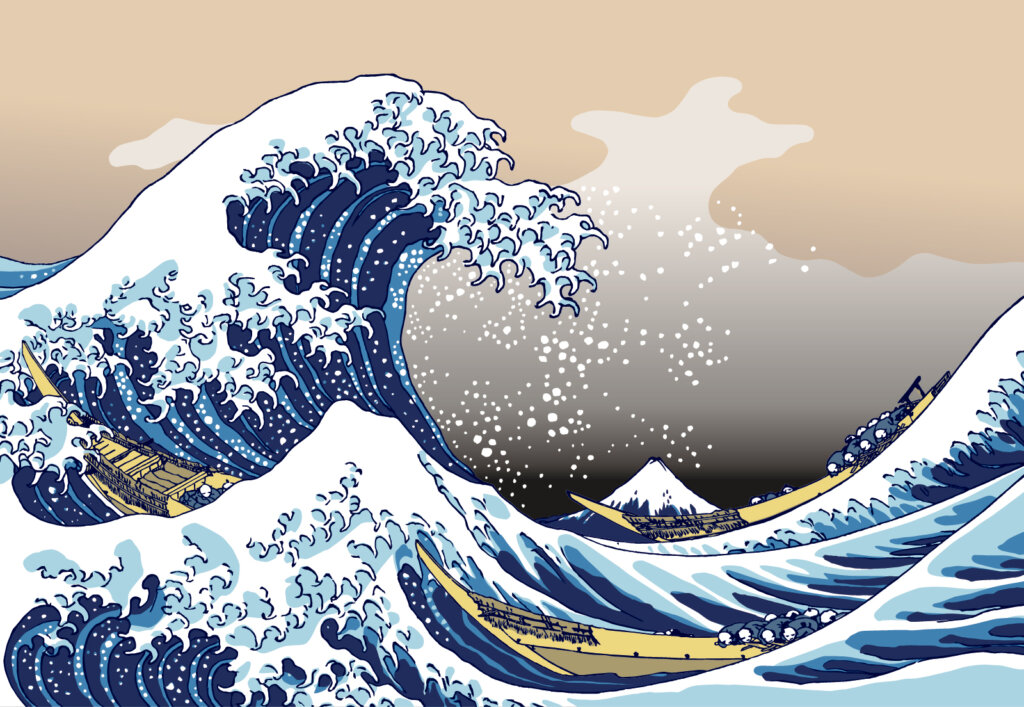
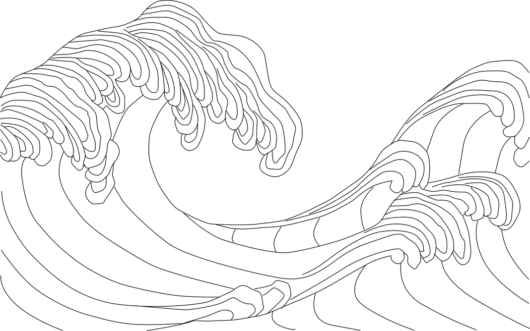
今回は次の下絵の波をできるだけシンプルに彫っていきますが、難易度高めです。自分なりのイメージ作りながら彫り進めることができなければ太刀打ちできないでしょう。
使用した刃物はキワ刀12mm、キワ刀6mm、浅丸刀9mm、浅丸刀6mm、丸刀6mm、丸刀3mmです。
準備
カーボン紙ではがき大の木(厚さ15mm)に波を写していきます。下絵はここ(波のPDF)よりダウンロードできますのでご利用ください。
下絵は彫り進めていくと消えますので、おおまかアウトラインのみ写しました。
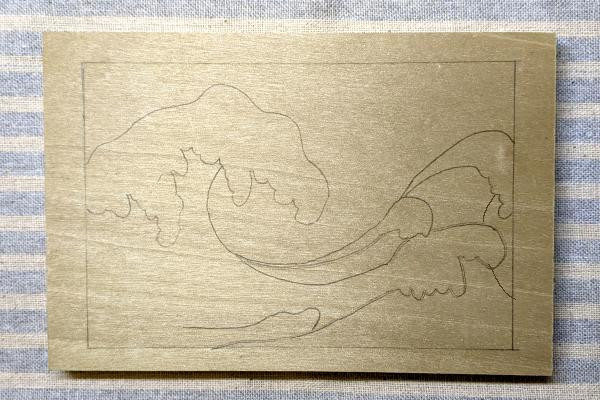
※はがき大の木が手元になかったため、ここでは107mm*160mm*15mmの木板を使用しました。下絵はダウンロード版と同じハガキサイズ用のものを使用しています。
波の彫り方(透かし彫り)
電動ドリルで穴をあけ糸鋸で波以外を切り抜きます。糸鋸がない場合は、波が破損しない程度に電動ドリルで多くの穴をあけます。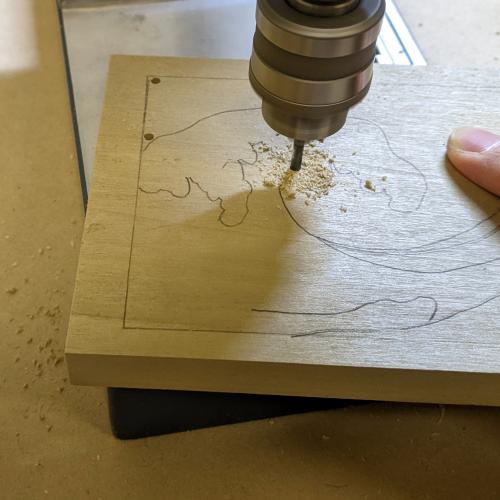
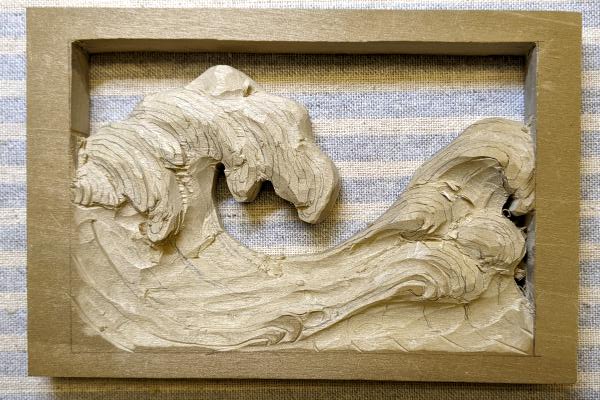
大まか立体感を出していきます。以下、一部ではありますが、例示しておきます。イメージを自分の中に作っていくことが大切になりますので、今回はヒントを少なめにしています。
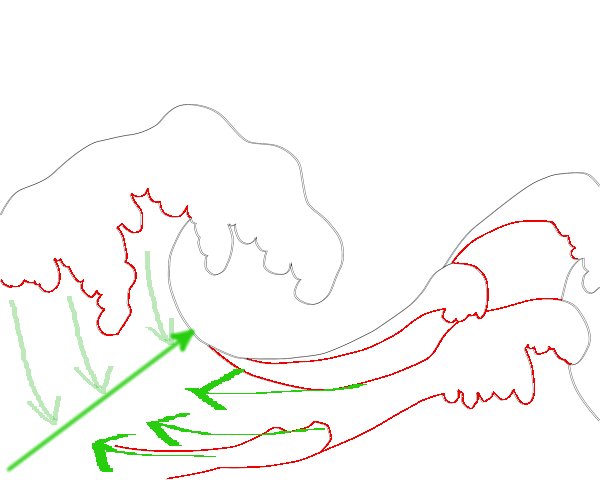
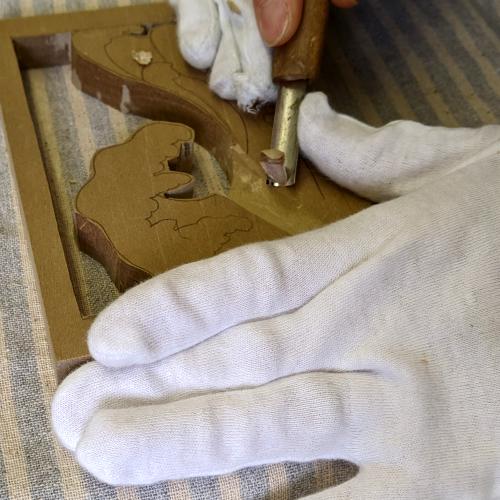
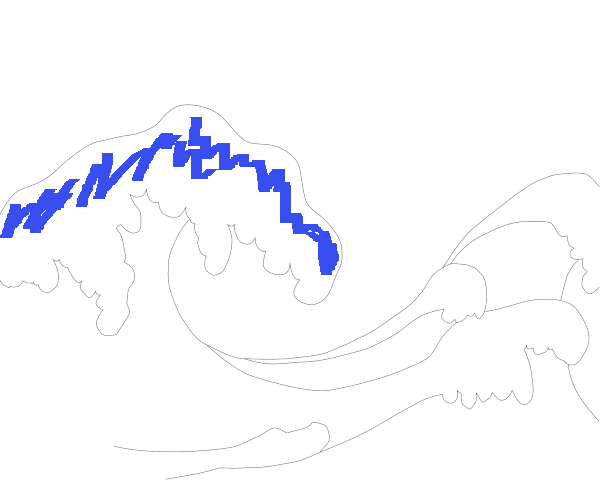
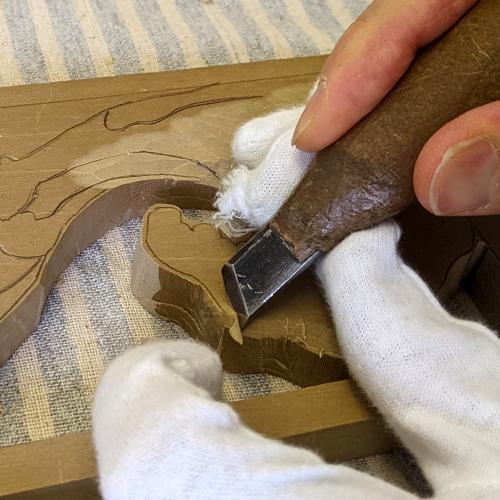
緑の矢印に向かうにつれて深くなるように浅丸刀などで彫っていきます。赤線はキワ刀で切り込みを入れておきます。
前方に向かう波の角をキワ刀で取っていきます。
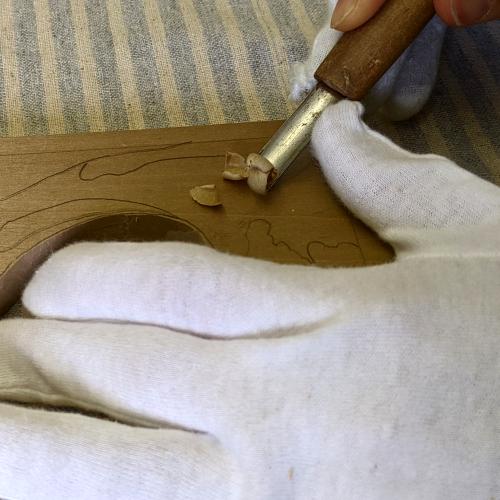
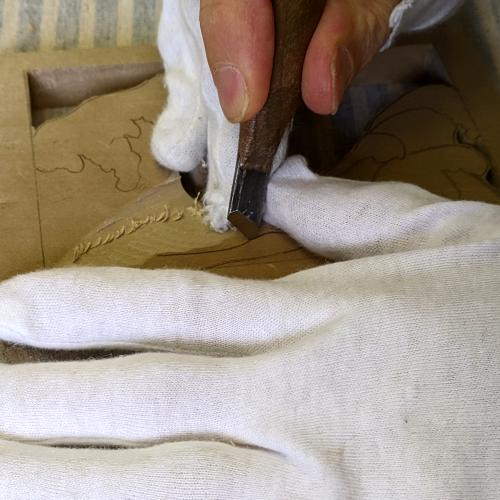
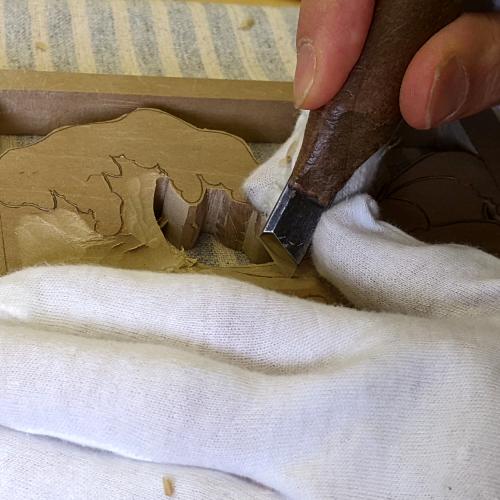
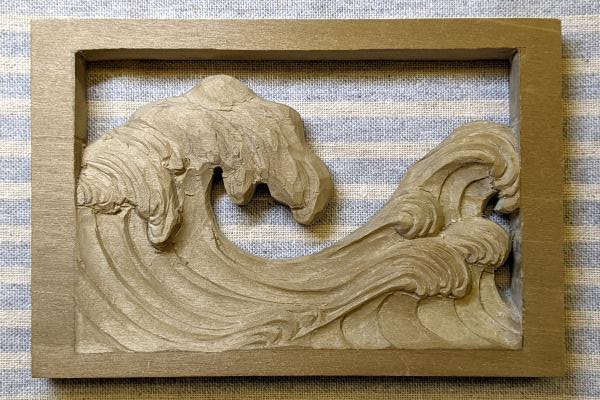
波で段差のあるところは下の画像のように切り込み入れた後、切り込みと交わるように浅丸刀や丸刀を通しています。
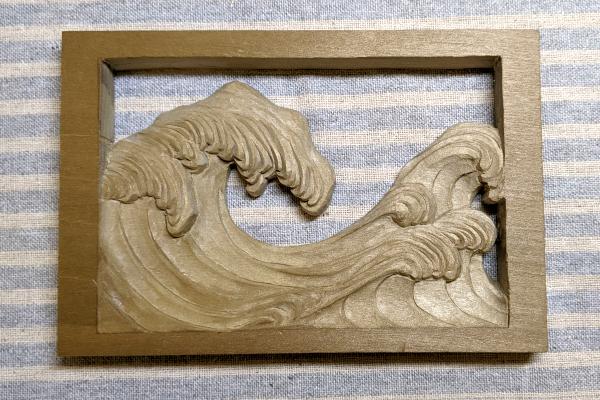
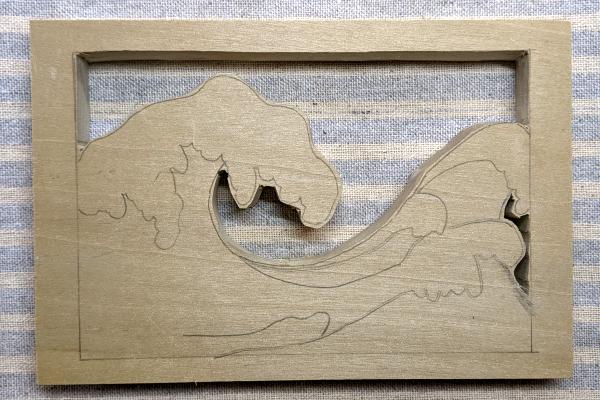
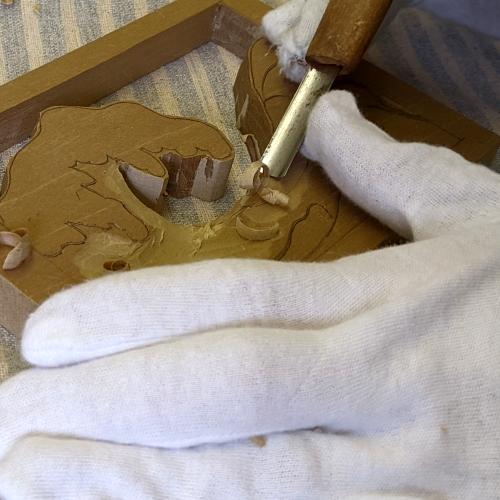
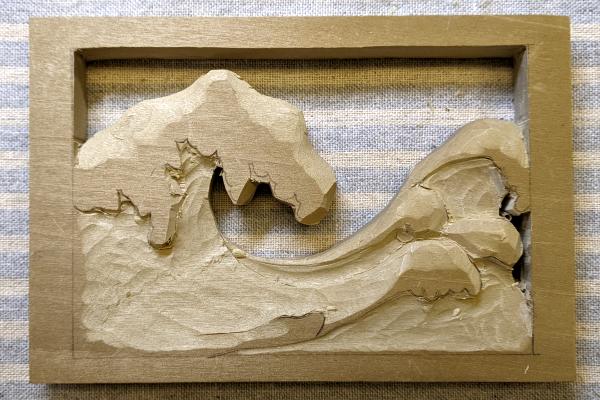
全体をこれまでに説明した通り彫りますと、下の画像のようになりました。
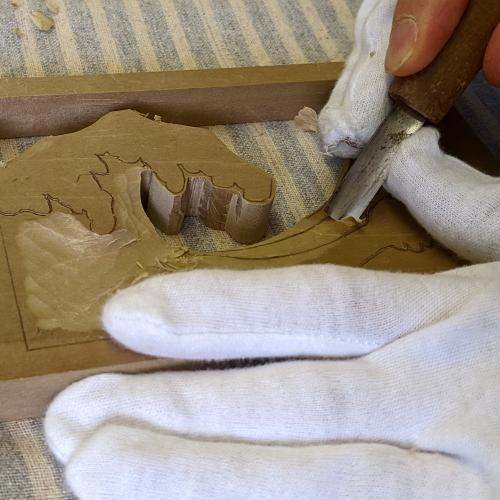
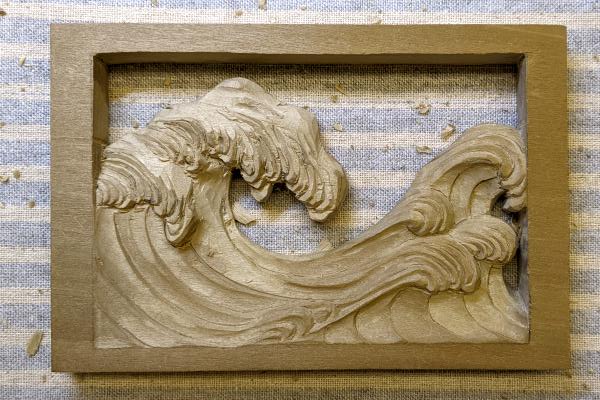
前方に向かう波の立体感を浅丸刀や丸刀で探りながら彫っていきます。

細かな波の段差を彫っていきます。先ほど説明した通り、段差を彫るときはキワ刀、浅丸刀、丸刀で主に彫ります。
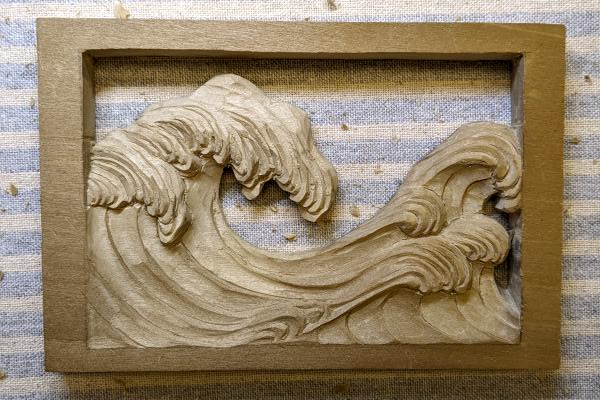
イメージのない状態で彫り進めると失敗します。随時、下絵を描き、イメージを膨らませながら彫り進めます。分からないなりに自分の答えを見つけ出すつもりで取り組みましょう。
より良くなるにはどうすれば良いか、自分に問いかけながら彫り進めましょう。短気は損気。適当に進めた時点で試合終了です。
後半になるほどプレッシャーはかかります。真面目に取り組めば、精神も鍛えられます。
上手くいくこともありますし、いかないこともあります。人生を楽しむがごとく彫り進めるのが大人の余裕。
健闘を願います。