文様の彫り方 その15 ~亀甲(きっこう)、矢絣(やがすり)~
今日はおなじみの亀甲(きっこう)と矢絣(やがすり)の彫り方を説明します。
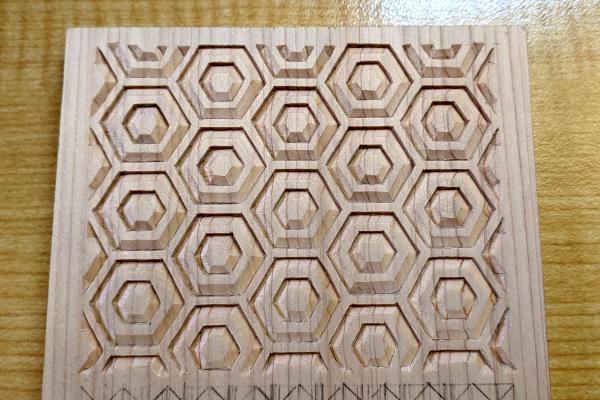
亀甲(きっこう)は正六角形で構成された文様で、亀の甲羅に似ていることからその名が付けられました。


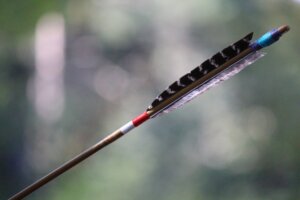
矢絣(やがすり)は矢羽(やばね)の形を文様化したものです。

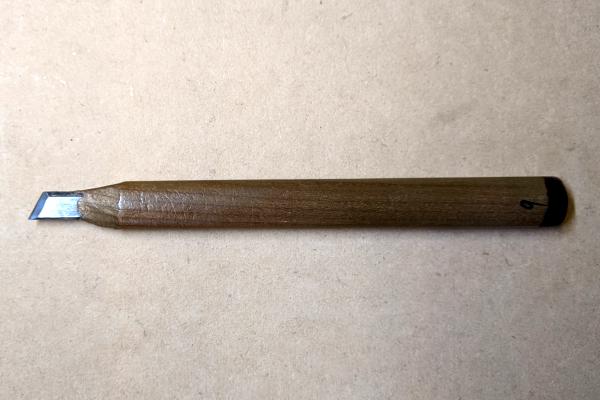
用いた彫刻刀は、キワ刀一本です。
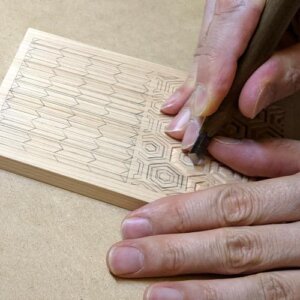
準備
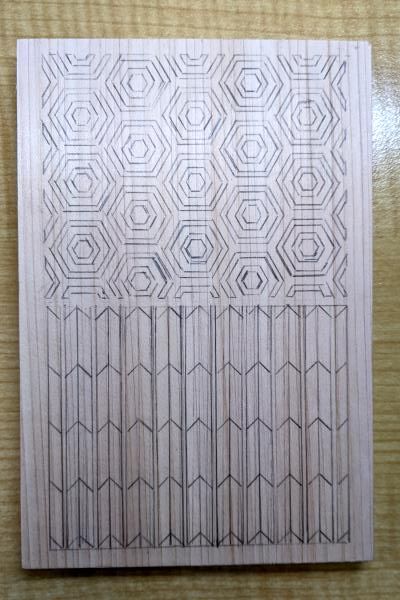
カーボン紙ではがき大の木に亀甲、矢絣を写していきます。下絵はここ(亀甲、矢絣のPDF)よりダウンロードできますのでご利用ください。
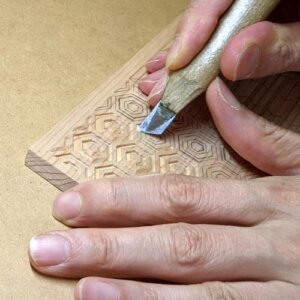
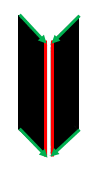
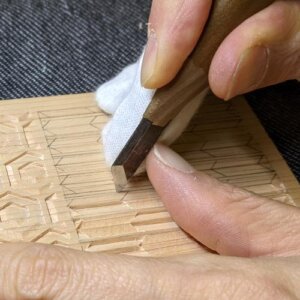
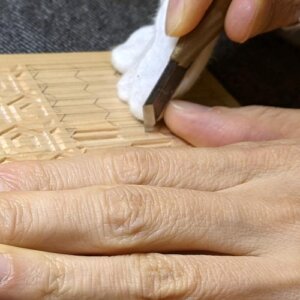
1.亀甲(きっこう)の彫り方
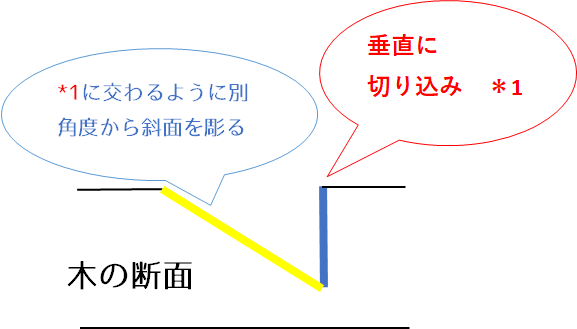
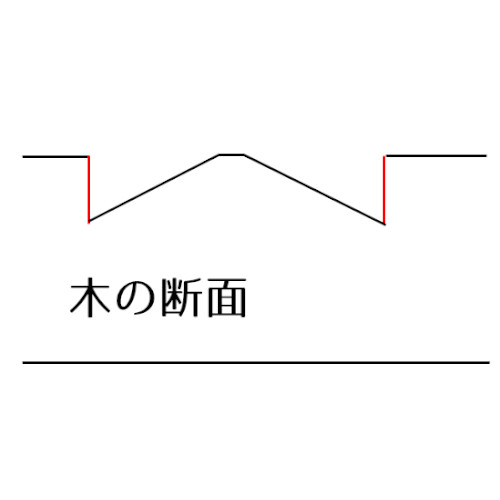
まずは外側の六角形の青線の部分に切り込みを入れ、黄色の箇所は入れた切り込みに交わるように斜面を彫っていきます。

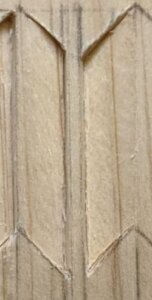
断面は次のようになります。
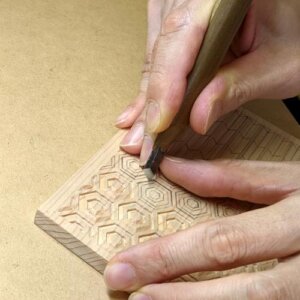
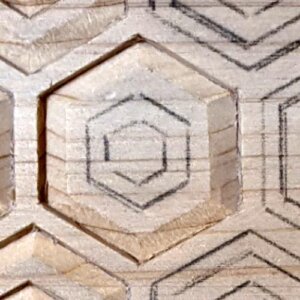
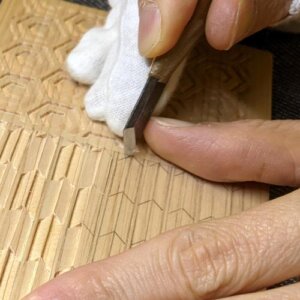
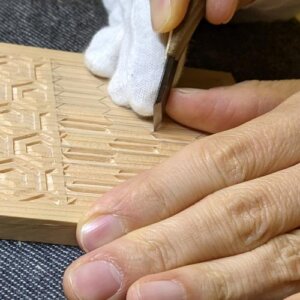
次に内側の方の六角形も同じように彫っていきます。

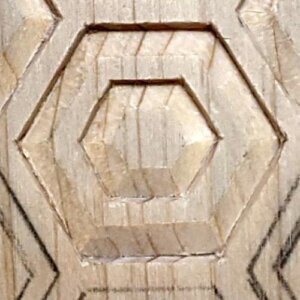
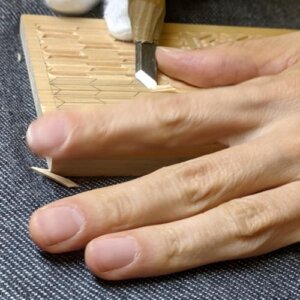
細部まできれいに彫って完成です。
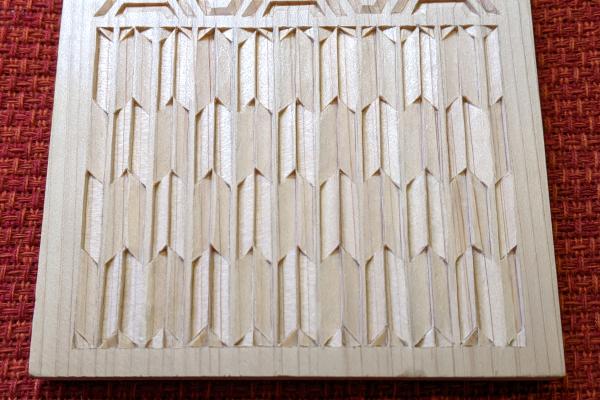
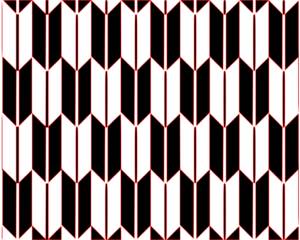
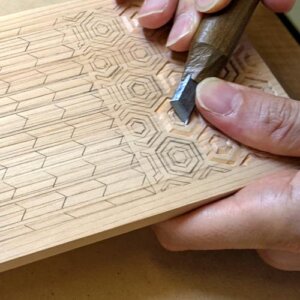
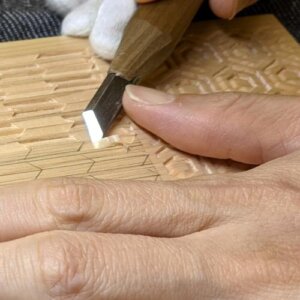
2.矢絣(やがすり) の彫り方
黒羽と白羽で彫り方を分けます。二つの彫り方を交互に配置することにより、立体感のある文様となります。
黒羽(くろばね)の矢の彫り方
緑線は矢印に向かうにつれて深く(内側の方を深く)切り込み、赤線は一定の深さで切り込みます。黒羽の部分は切り込みと交わるように斜面を彫ります。
断面は以下の通りになります。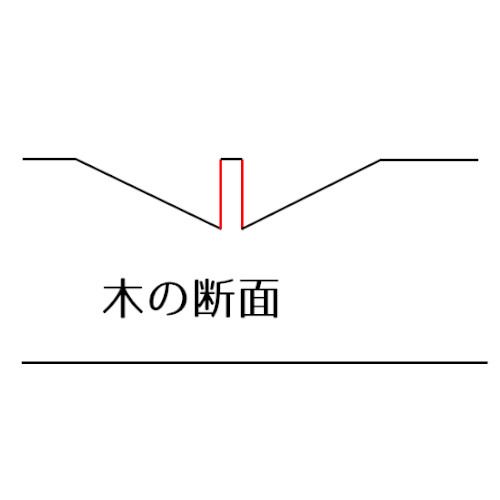
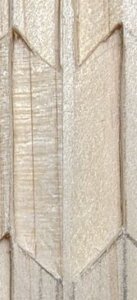
白羽(しろばね)の矢の彫り方
緑線は矢印に向かうにつれて深く(外側の方を深く)切り込み、赤線は一定の深さで切り込みます。白羽の部分は切り込みと交わるように斜面を彫ります。

断面は以下の通りになります。
黒羽と白羽が接する箇所は彫りにくいですが、最後まで集中力を切らさず、できる限りきれいに仕上げていきましょう。