文様の彫り方 その11 ~千鳥(ちどり)、千鳥格子(ちどりごうし)~
ピヨピヨ
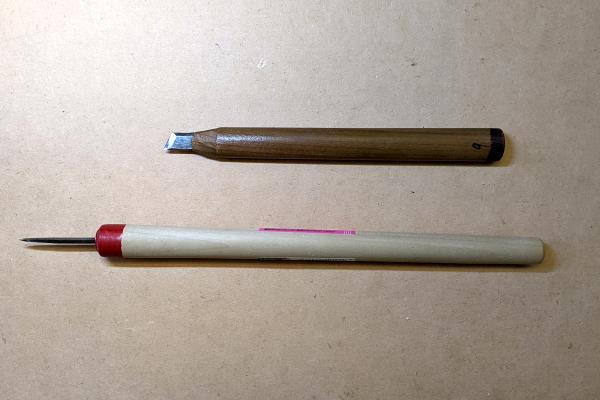
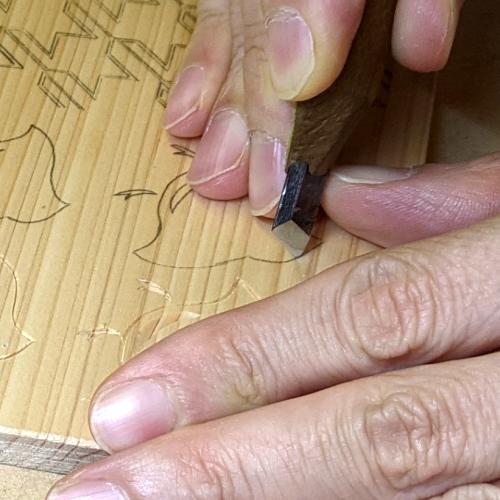
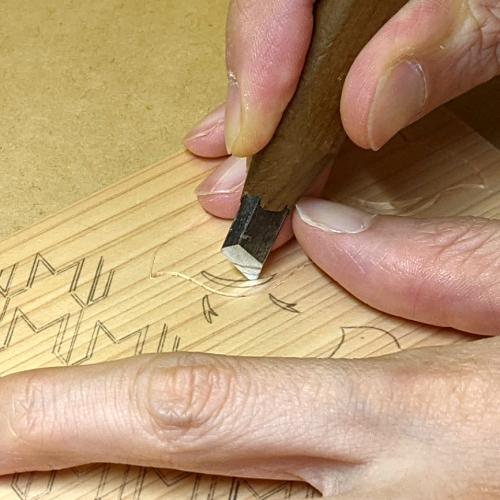
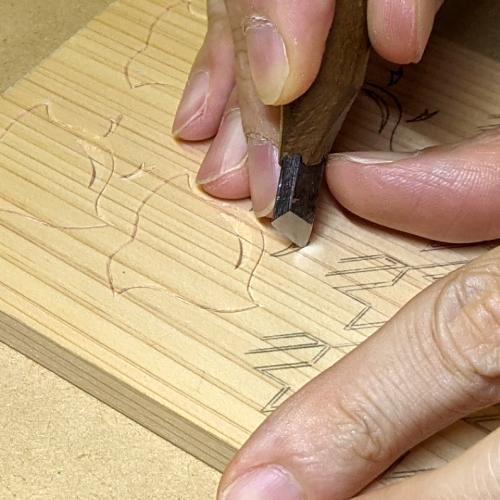
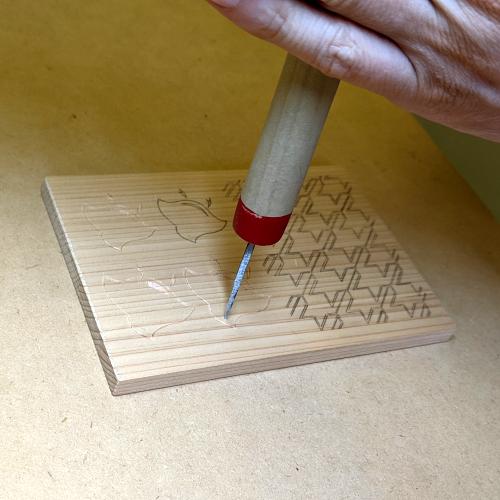
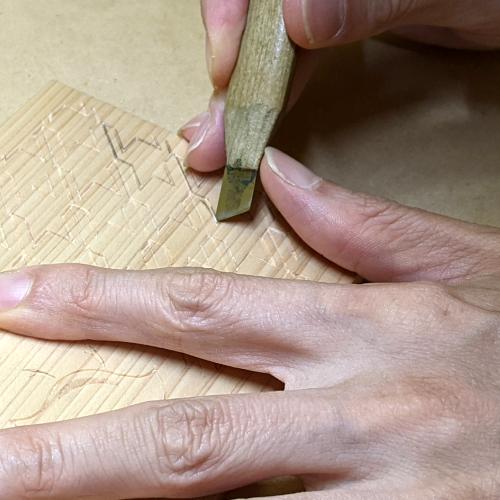
今回はキワ刀と錐(キリ)を使います。
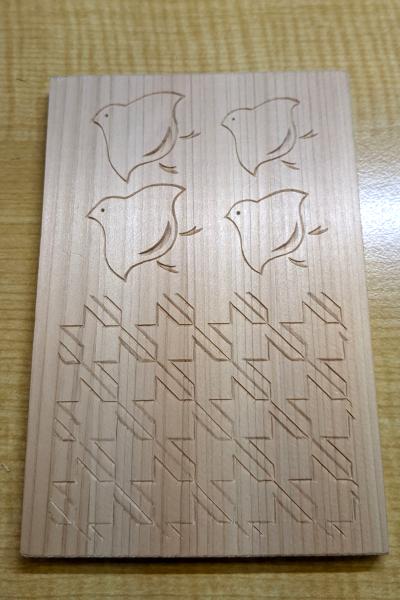
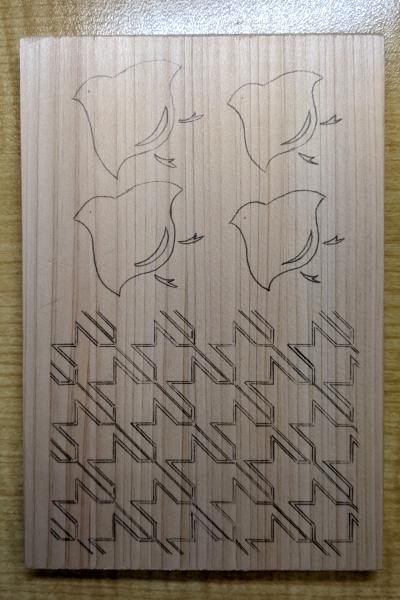
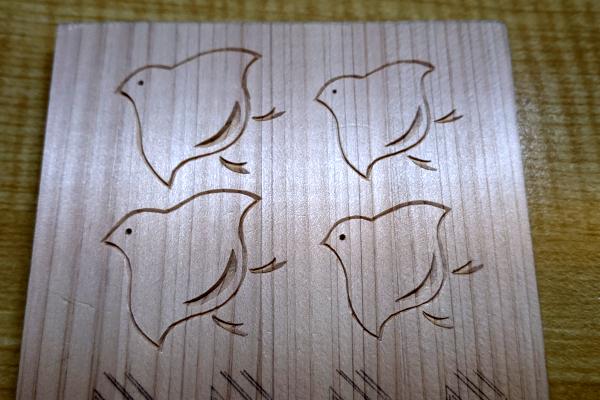
取り組む文様は、「千鳥(ちどり)」、「千鳥格子(ちどりごうし)」です。
水辺に棲んでいて群れで飛ぶ小鳥を文様化したものが「千鳥(ちどり)」で、格子状に並べ文様化したものが「千鳥格子(ちどりごうし)」です。


準備
カーボン紙ではがき大の木に千鳥、千鳥格子を写していきます。下絵はここ(千鳥、千鳥格子のPDF)よりダウンロードできますのでご利用ください。
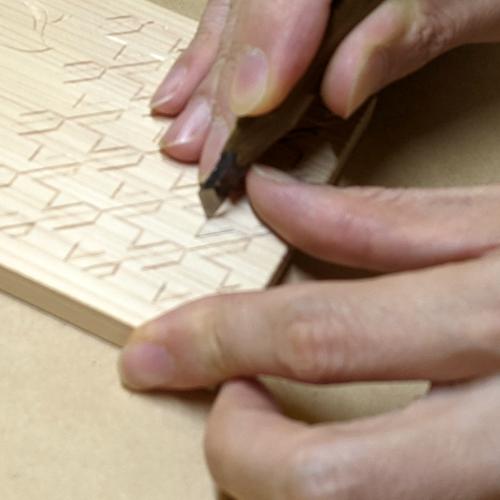
1.千鳥(ちどり)の彫り方
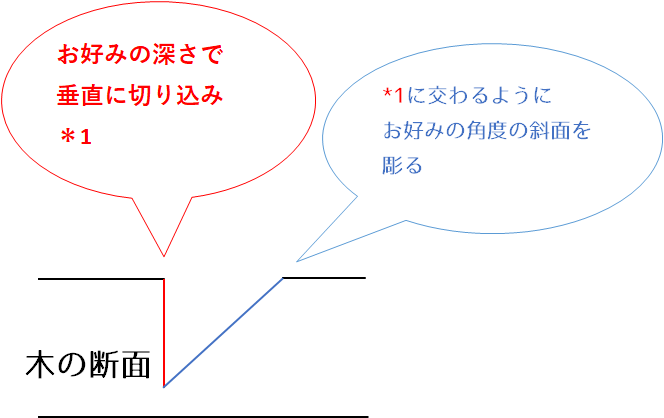
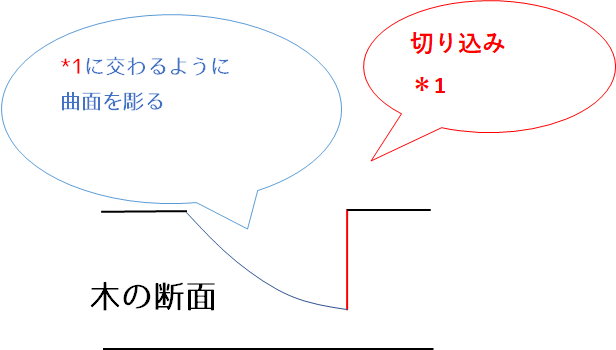
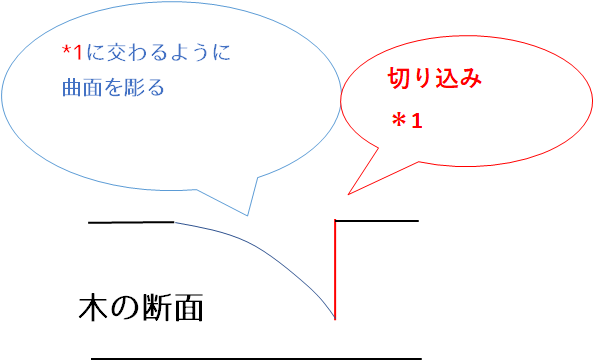
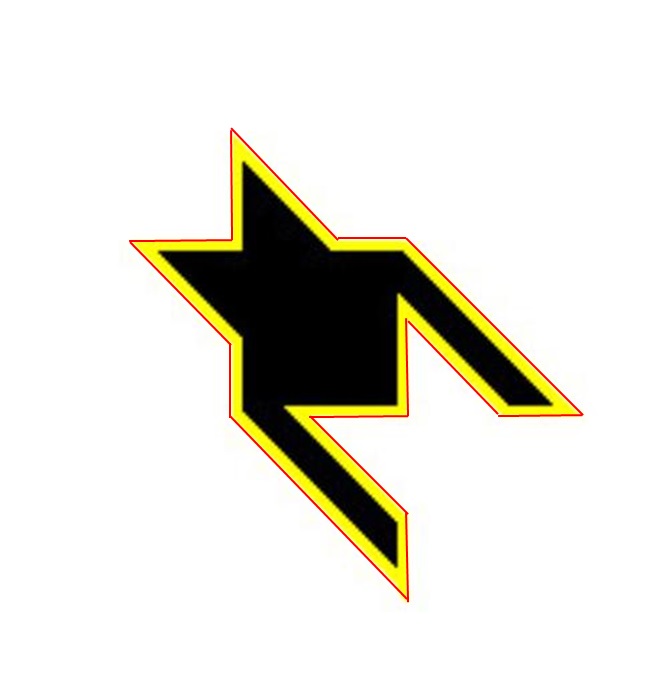
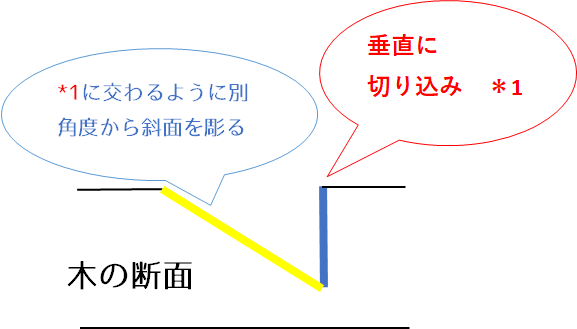
まず、下図赤線の箇所にお好みの角度で切り込みを入れ、外側からその切り込みと交わるように斜面を彫ります。

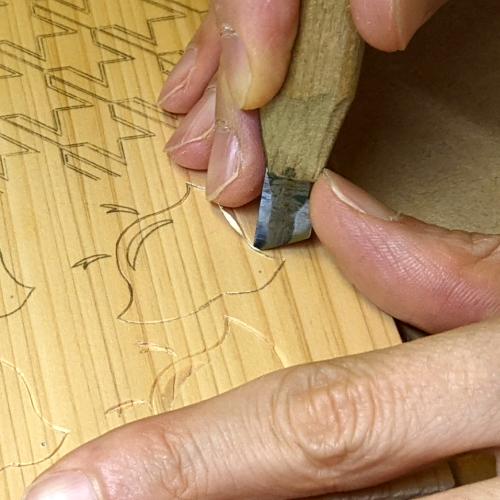
次にお腹の部分の赤線および黄色部分を毛卍文のパターン1と同じように彫ります。

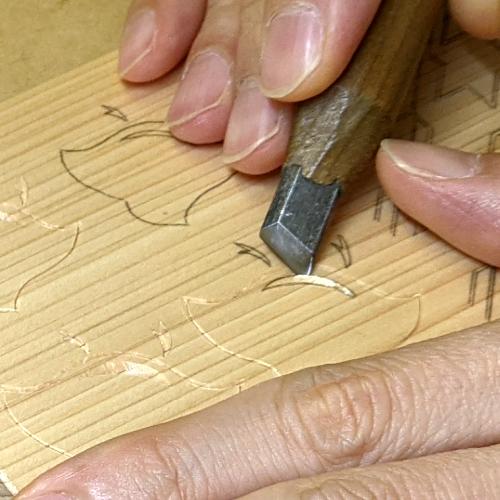
下図の足下側においては、赤線の矢印方向に向かうにつれて深くなるように切り込み、断面は毛卍文のパターン1のように外側に湾曲するように彫ります。

足部分は木が割れやすいので、少しずつ深く彫り進めることをおすすめします。

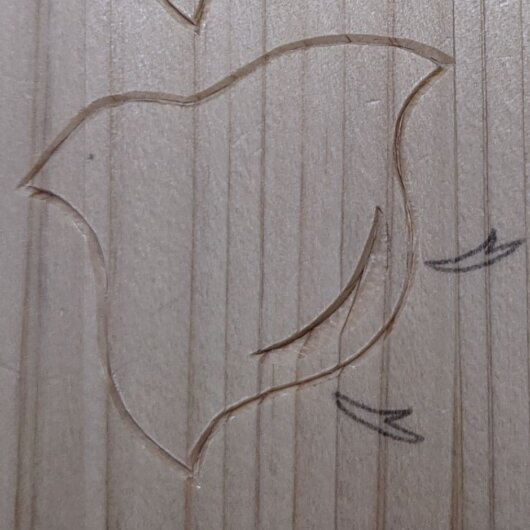
次に足上側においても赤線の矢印方向に向かうにつれて深くなるように切り込み、断面は毛卍文のパターン2と同じように内側に湾曲するように彫ります。

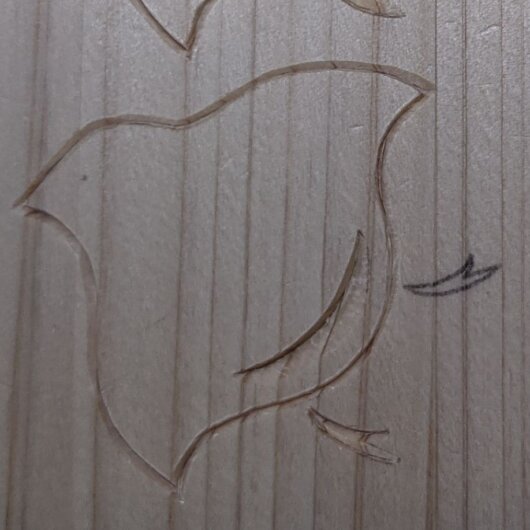
もう片方の足も同じように彫り、最後に錐を使って任意の深さの穴を目に開けます。
分銅繋ぎ、立桶、毛卍文が彫れるなら、「千鳥」も問題なく彫ることができるでしょう。
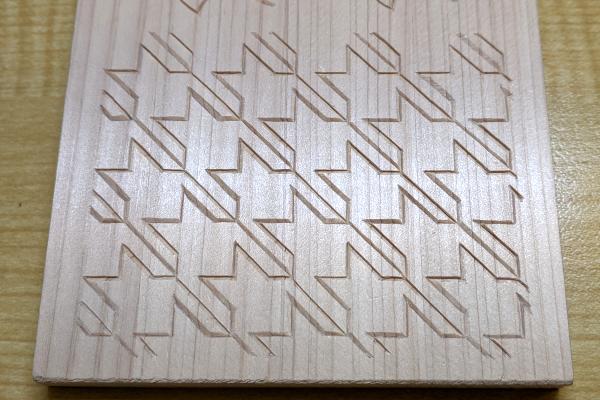
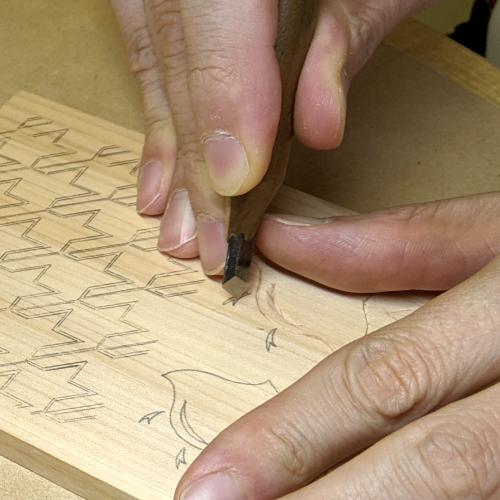
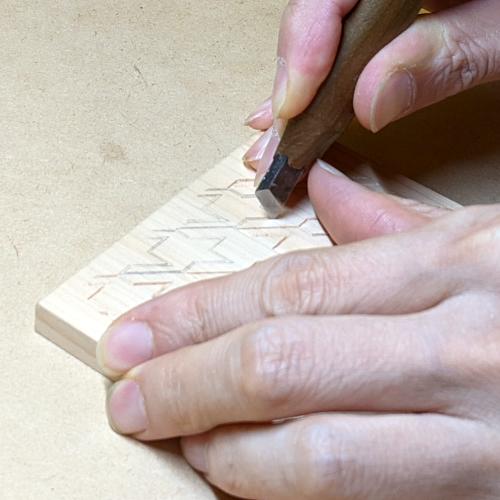
2.千鳥格子(ちどりごうし)の彫り方
下図赤線の箇所にキワ刀で切り込みを入れ、この切り込みに交わるように黄色の箇所を斜面に彫ります。
斜面を彫るときに木くずが取れにくいので、以下の赤色矢印部分にも必要に応じて切り込みを入れておくといいでしょう。この切り込みは、矢印方向に向かうにつれて次第に深くなるようにします。
木が割れやすい箇所は一回で彫らず、浅く回数を重ねて彫るようにしましょう。