文様の彫り方 その10 ~毛卍文(けまんもん)、五芒星(ごぼうせい)~
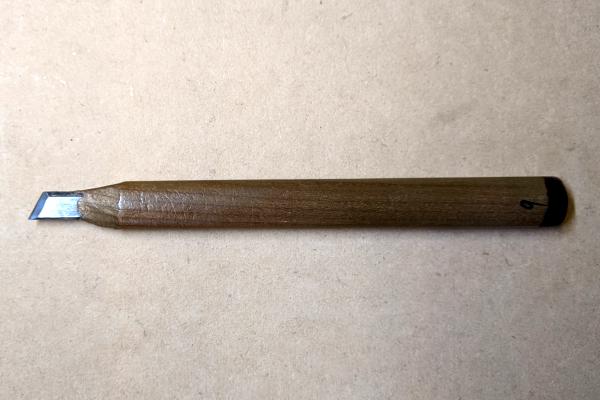
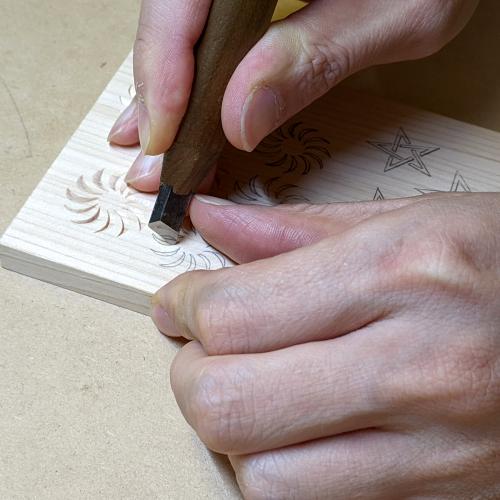
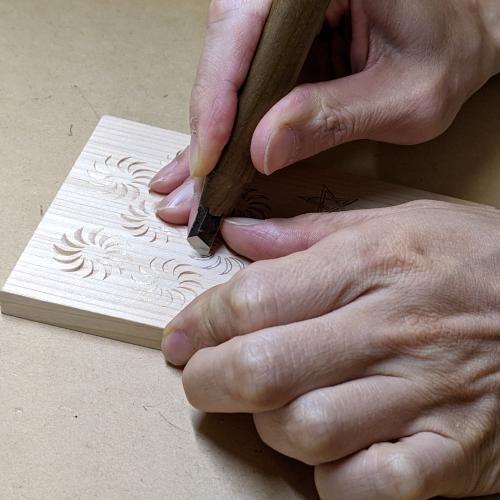
今回もキワ刀一本で彫っていきます。
取り組む文様は、「毛卍文(けまんもん)」、「五芒星(ごぼうせい)」です。
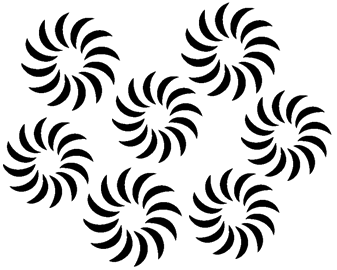
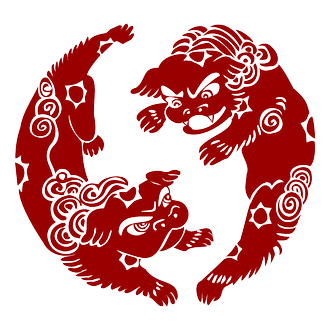
「毛卍文(けまんもん)」は、「唐獅子(からじし)」の身体の巻き毛を文様化したものです。
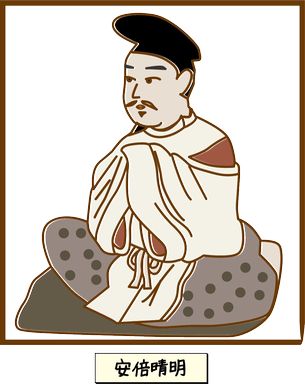
「五芒星(ごぼうせい)」は、陰陽道における魔除けの呪符として伝えられ、平安時代の陰陽師、安倍晴明との関わりの深い文様です。


どの文様にも共通していますが、彫る木の性質に合わせながら彫らなければ、きれいに彫りあげることはできません。木の抵抗を感じながら彫るとその木の性質も分かるようになります。感じながら彫るクセをつけましょう。
準備
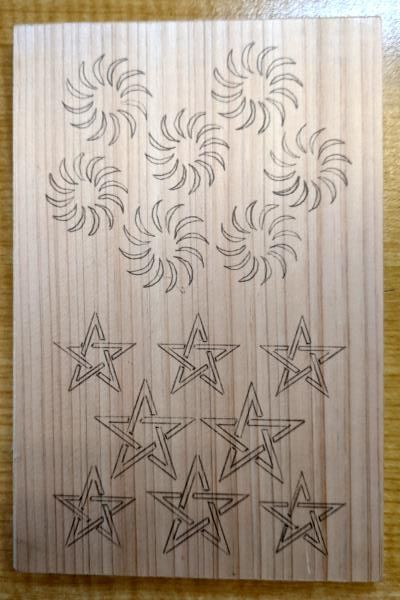
カーボン紙ではがき大の木に毛卍文、五芒星を写していきます。下絵はここ(毛卍文、五芒星のPDF)よりダウンロードできますのでご利用ください。
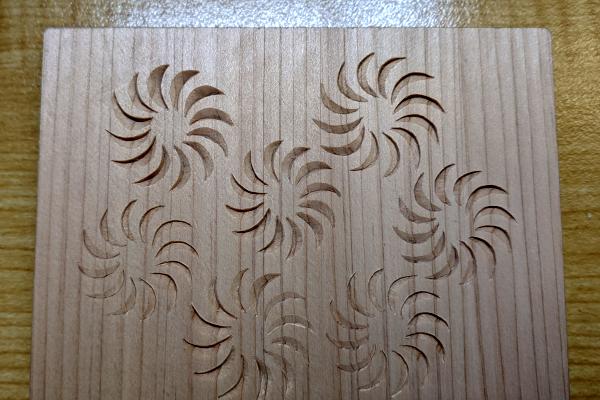
1.毛卍文(けまんもん)の彫り方
今回は2種類の彫り方で毛卍文を彫っていきます。
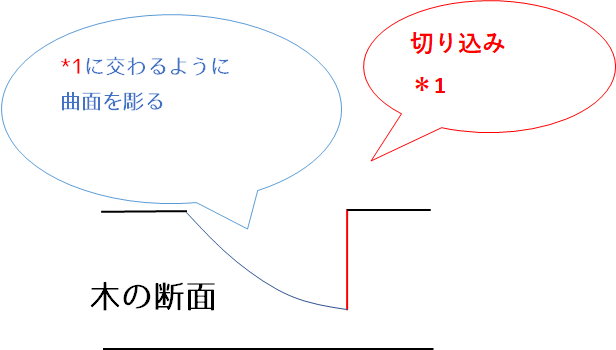
パターン1は、三日月形の外側にキワ刀で切り込みを入れ、この切り込み交わるように外側に湾曲する曲面をキワ刀で彫っていきます。切り込みは赤色線のところに入れ、矢印方向に向かうにつれ次第に深くなるようにします。

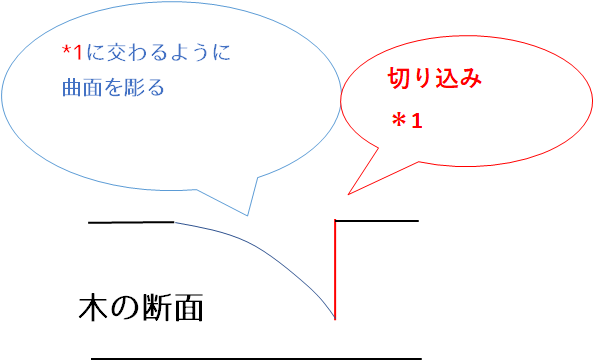
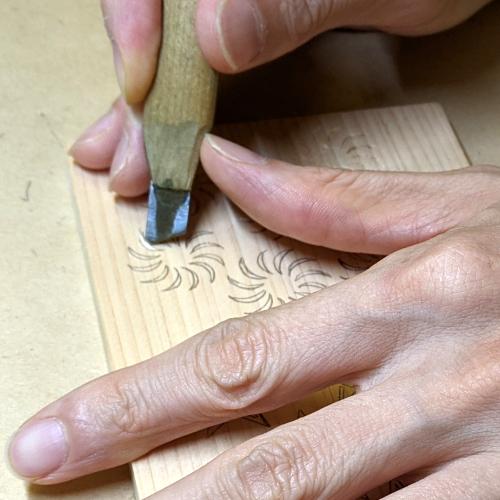
何回にか分けて角度を変えて彫ることにより外側に湾曲する曲面を三日月形の中で実現しています。
パターン2は、三日月形の内側にキワ刀で切り込みを入れ、この切り込み交わるように内側に湾曲する曲面をキワ刀で彫っていきます。切り込みは赤色線のところに入れ、矢印方向に向かうにつれ次第に深くなるようにします。


何回にか分けて角度を変えて彫ることにより内側に湾曲する曲面を三日月形の中で実現しています。

パターン1もパターン2も曲面が滑らかになるように仕上げましょう。
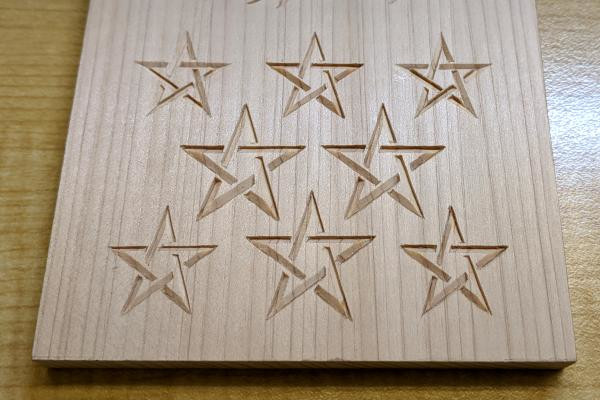
2.五芒星(ごぼうせい)の彫り方
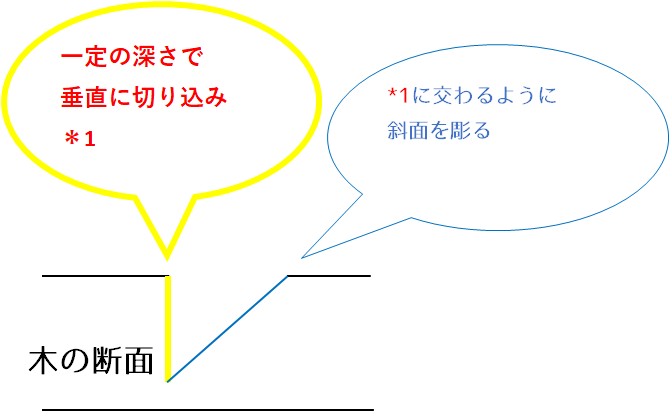
星の外側にキワ刀で切り込みを入れ、この切り込みに交わるように断面を斜面に彫ります。切り込みは黄色線の箇所には一定の深さで入れ、赤色線の箇所は矢印方向に向かうにつれ次第に深くなるように入れます。
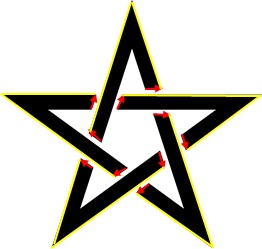
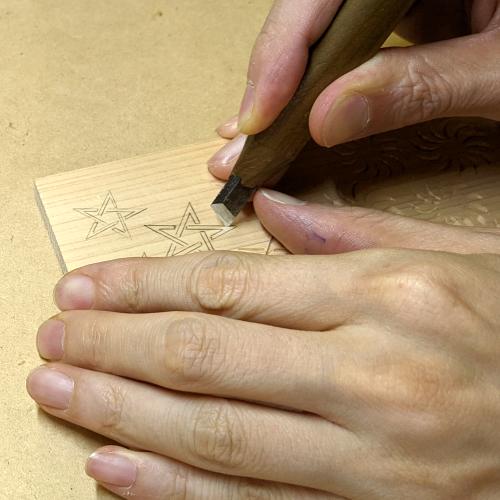

入り組んだ箇所もキワ刀の刃先できれいに仕上げて完成です。