文様の彫り方 その5 ~檜垣(ひがき)、組亀甲(くみきっこう)~
「檜垣(ひがき)」と「組亀甲(くみきっこう)」の彫り方を説明していきます。


檜垣と組亀甲の木彫り
準備
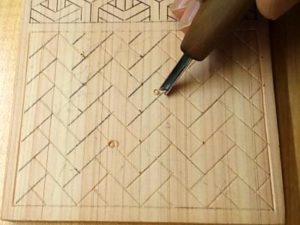
カーボン紙ではがき大の木に檜垣と組亀甲を写していきます。下絵はここ(檜垣と組亀甲のPDF)よりダウンロードできますのでご利用ください。

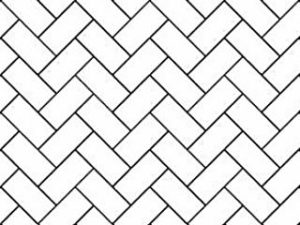
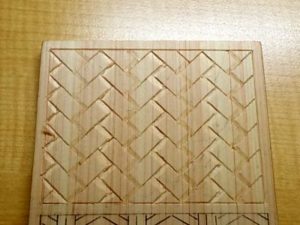
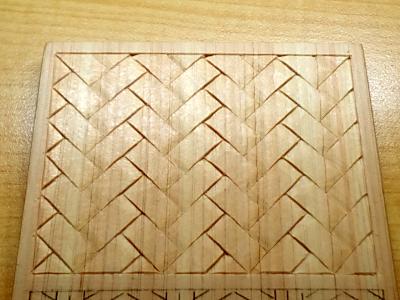
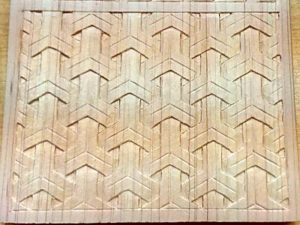
1.檜垣の彫り方
檜(ひのき)やその他の板材を互い違いに組んだものを檜垣(ひがき)または網代(あじろ)といいます。今回はこの檜垣を編まずに彫って表現していきます。
下絵を三角刀で彫り、キワ刀で切込みを入れていきます。
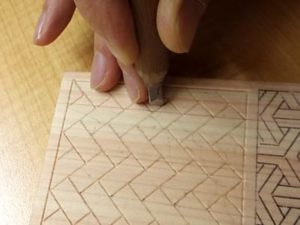
続いて、編み込みで下に潜り込む部分の角を平刀で落としていきます。
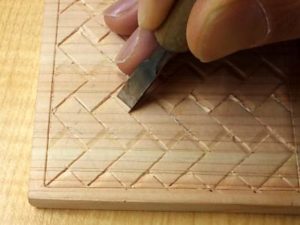
あとは、下に潜り込むことをイメージしながらキワ刀および平刀で仕上げていきます。
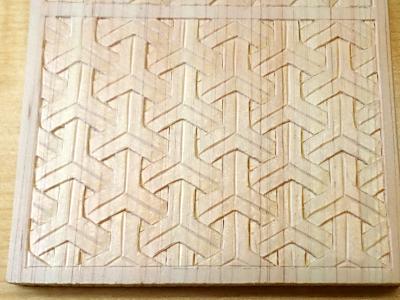
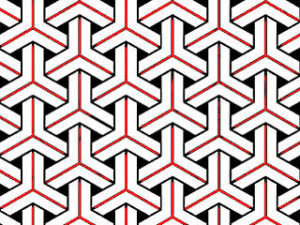
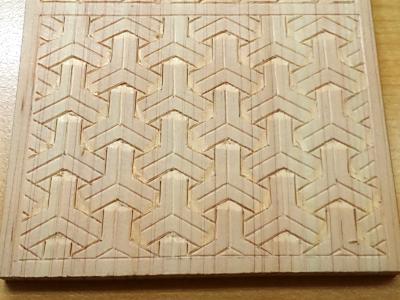
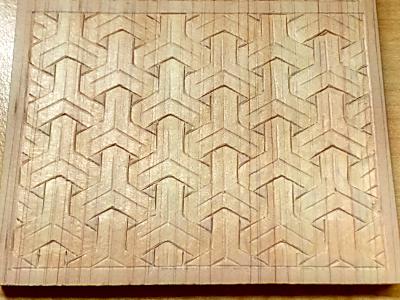
2.組亀甲の彫り方
組亀甲も網目を出すように組んであるものですが、これも今回彫って表現していきます。
まずは三角刀で組亀甲を線彫りし、キワ刀で切込み入れます。ただし、以下の下絵における赤い部分については、線彫りのみで切込みは不要です。

次に檜垣同様に下に潜り込む部分の角を平刀で落としていきます。
続いて、角をおとした部分とのつながりが自然に見えるように平刀でなだからにしていきます。
次に以下の下絵の青色部分を一段下げていきます。三角形の三辺にキワ刀で切込みを入れた後、1.5mmの平刀で一段下がるようにさらいます。

消えた線を彫りなおすなどし、仕上げていき完成です。