Guidelines for deciding the size of the work
When creating a wood carving, determining the right size for your piece is an important decision. While some of this process is intuitive, the following points are intended to guide your thinking and help you make the most suitable choice.
For the purposes of this guide—and especially for projects done in a classroom setting—we assume the maximum size should be something small enough to fit in a backpack or be easily carried between home and class.
To avoid overwhelm, let’s go over each consideration one by one:
Charm

Depending on the subject and purpose of the work, a smaller size may look cuter, while a larger size may create more visual impact. Try to imagine a size that best brings out the unique charm or expression of the piece.
Placement

Where will the finished piece be displayed?
This is a practical consideration, but one that often simplifies your decision. For example:
-
If the piece is going to sit on a desk or shelf, there will be physical space limitations.
-
If it’s a gift, think about whether the recipient will have space for it, and if the size will be convenient or appreciated.
Having a rough idea of the final placement will help you decide on an appropriate scale.
Amount of Carving, Precision, and Observation Skills
In general:
-
Larger pieces require more carving, and that extra work is often managed by removing large areas quickly (e.g. by pounding or larger tools).
-
Smaller pieces require finer, more delicate work, and progress is made through precise chisel control.

When the size of the piece becomes very small, every carving action has a greater impact.
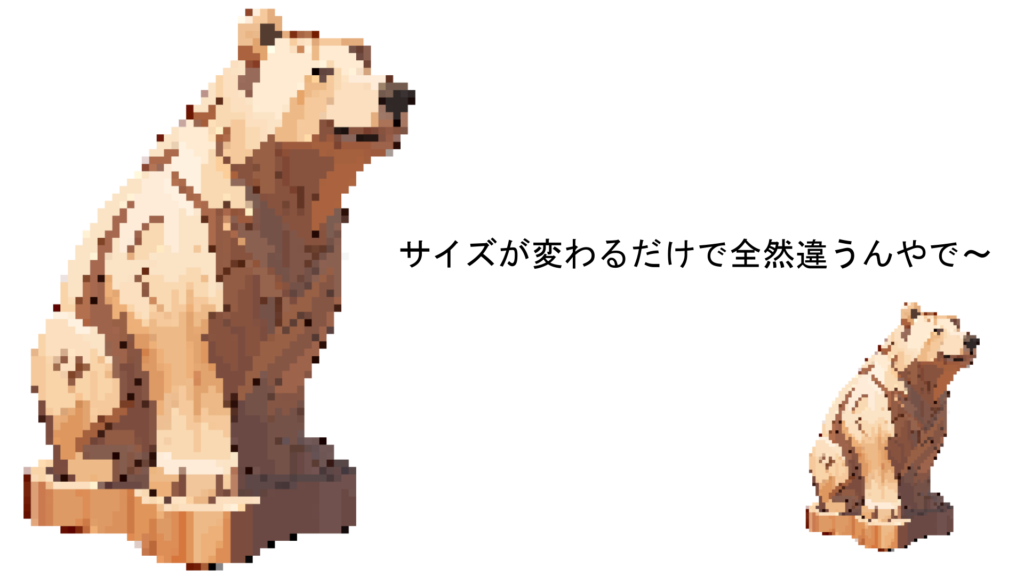
For instance, if you were to scale down a large carved wooden bear, you wouldn’t just shrink the shape—you’d also need to:
-
Use smaller, controlled chisel movements
-
Maintain careful attention to fine details
-
Improve your observation and judgment of form and proportion
This kind of precision work demands a high level of skill and patience.
🌱 A Note on Finding Your Size
It’s difficult—technically and physically—to work equally well at all sizes.
That’s why it's important to use your experience to discover the scale that suits you best.
Some people find that just by changing the size, they can carve much more easily (or with more difficulty) than before.
Everyone has different strengths, so don’t be discouraged.
Keep trying different sizes, and find what works for your hand, your tools, and your vision.


