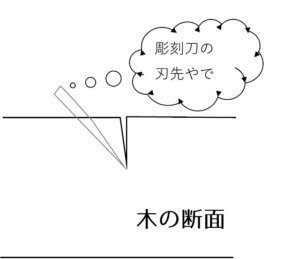
文様の彫り方 ~[補講] キワ刀一本で線をあやつる~
文様の彫り方において、キワ刀1本で線をあやつる方法についての補講です。
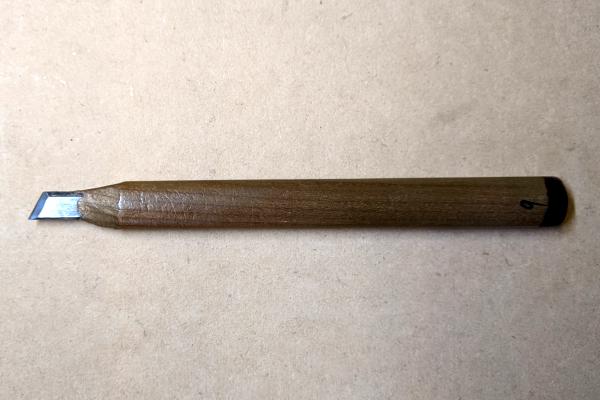
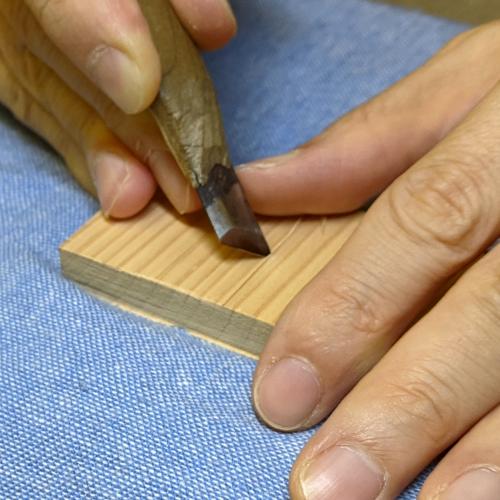
キワ刀を使いこなせれば、筆で字を書くがごとく線を彫ることができます。
ポイントは線の太さの自然な変化です。
これを実現するには、
- 基本的な線の彫り方
- 切り込みの深さによる線の太さの違い
- 斜面の角度による線の太さの違い
を理解しておくとよいでしょう。
それでは順に説明していきます。
基本的な線の彫り方
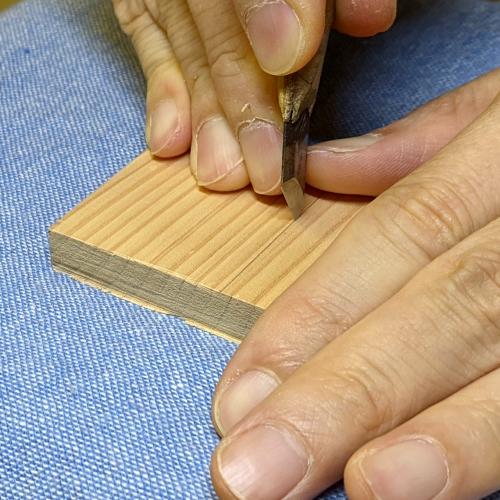
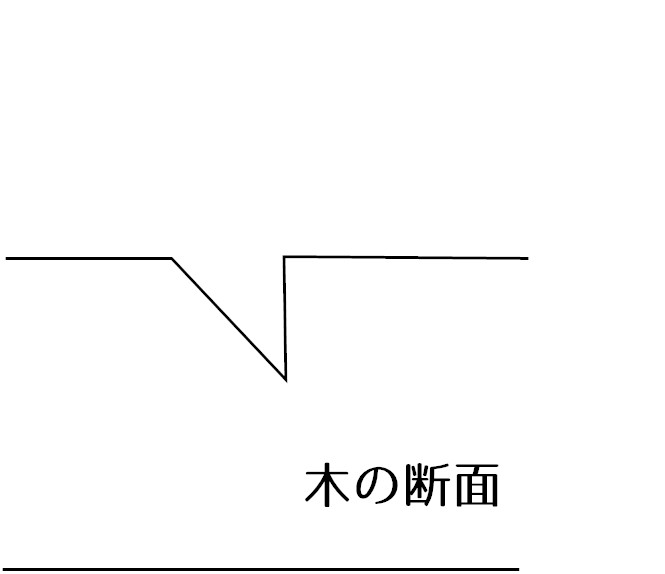
まず以下のような断面の線を彫る場合、
切り込みを入れ、その切り込みと交わるような斜面を彫ります。
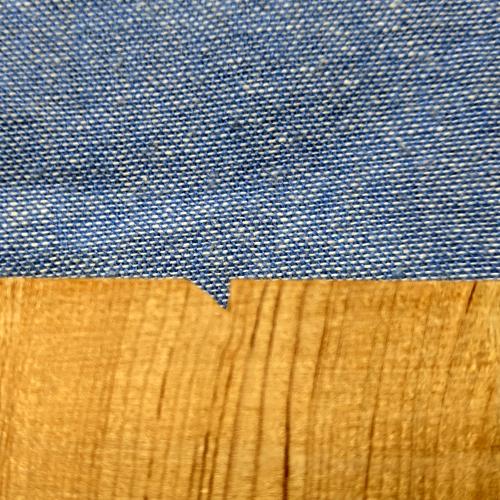
図で説明しますと、まず切り込みを入れると
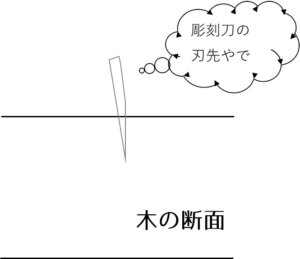
木の断面は以下のような切り込み跡が残ります。
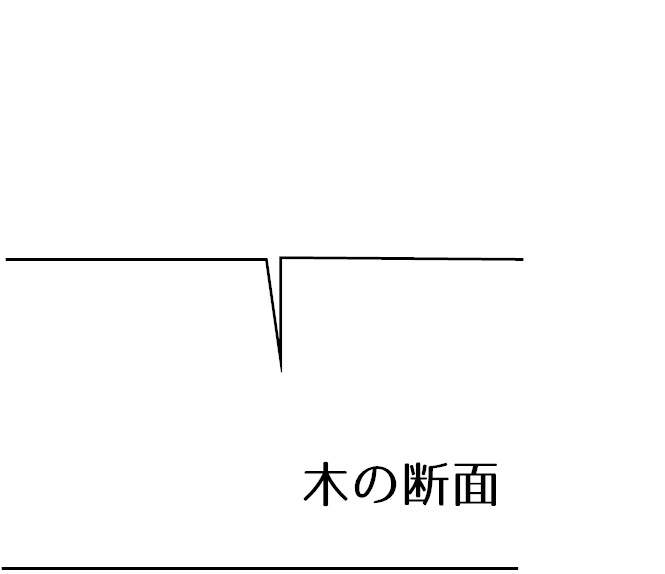
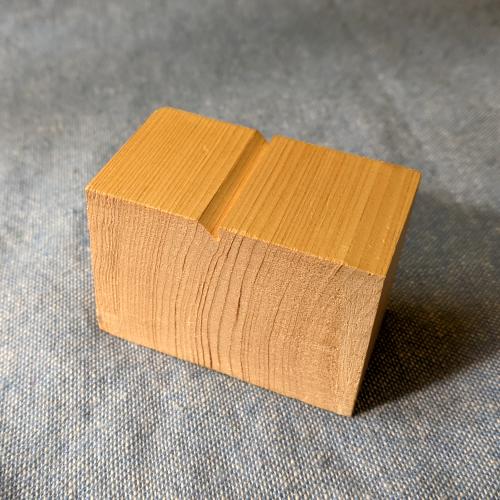
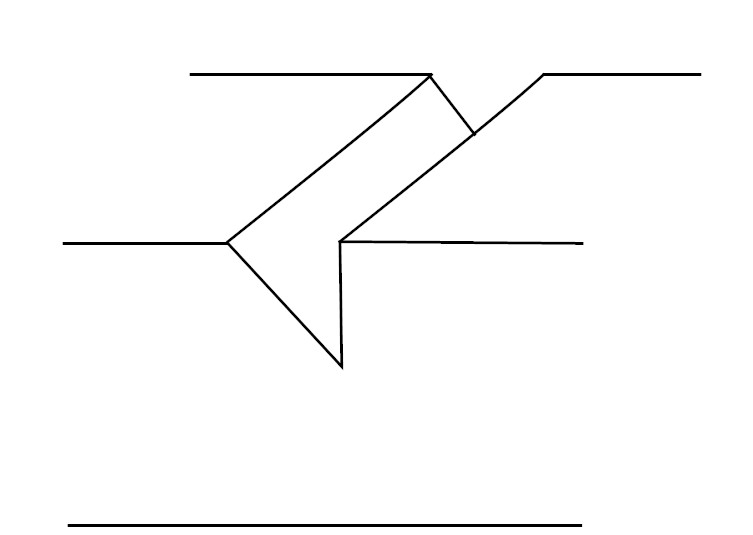
次に別角度からこの切り込みに交わるように、キワ刀で斜面を彫る(切り込みを入れる)と
先に入れた切り込みと交わった部分の木が取れ、以下のような断面の直線を彫ることできます。
切り込みの深さによる線の太さの違い
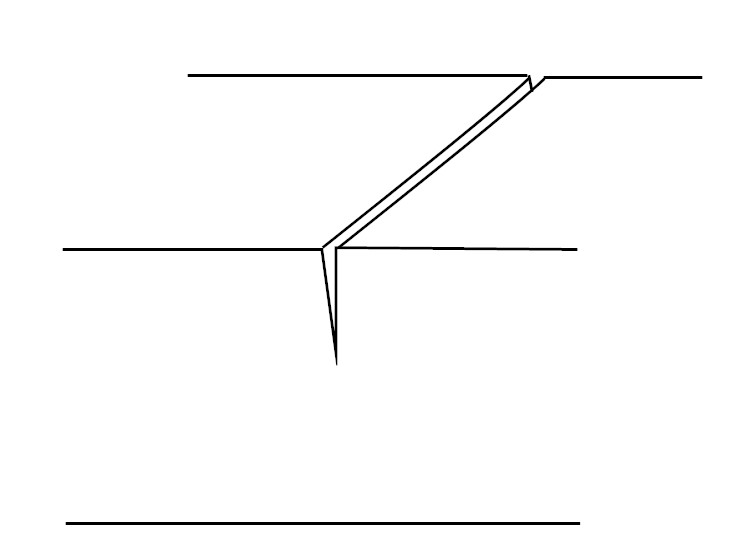
次に先ほどの線において、切り込み深さが変わると線の太さが変わることを見ていきます。
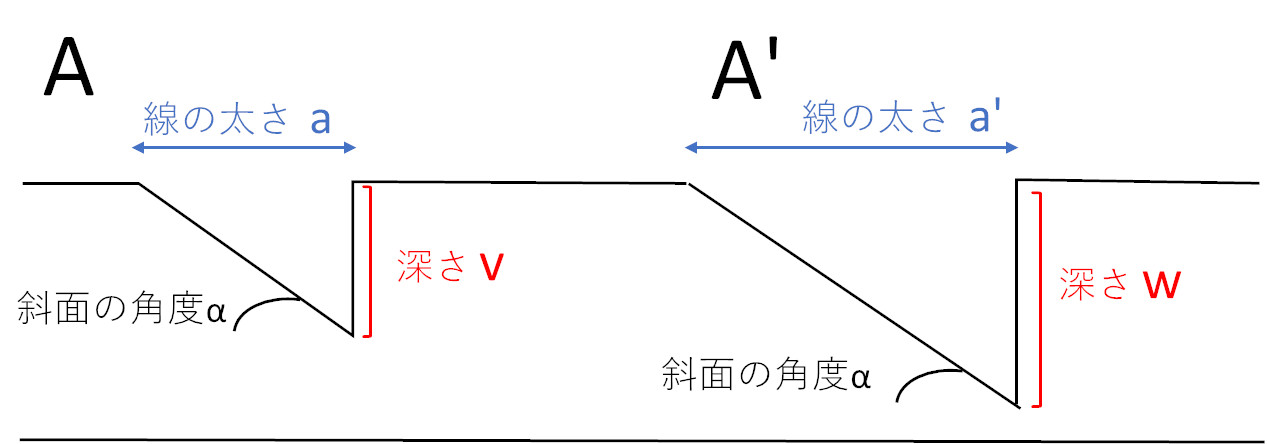
図のAとA’は、断面の深さが違います。深さwが深さvより深い場合、線の太さa'は線の太さaより太くなります。
斜面の角度による線の太さの違い
また斜面の角度が変わると線の太さが変わることを見ていきます。
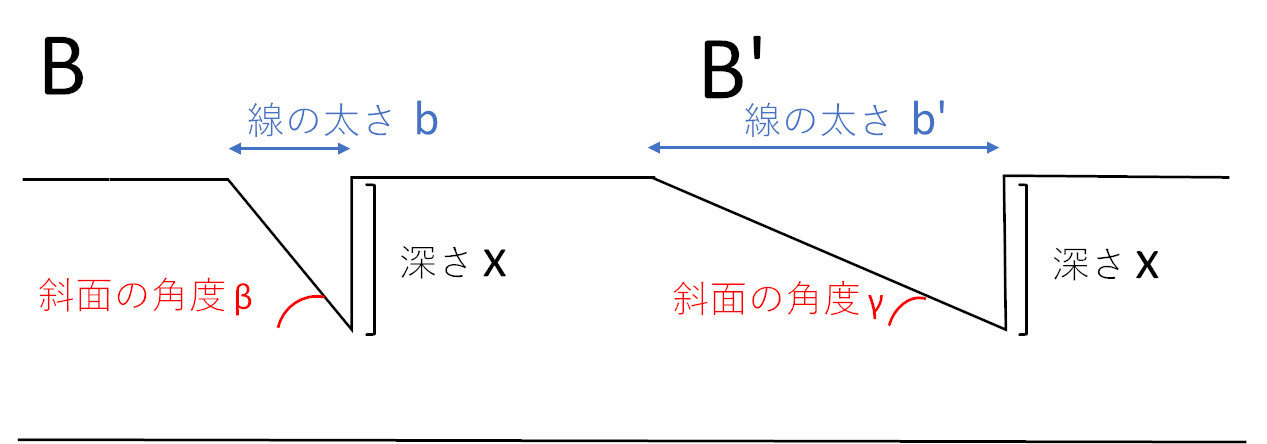
図のBとB’は、斜面の角度が違います。角度γが角度βより小さい場合、線の太さb'は線の太さbより太くなります。
筆で字を書くがごとく線を彫る
これまでに線の太さは、
- 切り込みの深さ
- 斜面の角度
によって変わることを説明しました。
実はこれらを組み合わせることによって、筆で字を書くがごとく線を表現できるのです。
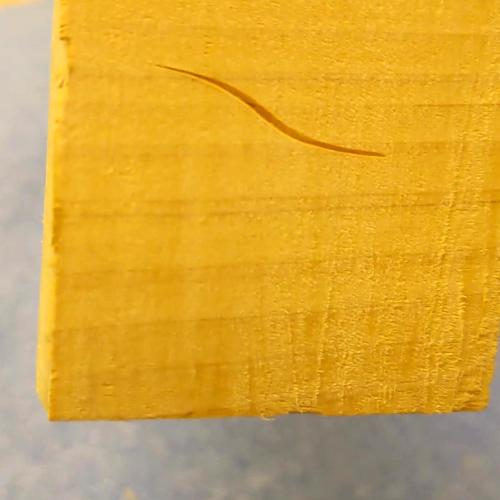
難しいのは彫刻刀を進める流れの中で深さと角度を変えることです。イメージを持ちながら、順目や木の抵抗を感じ彫ることは非常に大切です。雑にやってはまずできません。
※今回は説明を簡略化するために線の太さにのみ言及しました。実際は深さ、角度を変えると陰影に違いが生じ、各々の見え方は随分違います。各自で試し観察して、感覚を養いましょう。
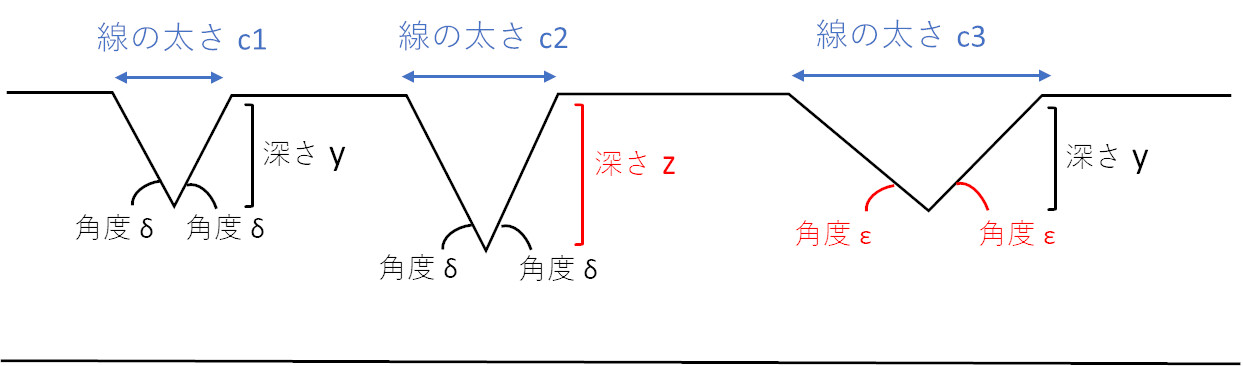
おまけ 薬研(やげん)彫りも考え方は同じ
薬研彫りとは、断面をV字に彫ることです。これも深さと角度が変わると線の太さが変わります。
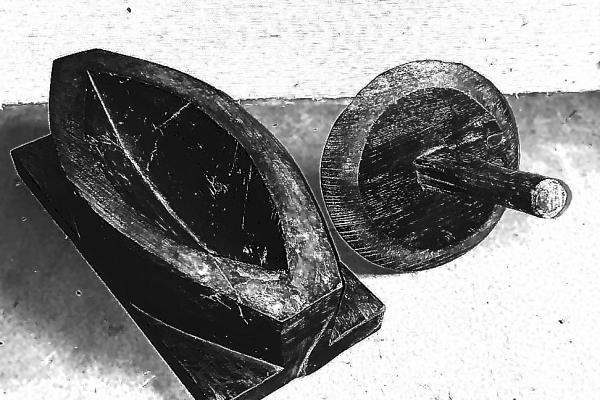
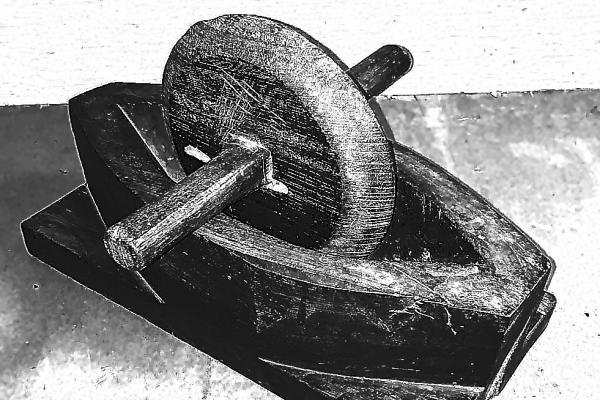
薬研彫りの豆知識 ~名前の由来~
薬研は、生薬(しょうやく)を粉末化するための道具で、細長い舟形で断面がV字形をした臼(うす)の部分と、そろばん玉を平たくして軸を通したような磨(す)り具とからなります。臼の断面と似ていることから薬研彫りと呼ばれるようになりました。